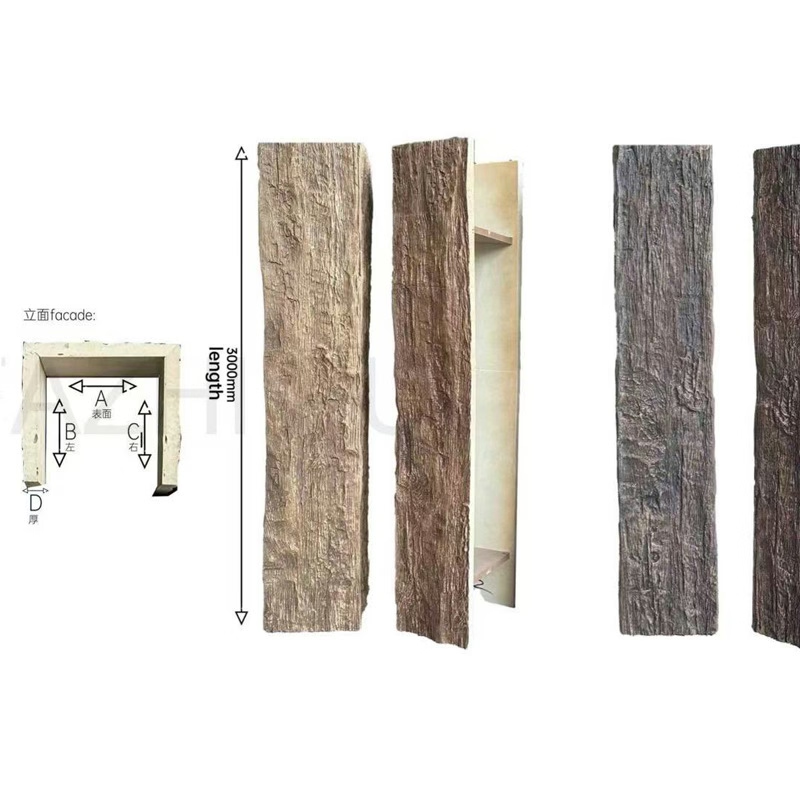
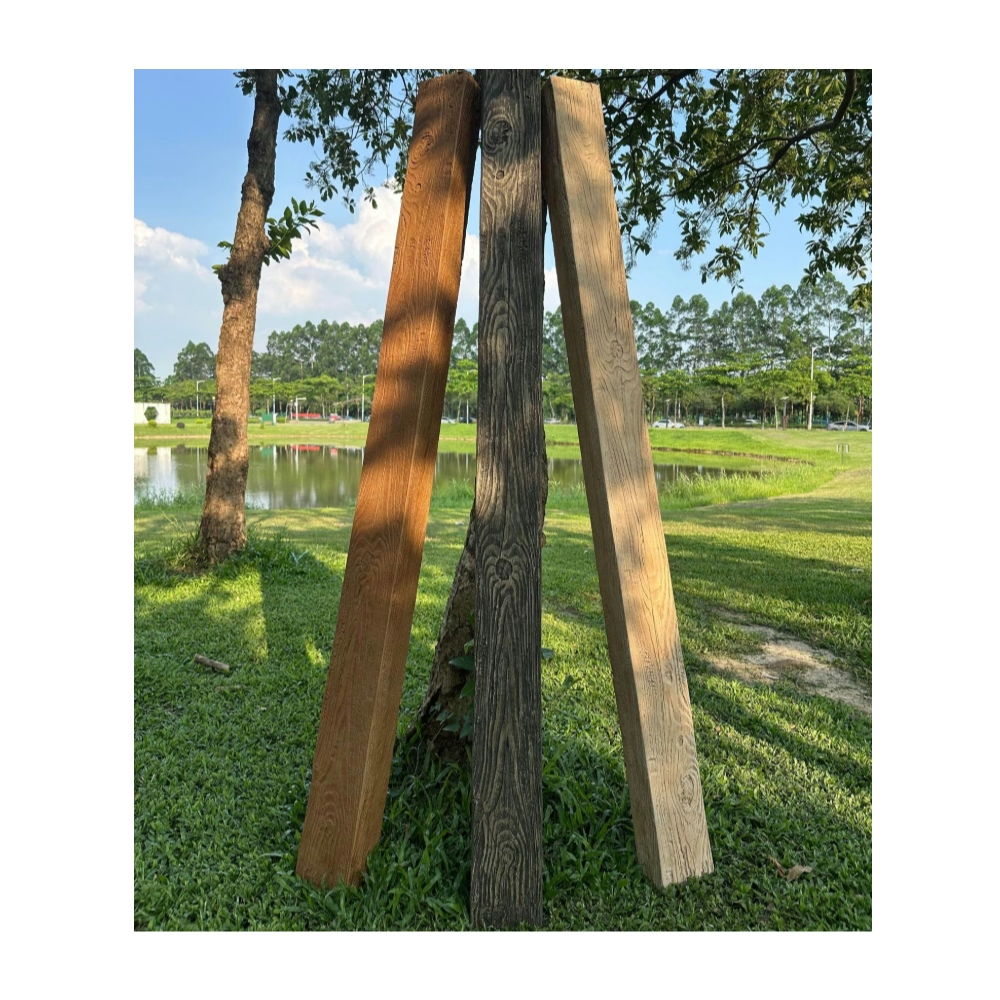
A great room is the largest interior space in most residential designs. It is where the household gathers, where guests are entertained, and where the home's primary architectural ambitions either land or fail. The ceiling of a great room is the single largest interior surface in the house, which means it's the surface that has to do the most work visually. A flat ceiling reads as a large empty plane. A ceiling with custom curved beams reads as architecture.
The curved beam is a more demanding design move than a straight beam. A straight beam is essentially a rectangular box; the factory pours it, finishes it, and ships it. A curved beam has to follow a specified radius, maintain its profile along the curve, and terminate cleanly at both ends. Solid timber accomplishes this through lamination, which is a labor-intensive process that adds cost and lead time. PU faux timber accomplishes it through molding, which is faster, less expensive, and dimensionally consistent across the production run.

Why curves belong in great room ceilings
The architectural history of great rooms is largely a history of curves. Barrel vaults, groin vaults, coves, arched transitions, and curved beams all developed because a curved ceiling reads as monumental in a way a flat ceiling doesn't. The eye follows the curve from one end of the room to the other, and the curve provides continuous architectural interest rather than a single focal point.
Modern great rooms have largely abandoned true masonry vaults because the structural demands don't justify the visual result. But the curved geometry that produced the same visual effect — a continuous sweeping line across the ceiling — can be approximated with curved beams that look like they support the vault but are actually decorative. This is the PU faux timber sweet spot: it provides the curved geometry without the structural cost.
The two most common applications:
- Barrel vault simulation. A series of curved beams running parallel across the ceiling, following a shallow arc that approximates a vault. The beams are decorative, but the ceiling reads as vaulted.
- Arched transition. A single curved beam that runs across one section of the ceiling, framing a feature area such as a fireplace wall or a window wall.
Both applications work with PU faux timber because the curved profile is factory-molded and dimensionally consistent.
Proportions for great room curves
The proportions for a great room curved beam are similar to those for a straight beam, with one addition: the rise of the curve has to be calibrated to the room's volume.
A barrel vault simulation in a great room typically uses:
- A shallow rise of one-eighth to one-tenth of the span. This keeps the ceiling from feeling like an actual vault, which would be claustrophobic at residential scale.
- A consistent profile depth of 250 mm to 400 mm depending on the room height. The depth should match what a straight beam would be in the same room.
- A consistent profile width of 200 mm to 350 mm. Wider profiles work better for barrel vault simulations because they read more clearly as beams rather than as thin lines.
- A consistent radius along the curve. The factory produces each segment to the same radius, which is critical for the parallel beams to read as a coordinated composition.
An arched transition beam typically uses:
- A more pronounced rise of one-fifth to one-fourth of the span. The arch wants to read as an arch, not as a slight curve.
- A heavier profile depth of 300 mm to 450 mm, because the arch is meant to be a feature rather than a background element.
- A decorative end treatment at both spring lines, often a corbel or a return leg with a tapered detail.
Both profiles work with PU faux timber because the factory produces each beam to specification rather than to a stock catalog item.
The custom specification process
Custom curved beams require more design information than stock straight beams. The factory needs:
- The radius of the curve. This is specified in the architectural drawings and is the most critical number. A small error in radius produces a beam that doesn't close at the joints.
- The span of the beam. Measured at the ceiling plane, not at the spring line.
- The rise of the beam. The vertical distance from the spring line to the apex.
- The profile cross-section. Depth, width, and any decorative details such as a chamfered edge or a stepped face.
- The finish specification. Wood species reference, stain tone, and sheen level.
- Termination details. End caps, return legs, corbels, or other decorative terminations.
- Service integrations. Recessed light openings, junction boxes for pendant suspension, or speaker cutouts.
This information is usually communicated through architectural drawings plus a finish schedule. Most PU factories have technical support teams that work with architects and designers during the specification phase, particularly for custom curves.
Coordinating with adjacent ceiling work
Great room ceilings combine multiple elements — beams, coffers, coves, plaster fields, lighting — and the curved beam has to coordinate with each.
The common coordination points:
- Beam termination at walls. Curved beams typically land at the wall plate with a return leg or a corbel. The factory produces both to match the beam profile. The wall finish at the termination point needs to be detailed to receive the beam cleanly, which usually means a paint return or a small trim detail.
- Beam-to-coffer transitions. When curved beams land into a coffered ceiling, the last coffer bay has to transition into the curved beam spring line. This requires careful coordination during the design phase because the coffer layout can't be finalized until the beam geometry is fixed.
- Beam-to-plaster field transitions. A curved beam landing into a flat plaster ceiling is the cleanest of the three. The beam simply terminates at a defined point on the wall, and the plaster field is uninterrupted.
The coordination work is largely done during the design phase. Once the beam geometry is fixed, the surrounding ceiling elements can be designed to integrate with it.
Installation in an existing great room
Curved beam installations in existing great rooms require more preparation than new-construction installs. The ceiling needs to be assessed for structural capacity, and blocking needs to be installed along the proposed beam path before the beams arrive.
A typical sequence:
- Verify the ceiling framing can support the beam layout. PU faux timber is light, but the blocking and fasteners still need solid backing.
- Install curved blocking along the proposed beam path. This is usually 19 mm plywood or light-gauge metal track, screwed to the ceiling joists at 400 mm intervals.
- Dry-fit the curved beam segments along the blocking. The factory cuts each segment to the specified arc length, and the segments typically meet at a splice joint at the apex or along the length.
- Pre-finish any field cuts with the touch-up kit shipped with the order. Factory skin takes stain differently from field-cut foam, so test first.
- Mechanically fasten each segment to the blocking through the return legs, with adhesive as backup.
- Caulk the splice joints with paintable acrylic latex, and finish to match.
A two-person crew can complete a typical curved beam install in a great room in two to four days depending on the number of beams and the complexity of the surrounding ceiling work.

Where curved beams don't work
Curved beams require volume to develop properly. A great room with a ceiling height below 3 m can't carry a curved beam without the curve eating volume the room can't spare. The result looks like a dropped soffit rather than a vault or arch.
Curved beams also require sufficient span. A curve over a 2 m span reads as a slight bend rather than as an architectural feature. The minimum span for a curved beam to register is usually 3 m, and the proportions improve significantly above 4 m.
In small rooms or rooms with low ceilings, a straight beam is a more honest move. The straight beam can still be the room's organizing element, just without the curved geometry. Designers should be willing to recommend against the curved specification when the room doesn't support it.
Finish considerations at curved profile
The finish on a curved beam presents a few specific challenges. The factory applies the wood-grain finish to a curved surface, which means the grain pattern follows the curve rather than running in straight lines. This is the desired effect for most projects, because the curved grain reads as authentic timber.
The factory offers two finish approaches for curved beams:
- Continuous grain. The wood-grain pattern flows continuously along the curve, with the stain tone consistent across the entire length. This reads as a single piece of timber.
- Segmented grain. Each curved segment is finished with its own grain pattern, and the joints between segments are visible. This reads as multiple pieces of timber joined together, which is appropriate for beams that simulate traditional joinery.
Both approaches work; the choice depends on the design intent. A continuous grain finish is more contemporary and reads as a single architectural element. A segmented grain finish is more traditional and reads as construction.
The PU faux timber catalog typically includes both options as standard, with custom variations available for projects that need a specific look. Lead times for custom finishes are usually one to two weeks longer than stock finishes, so the specification should be finalized early in the design process.
Acoustic and lighting integration
Great rooms often need both acoustic treatment and a thoughtful lighting plan, and the curved beams are part of both. The factory can produce curved beams with perforated acoustic backing for projects where speech intelligibility or music reproduction matters. The perforation pattern is micro-scale and doesn't affect the wood-grain appearance at typical viewing distances.
Lighting integration is similar to straight beams. The factory cuts openings for recessed downlights at specified intervals, and the electrical feeds run through the hollow beam to junction boxes above. For pendant or chandelier suspension at the apex of a barrel vault, the factory integrates a steel backing plate at the suspension point.
Both integrations are easier and more accurate when specified at order time than when field-modified after delivery. Most factories include the integration service as a standard option with a modest upcharge.
Long-term performance
PU faux timber curved beams in a great room environment should provide twenty years or more of service before any refinishing is needed. The factory finishes are UV-stable for interior use, and the foam core is dimensionally stable across humidity changes. The only maintenance required is occasional dusting of the upper curve, which is easier with a microfiber wand on an extension pole than with a ladder.
Touch-up kits are available from the factory for any damage that occurs during the room's use. The repair process is straightforward — sand the affected area, apply the matching touch-up stain, and seal with the same top coat used at install. This is one of the underrated advantages of PU faux timber over solid timber, which can be more difficult to repair invisibly because the wood grain doesn't always match across a repair.
Technical References
ASTM standards cited in every specification
Test Data
Lab results from internal testing program
Updated 2026
Reviewed against current product specs