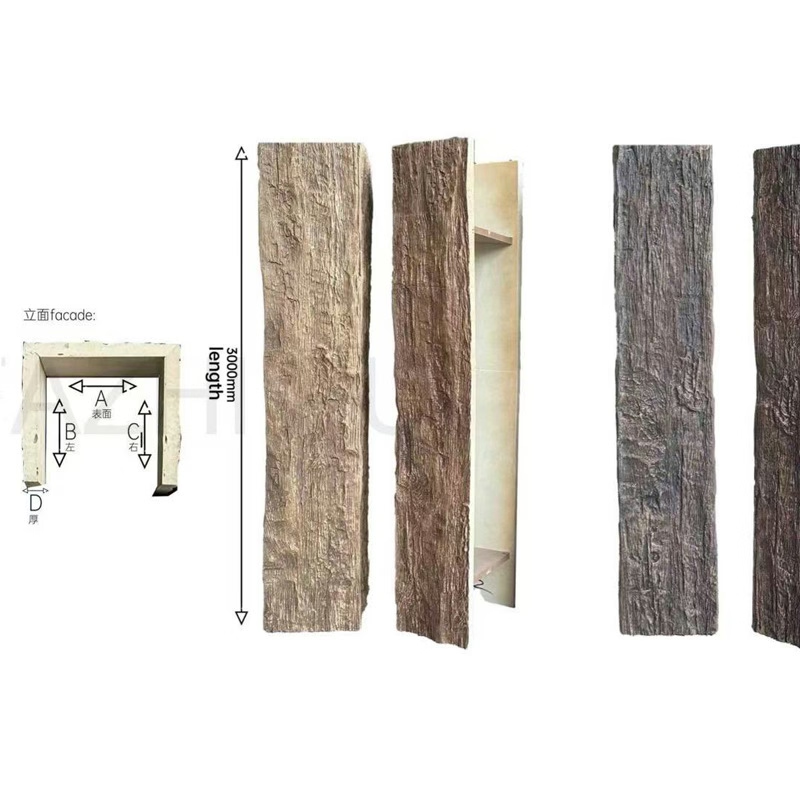
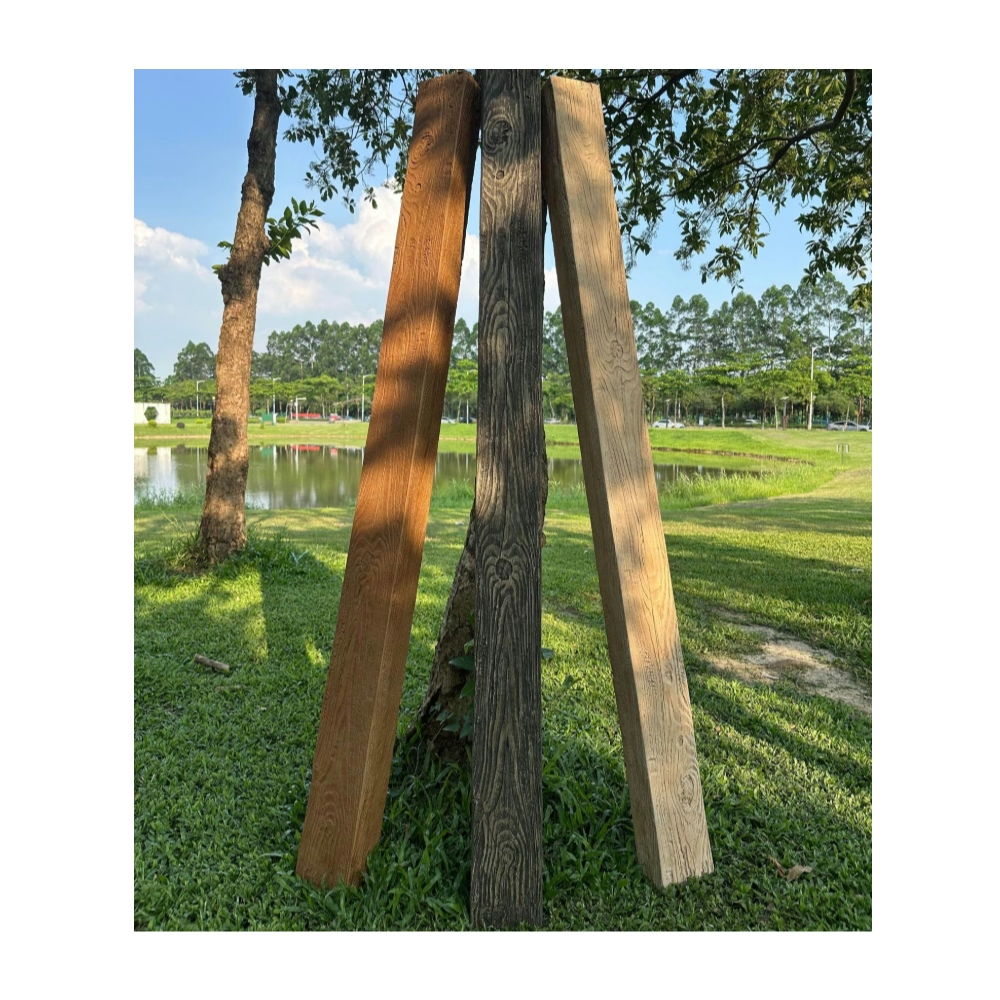
The skilled DIY homeowner faces interesting challenges in renovation planning. Skills developed through years of successful projects build confidence for increasingly ambitious work, yet certain projects remain out of reach regardless of skill level. Heavy materials that require multiple workers, specialized equipment, or engineering assessment create barriers that skill cannot overcome. Lightweight PU faux beams eliminate these barriers, making ceiling beam installation genuinely accessible to homeowners whose abilities might exceed their physical capacity for heavy materials.
DIY renovation projects share common characteristics thatPU faux beams address effectively. Homeowners typically work evenings and weekends, not full workdays. They use tools already owned rather than renting specialized equipment. They prefer to complete projects themselves rather than hiring help. These practical realities shape what projects are actually achievable. PU faux beams fit these constraints perfectly, enabling completion during available time with owned tools by a single person.
Why DIYers Choose PU Faux Beams
Homeowners cite consistent motivations for choosing faux over timber:
Physical manageability ranks highest among reasons. Beams that one person can lift, position, and secure enable projects that timber would require abandoning or hiring out.
Time efficiency follows from straightforward installation. Projects that might require multiple weekends with heavy materials complete in single weekends with lightweight alternatives.
Tool accessibility removes equipment rental requirements. Standard woodworking tools handle PU beams; no specialized equipment is necessary.
Mistake forgiveness encourages experimentation. Minor errors with lightweight materials are easier to correct than errors with heavy timber.
Skills Required for Success
DIY beam installation builds on standard home improvement abilities:
Measuring and marking ensures accurate placement. The precision required is standard—tape measures, levels, and squares handle layout work.
Basic carpentry including cutting and fastening applies directly. These skills transfer from other projects like framing, shelving, or trim work.
Adhesive application follows product-specific instructions. Most construction adhesives apply easily with standard caulk guns.
Patience matters more than physical strength. Taking time to measure accurately and allow proper adhesive cure produces better results than rushing.
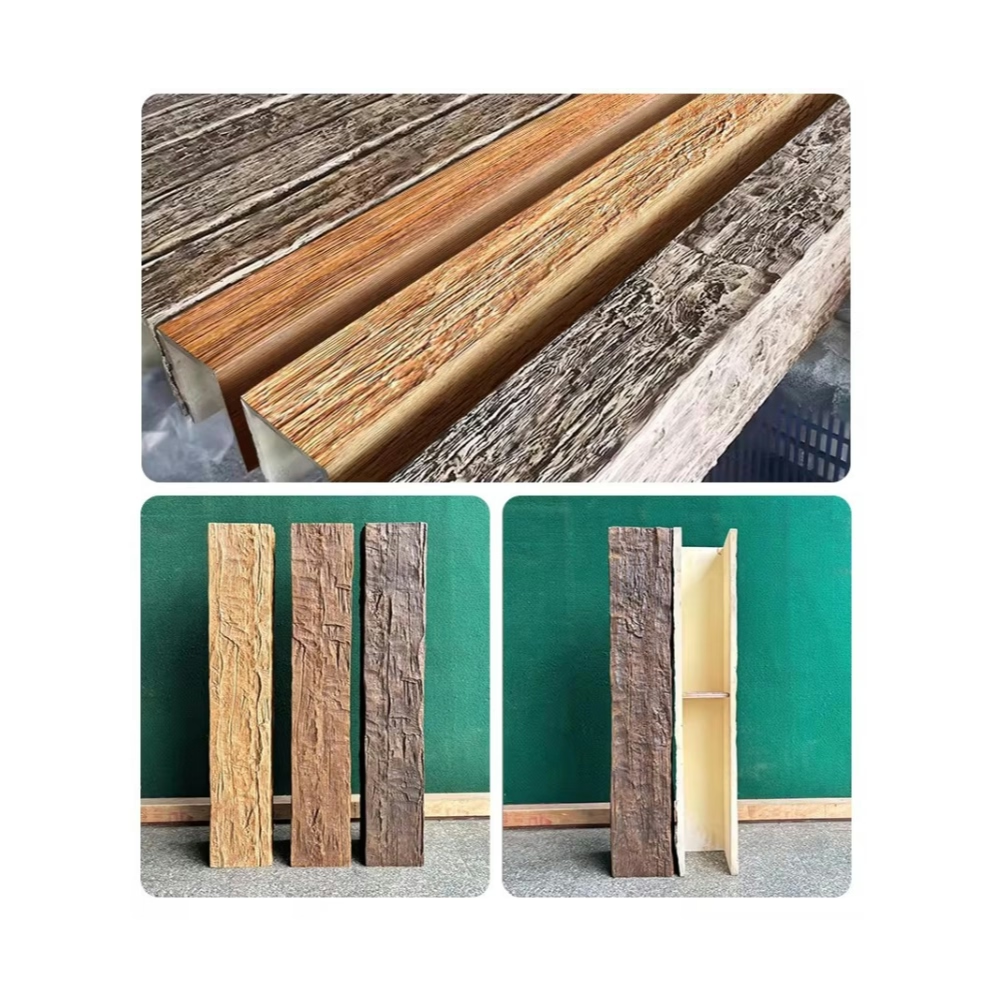
Planning the DIY Project
Successful DIY projects begin with thorough planning:
Accurate measurements prevent material shortages or excess ordering. Measure ceiling spans precisely, accounting for any variations.
Layout planning establishes beam positions before beginning. Chalk lines or laser levels mark reference points that guide installation.
Material staging prepares beams at working height. Saw horses or tables at comfortable working level reduce fatigue during prep work.
Sequence planning ensures logical workflow. Decide the order beams will install and plan any cutting or finishing that precedes mounting.
Tool Requirements
DIY beam installation requires tools most homeowners already own:
Measuring tools including tape measure, combination square, and straightedge for layout marks.
Cutting tools such as miter saw, circular saw, or hand saw for beam cutting. Fine-toothed blades minimize tear-out.
Fastening tools including drill/driver for mounting hardware and level for alignment verification.
Application tools like caulk guns for adhesive and potentially paint brushes or rollers if finishing is needed.
Access equipment appropriate for ceiling height—step ladders, extension ladders, or scaffolding as needed.
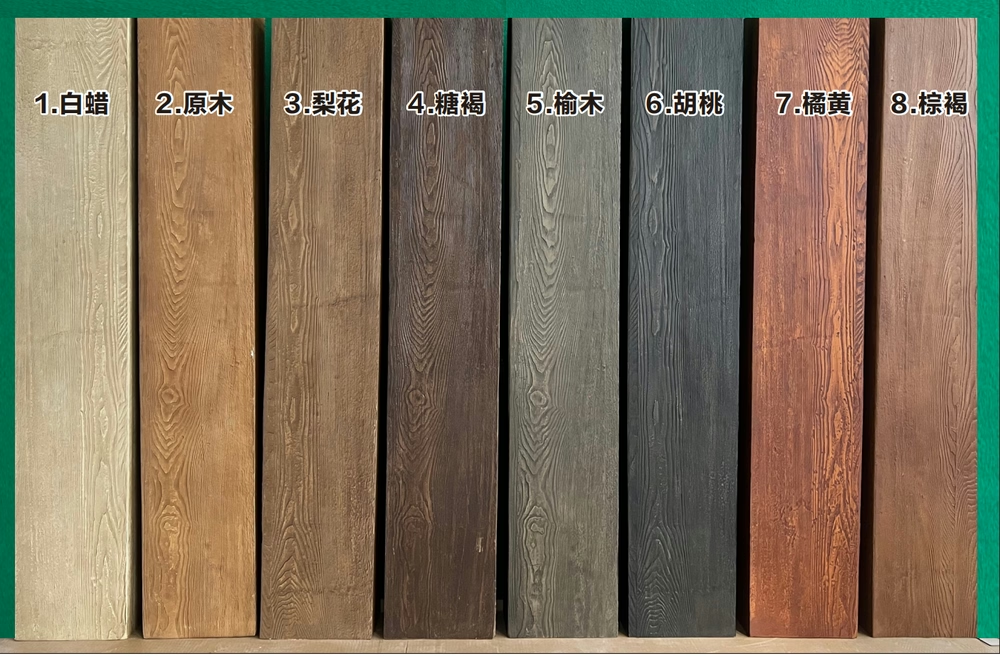
Surface Preparation
Proper preparation ensures successful installation:
Clean mounting surfaces remove dust, debris, and loose material that might interfere with adhesion. Vacuum or wipe surfaces before applying adhesive.
Repair any damage to ceiling surfaces that might affect mounting. Small holes, cracks, or imperfections don't prevent installation but should be addressed.
Locate structural elements using stud finders or by examining ceiling construction. Mark joist locations clearly for fastener placement.
Allow surfaces to dry if cleaning involved water. Adhesive bonds better to dry surfaces.
Installation Process
The installation sequence follows predictable steps:
Layout marks using chalk lines or other references establish beam positions precisely. Double-check measurements before committing.
Dry fit beams without adhesive to verify fit and alignment. This check catches problems before adhesive complicates adjustments.
Apply adhesive in continuous beads along beam mounting surfaces. Don't over-apply—excess adhesive creates mess without benefit.
Position beams carefully according to layout marks. Press firmly to ensure adhesive contact throughout.
Secure with fasteners at regular intervals, typically every 24 to 36 inches. Predrill if material requires to prevent splitting.
Check alignment as installation proceeds. Adjust while adhesive remains workable if any corrections are needed.
Finishing Details
Professional-looking results depend on attention to details:
Joint treatment at beam intersections requires careful cuts and alignment. Mitered corners should meet precisely with minimal gaps.
End returns where beams meet walls should appear finished. End caps or returns into wall cavities create clean terminations.
Fastener concealment through filling holes and touch-up matching provides clean surfaces.
Overall inspection verifies consistent alignment and appearance before considering the project complete.
Common DIY Challenges
Even skilled DIYers encounter challenges:
Alignment drift accumulates across multiple beams if each isn't precisely positioned. Checking alignment frequently prevents discovering significant errors after installation.
Adhesive working time varies by product and conditions. Understanding how much time is available prevents adhesive skinning before positioning completes.
Temperature effects on adhesive performance require appropriate conditions. Most adhesives work best between 50°F and 90°F.
Unexpected obstacles like electrical wiring or plumbing in ceiling cavities may require adjustment. Discovering these early prevents mid-installation complications.
Time Expectations
DIY projects require realistic time allocation:
Planning and preparation might take several evenings of measurement, layout, and material staging.
Installation per beam might require 30 minutes to an hour depending on length and complexity.
Full ceiling installation with multiple beams might take a full weekend for most DIYers.
Finishing work for joints, ends, and touch-up might require additional time after installation.
Quality Outcomes
DIY installations can achieve professional-quality results:
Appearance that rivals professional installation when careful attention to detail applies throughout.
Durability that serves for decades when proper materials and techniques are used.
Satisfaction from completing ambitious projects personally provides lasting pride.
Skills development that builds capability for future projects.

When to Call Professionals
Some situations warrant professional help:
Complex electrical work if beam installation intersects with wiring that should be handled by electricians.
Extensive structural modification if beam installation would affect building structure, though this rarely applies to lightweight faux beams.
Health or mobility limitations that prevent safe ladder work or overhead positioning.
Time constraints that make professional installation more practical than DIY timing.
Budget Considerations
DIY installation provides economic benefits:
Labor cost elimination represents the primary savings. Professional installation might cost as much as or more than materials.
Tool availability using owned tools avoids rental expenses.
Flexible scheduling allows work during available time without paying premium labor rates.
Learning investment in time rather than money builds skills for future projects.
Post-Installation Care
Completed installations require minimal ongoing attention:
Regular inspection occasionally verifies secure mounting. Tightening any loose fasteners prevents problems.
Cleaning with soft cloths or gentle vacuuming removes dust accumulation.
Touch-up for any minor damage keeps installation looking fresh.
Celebrating DIY Success
Completing beam installation represents meaningful achievement:
Recognition from family and visitors acknowledges accomplishment.
Property value increase from improved aesthetics benefits homeowners.
Capability demonstration proves that ambitious projects are achievable.
Inspiration for future projects follows from successful completion.
The accessibility of lightweight PU faux beams expands DIY possibilities in meaningful ways. Projects that required professional contractors become achievable for skilled homeowners. The combination of beautiful results and satisfying accomplishment makes these projects particularly rewarding. For the DIY homeowner seeking meaningful renovation impact, ceiling beams made accessible through lightweight construction deliver exactly what skill and effort deserve: stunning results that transform living spaces.
Technical References
ASTM standards cited in every specification
Test Data
Lab results from internal testing program
Updated 2026
Reviewed against current product specs