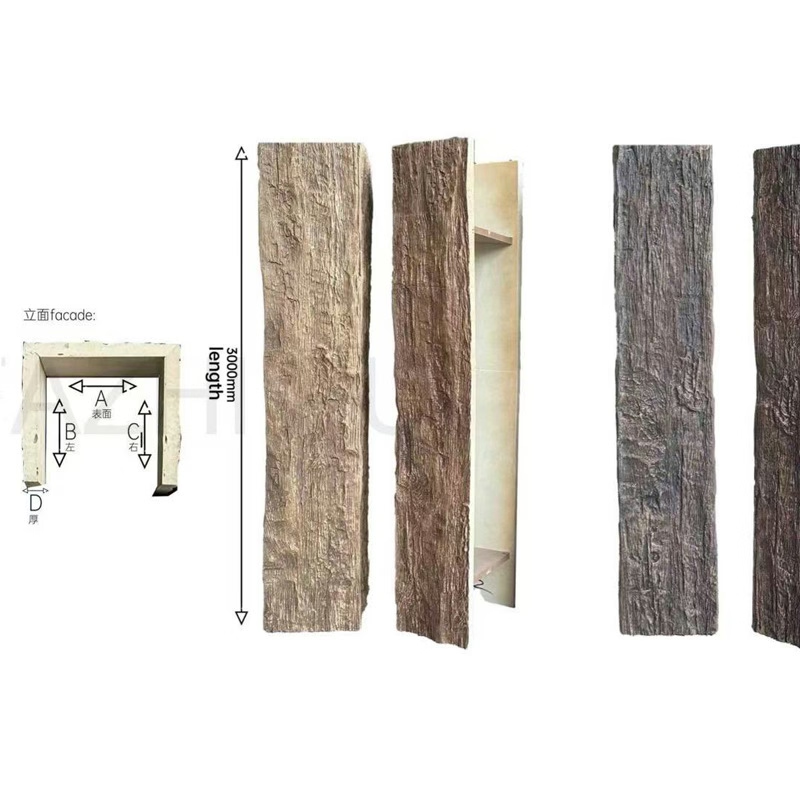
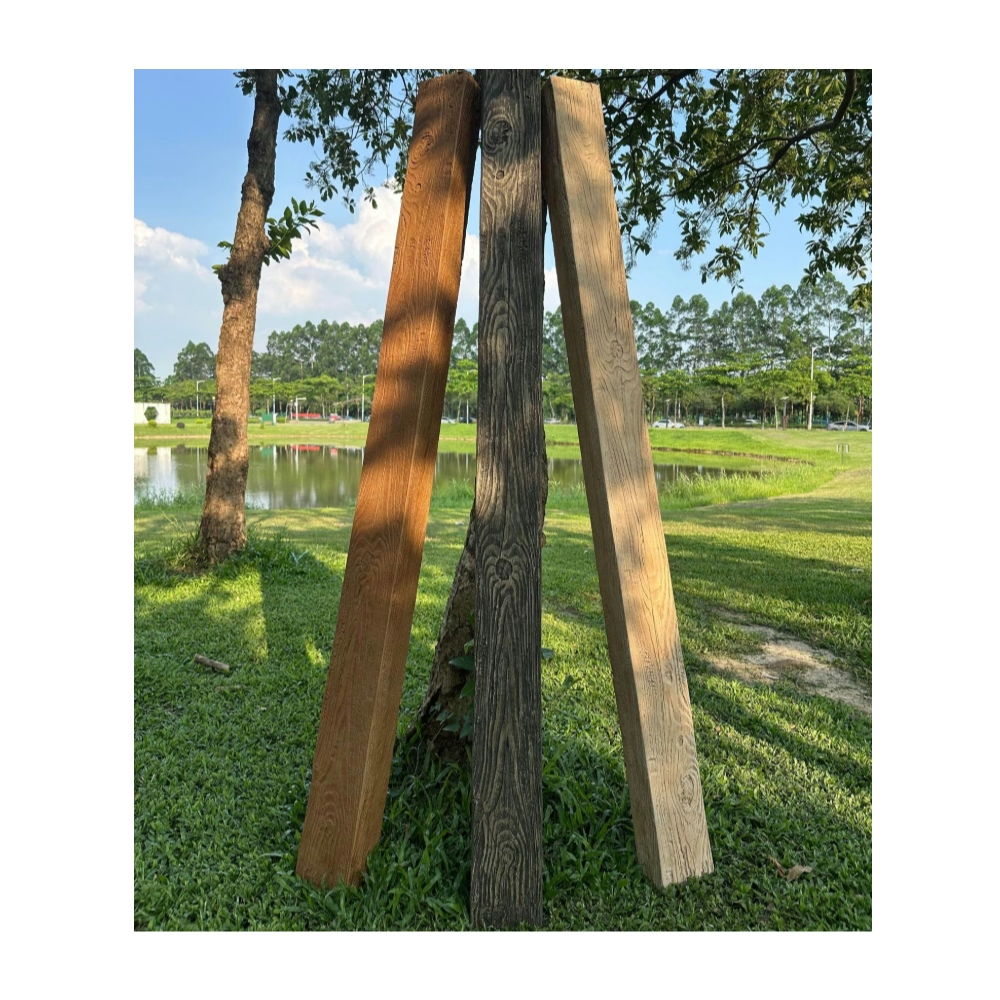
The renovation industry has embraced polyurethane faux beams as transformative elements that enable design visions impossible to achieve with traditional materials. What once required structural engineering assessments, specialized contractors, and extended timelines now fits within standard renovation budgets and schedules. This transformation has democratized sophisticated ceiling design, making architectural enhancement accessible to property owners who previously could only dream of timber beam aesthetics.
The Martinez family's 1970s split-level home represented a typical renovation challenge: good bones buried under dated finishes and awkward proportions. Their designer proposed removing dropped ceilings to expose the original structure, then adding polyurethane beams that would create the rustic character the clients desired while accommodating the home's actual structural capabilities. The completed renovation transformed the dark, compartmentalized house into an open, light-filled home that received multiple compliments from visitors who assumed the beams were original construction.
Why Simulation Beams Excel in Renovation Contexts
Renovation projects present unique challenges that simulation beams address more effectively than authentic alternatives. Existing construction imposes constraints that new construction does not, including load limitations, fixture locations, and access restrictions. The lightweight nature of polyurethane eliminates the structural modifications that authentic timber might require, reducing both cost and complexity.
Ceiling condition in older homes frequently requires assessment and potential remediation before beam installation. Where natural wood might be affected by underlying ceiling moisture or temperature variations, polyurethane's resistance to these conditions provides stable performance. This durability proves particularly valuable in renovations where ceiling conditions may not be fully understood until work begins.
Code compliance in renovation contexts often presents challenges that new construction does not face. Load limits, fire ratings, and other requirements may be more stringent for existing buildings, or may have grandfather provisions that new materials would not enjoy. Polyurethane formulations can be selected to meet specific code requirements, ensuring compliance while maintaining aesthetic goals.
The staged nature of many renovations makes the speed advantage of polyurethane installation particularly valuable. Where authentic timber might require extended project timelines, polyurethane beams can often be installed during compressed schedules. This speed enables renovation completion that might otherwise be delayed, reducing the disruption that renovation imposes on household routines.
Common Renovation Scenarios and Solutions
Vaulted ceiling conversions represent one of the most dramatic renovation opportunities that polyurethane beams enable. Removing flat ceiling surfaces to expose sloped ceiling planes creates dramatic spaces, but the raw structural surfaces often lack the architectural character that homeowners desire. Beams installed on vaulted surfaces create the impression of exposed timber construction, achieving aesthetics that structural modification alone could not produce.
Dropped ceiling replacements occur frequently in mid-century homes where acoustic tiles now seem dated. The cavity above these ceilings often contains useful space that beam installation can utilize effectively. Beams mounted at the original ceiling height create visual interest while preserving access to the cavity above, enabling both aesthetics and practicality to coexist.
Knee wall modifications create beam installation opportunities in homes with split-level designs. The awkward transitions between ceiling levels can be resolved through beam installations that create visual continuity across level changes. This approach works particularly well when the knee wall is removed or reduced in height, with beams continuing across the new opening to maintain architectural flow.
Attic conversions present both opportunities and challenges for beam installation. The roof structure that defines attic spaces can be enhanced through beam installation that creates rustic character while potentially hiding structural members that might otherwise require concealment. The lightweight nature of polyurethane is particularly valuable in attic applications where floor loading capacity may be limited.


Pre-Installation Assessment and Planning
Structural assessment should precede any renovation beam installation, even with lightweight materials. While polyurethane beams add negligible load compared to authentic timber, the attachment points must still be adequate for the loads involved. Stud finders, blueprint review, and potentially professional assessment all contribute to understanding what attachment approaches will be appropriate.
Moisture assessment protects both installation investment and building longevity. Bathrooms, kitchens, and areas near plumbing fixtures may present moisture conditions that affect some materials. Polyurethane resists moisture absorption, but attachment hardware and adhesive products may have moisture limitations that require addressing before installation.
Electrical and mechanical systems in ceiling and wall spaces require mapping before drilling or adhesive application. Light fixtures, HVAC ductwork, electrical conduit, and plumbing pipes may all occupy spaces where beam installation might otherwise proceed. Relocating these systems before beam installation avoids the conflicts that might otherwise compromise either the beams or the building systems.
Fixture compatibility assessment ensures that planned beam placement works with existing and planned light fixtures. Paddle fans, recessed lights, track lighting, and decorative fixtures all require coordination with beam positioning. The beam spacing and location should accommodate fixture placement while maintaining desired aesthetic appearance.
Installation Approaches for Renovation Projects
Surface mounting provides the least invasive installation approach, attaching brackets to existing surfaces without penetrating the underlying structure significantly. This approach works well in situations where access to the structure is limited or where future removal might be desired. The visible mounting hardware becomes part of the aesthetic in many surface-mounted installations.
Adhesive mounting creates seamless installations where beams appear to float against ceiling surfaces without visible attachment. This approach requires appropriate surface preparation and adhesive selection but produces clean results that maximize beam authenticity. The adhesive bonds distribute loads across beam surfaces, providing stable attachment without mechanical fasteners.
Hybrid mounting combines adhesive and mechanical attachment for maximum security. This approach is particularly appropriate in renovation contexts where ceiling conditions might not be fully known or where enhanced security provides valuable insurance against future problems. The combination addresses concerns that either approach alone might leave unresolved.
Furring approaches create new mounting surfaces where existing conditions are inadequate. Wood or metal furring strips attached to existing construction provide consistent mounting substrate for beam installation. This approach resolves surface irregularities, accommodates fixture clearance requirements, and enables installations where direct mounting would be impractical.
Finish Coordination and Integration
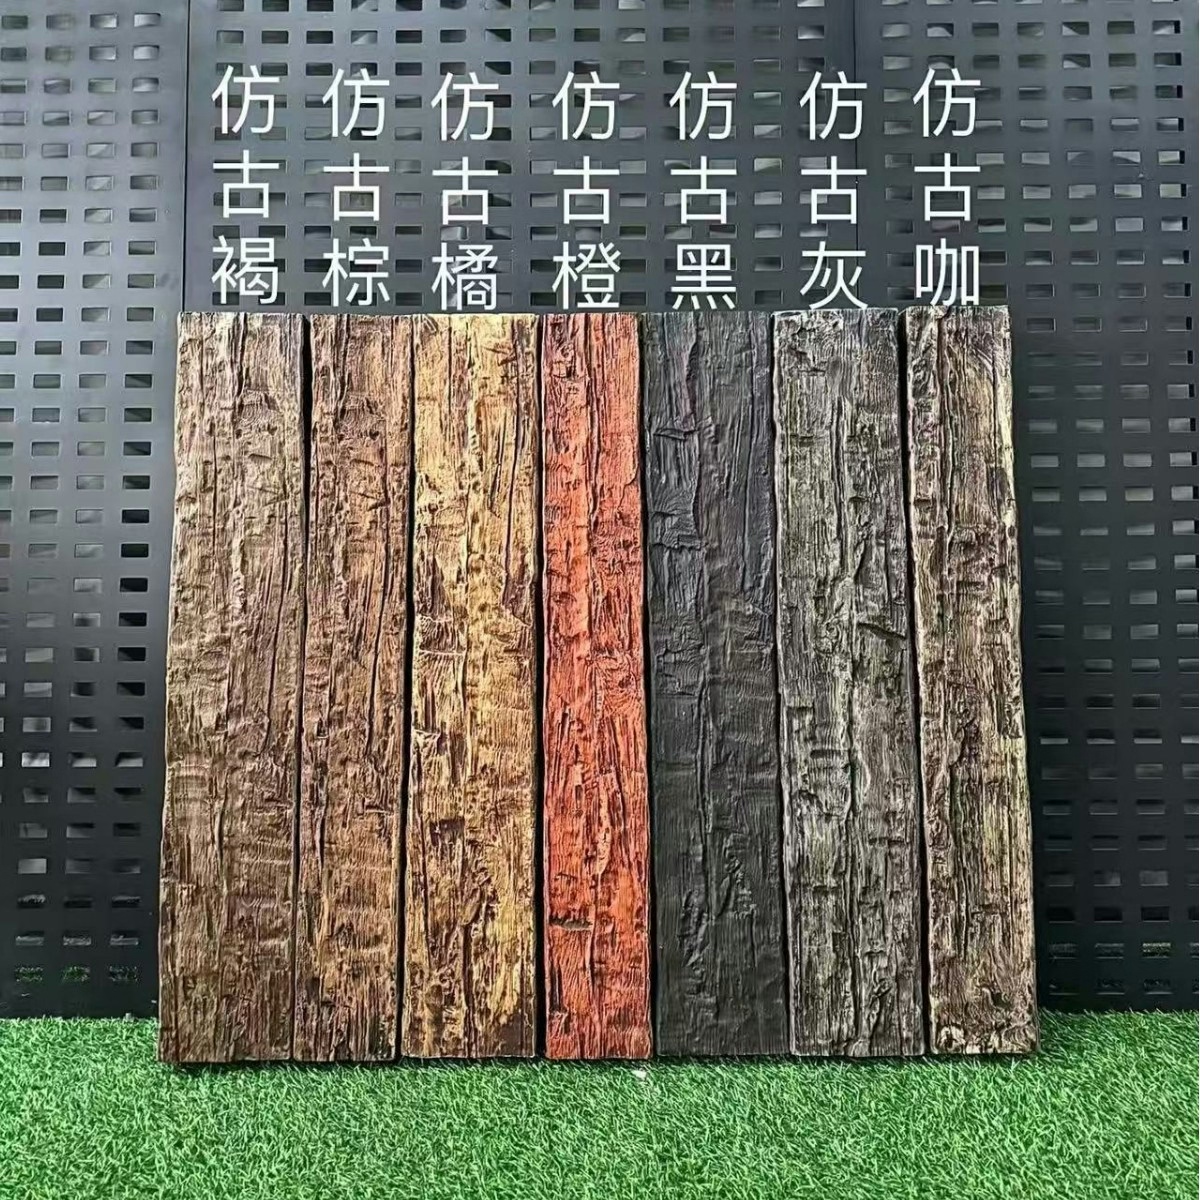
Paint matching between beams and existing trim requires careful attention in renovation contexts. Existing woodwork establishes color references that new beams should coordinate with or complement. Factory-finished beams in standard colors may require touch-up painting to achieve exact coordination, while custom color matching services can produce beams that match specific references precisely.
Stain coordination presents different challenges than paint coordination, particularly when existing woodwork features natural finish. The variations in natural wood make exact matching difficult, suggesting approaches that either accept slight variation or employ complementary rather than matching treatment. Professional installers can advise on realistic coordination expectations.
Hardware matching between beams and existing elements creates visual continuity throughout renovated spaces. Door hardware, lighting fixtures, and decorative accessories all contribute to overall aesthetic. Beam selection should consider these existing elements, potentially including hardware packages designed for coordination with popular fixture finishes.
Textile coordination completes the renovation aesthetic, with curtains, upholstery, and floor coverings affecting how beam installations are perceived. Warm-toned beams pair well with natural fiber textiles, while cooler tones might coordinate better with synthetic materials. This textile dimension often receives insufficient attention during renovation planning.
Common Renovation Challenges and Solutions
Low ceiling heights require beam sizing restraint that prevents space-compressing effects. Smaller beam dimensions maintain perceived ceiling height while still providing visual interest. Installation spacing should also receive attention, with wider spacing appearing less overwhelming in low-ceiling applications.
Off-level ceilings create alignment challenges that require resolution or accommodation. Adjustable mounting systems can address minor level variations, while intentional accommodation through graduated spacing might resolve more significant challenges. Professional installers assess these conditions and recommend approaches that achieve the best possible appearance.
Fixture conflicts require either relocating fixtures or adjusting beam spacing to accommodate them. Both approaches have merit depending on specific conditions. Relocation provides clean beam installation but involves additional electrical work. Spacing adjustment preserves existing fixture locations but may affect overall aesthetic.
Moisture concerns in renovated bathrooms and kitchens require attention to both beam selection and installation approach. Mold-resistant formulations provide additional protection in these challenging environments. Installation methods should also account for humidity variations, potentially including ventilation improvements that protect both beams and surrounding construction.
Budget Optimization for Renovation Projects
Material selection influences budget significantly, with premium products commanding higher prices than economy alternatives. The differences between products often relate to surface detail quality, finish durability, and warranty coverage. Evaluating these differences in terms of long-term value helps determine appropriate specification levels for specific projects.
Installation complexity affects labor costs dramatically in renovation contexts. Simple surface-mounted installations can proceed quickly, while complex custom work requires extended installation time. Simplifying designs where possible reduces installation costs without necessarily compromising aesthetic impact.
Timing optimization reduces renovation disruption while potentially reducing costs. Coordinating beam installation with other renovation trades enables efficient workflow that reduces total project time. Avoiding overtime and weekend work where possible also reduces labor costs.
Phased implementation enables budget-stretched renovations to proceed effectively. Installing beams in priority areas first while planning future phases for other spaces enables immediate improvement while spreading costs over time. This approach works well when beam installation does not require work in all areas simultaneously.
Post-Renovation Care and Maintenance
Initial care after installation allows adhesives and finishes to cure fully before exposure to stress or cleaning. Manufacturer guidance specifies appropriate cure times, which vary by product and conditions. Following these guidelines protects installation investment during the critical early service period.
Routine cleaning maintains appearance with minimal effort, typically requiring only dusting and occasional damp wiping. The non-porous surface of quality polyurethane rejects most contaminants, releasing them easily with gentle cleaning. Harsh chemicals and abrasive methods are unnecessary and potentially harmful.
Damage response should follow manufacturer guidance specific to the product installed. Minor scratches often respond to fine sandpaper and touch-up finish. More significant damage may require professional repair or component replacement. Having warranty information and supplier contacts available facilitates this response.
Long-term maintenance planning ensures that beam installations continue contributing to home value throughout occupancy. The durability of quality polyurethane typically requires minimal ongoing attention, but periodic inspection and cleaning maintain optimal appearance over decades of service.

Technical References
ASTM standards cited in every specification
Test Data
Lab results from internal testing program
Updated 2026
Reviewed against current product specs