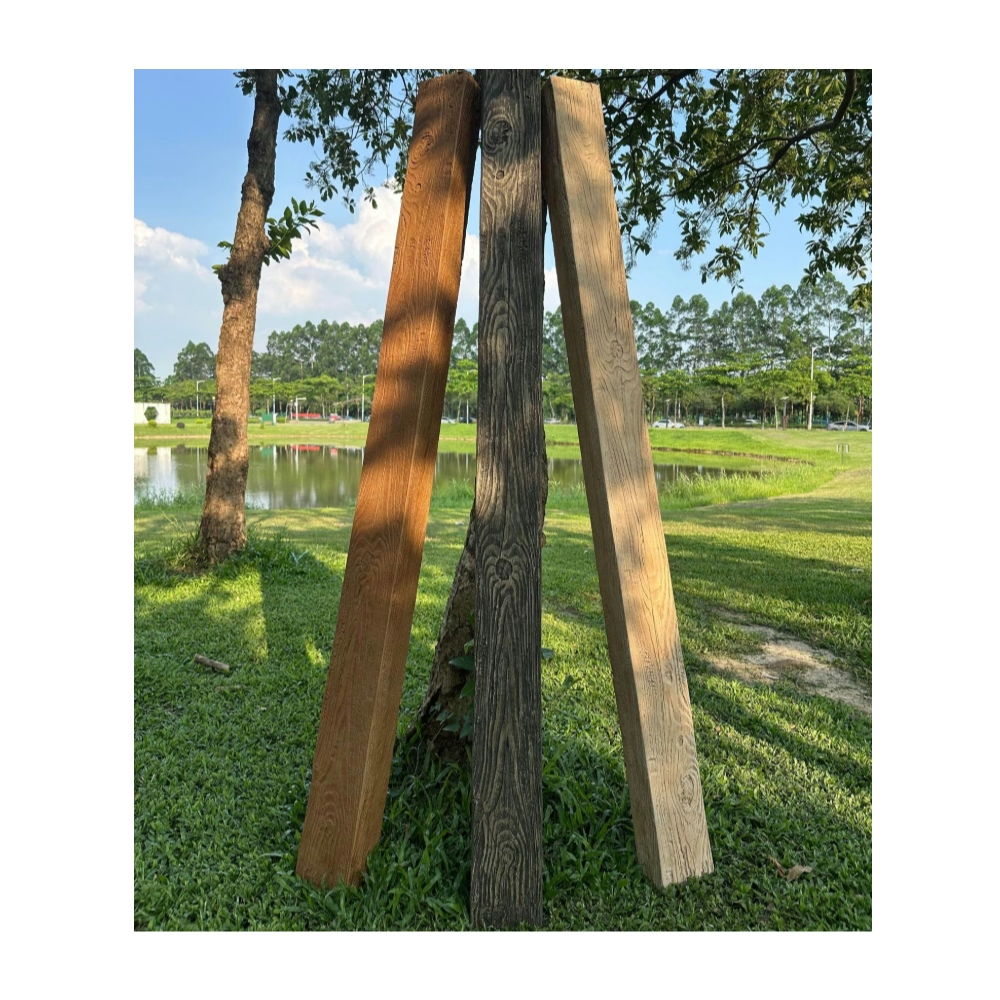
Lightweight Hollow Faux Ceiling Beams for Easy Mount
Interior Installation: fauxwoodbeams 014
DIY Blogger step By Step Perspective
Last weekend I installed two 12-foot beams in my own dining room by myself, including a 14-foot extension ladder climb to mark the mounting points. Total time: about three hours. Total cost: about $400 for both beams, the cleat material, and the trim screws. Total satisfaction: enormous. If you've been on the fence about installing ceiling beams yourself, let me walk you through exactly what I did, what I'd do differently, and the parts that genuinely require two people versus the parts you can do solo.
Faux Wood Beam Installation
Last weekend I installed two 12-foot beams in my own dining room by myself, including a 14-foot extension ladder climb to mark the mounting points. Total time: about three hours. Total cost: about $400 for both beams, the cleat material, and the trim screws. Total satisfaction: enormous. If you've been on the fence about installing ceiling beams yourself, let me walk you through exactly what I did, what I'd do differently, and the parts that genuinely require two people versus the parts you can do solo.
writingStyle
DIY-blogger step-by-step
What I'd Do Differently
I'd buy a laser level instead of using my 4-foot level repeatedly. The 4-foot level worked fine but the laser would have been faster and more accurate over a 12-foot span. Second, I'd order the beam one inch longer than my measured span and trim to fit in place rather than ordering exact length. Field conditions always vary slightly from your measurements. Third, I'd pre-drill my cleat mounting holes before climbing the ladder - it's awkward to hold a cleat, a drill, and a level all at once.
Common Mistakes
The biggest mistake I see in DIY beam installs is mounting only to the ceiling drywall instead of into the joists. Drywall alone won't hold the weight long-term - the beam will eventually sag or pull away. The cleat must be into structural framing. Second mistake is not leveling the cleat carefully enough - even a 1/4 inch difference over 12 feet will show as the beam appears to dip in the middle. Third mistake is forgetting to wire any electrical before mounting. If you're running pendant lights or wiring through the beam, do it before you slide the beam over the cleat.
Tools You'll Need
- Stud finder or reliable knowledge of ceiling joist locations
- Laser level or 4-foot level
- Drill with appropriate bits
- Tape measure and pencil
- Fine-tooth handsaw or oscillating multi-tool
- 14-foot extension ladder (or two people with shorter ladders)
- Helper for the actual mounting step (this part really needs two people)
Step-by-Step Installation
Step 1: Mark your joists. Most homes have joists 16 inches on center, but verify with a stud finder. Mark both edges of each joist at the planned mounting location. Your cleat will screw into the joists, not into the ceiling drywall alone.
Step 2: Determine beam position. Hold a scrap piece of your chosen beam profile against the ceiling to visualize the placement. Mark the edges on the ceiling. Consider sight lines from the room's main viewpoint - usually the entry or the seating area.
Step 3: Cut and mount the cleat. We used a 1x3 pine board ripped to fit inside the beam's U-channel. Cut it 1/8 inch shorter than the beam length. Screw it into the ceiling joists, shimming where needed to get it perfectly level across the span.
Step 4: Pre-fit the beam. Slide the beam over the cleat before final fastening to make sure it fits cleanly. Check the ends for square cuts and trim if needed with the fine-tooth saw.
Step 5: Mount with a helper. This is the part that needs two people. One person holds each end of the beam against the ceiling over the cleat while the other drives the trim screws through the side walls into the cleat. Start at one end and work to the other to keep the beam from bowing.
Frequently Asked Questions
Are faux wood beams realistic looking?
Yes, our faux wood beams feature hand-carved textures and multi-step finishing that captures every detail of authentic aged wood. Most people cannot tell the difference.
How much do these beams weigh?
Our faux wood beams are approximately 88% lighter than real wood. A typical 8-foot beam weighs only 10-15 pounds, making DIY installation easy.
Can I install these outdoors?
Yes, we offer outdoor-rated faux wood beams that are UV-resistant and waterproof, perfect for covered patios and porches.
How do I get a quote?
Click the "Get Inspired - Contact Us" button above. We typically respond within 2-4 hours with pricing tailored to your project.



