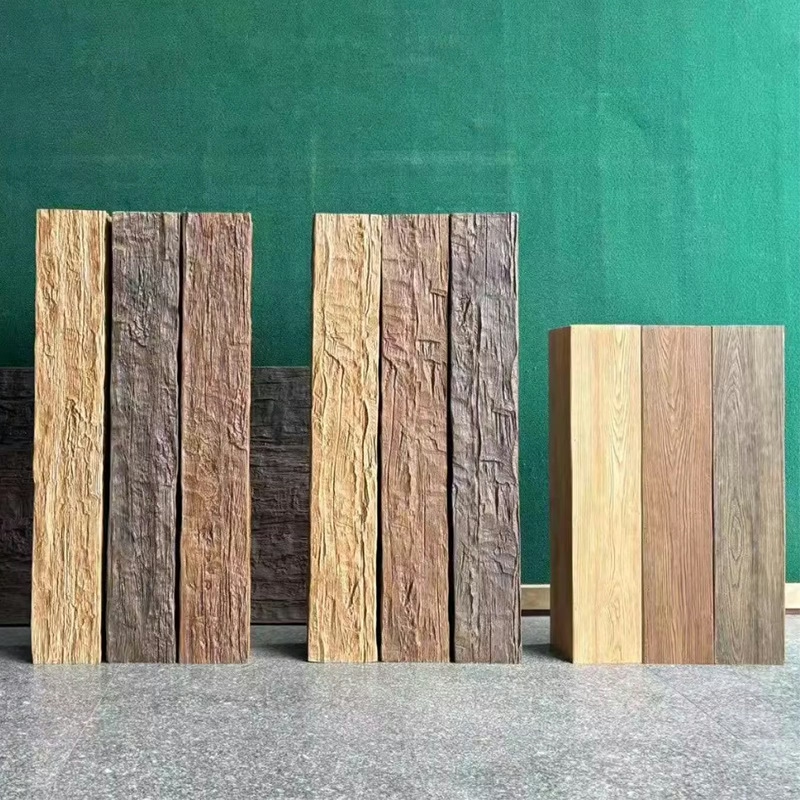
Unfinished Polyurethane Faux Wood Beams for Painting
Interior Installation: fauxwoodbeams 040
Fine Finish Painter technique Perspective
Unfinished polyurethane beams are a raw material, not a finished product. They're delivered with a primer surface that's ready for paint, stain, or specialty finish - but the finishing work happens after installation, on site, by the painter or homeowner. This is both an opportunity and a responsibility. The opportunity is total customization - any color, any finish, any effect you can imagine. The responsibility is that the final appearance depends entirely on the quality of the finishing work. Let me share what I've learned about finishing polyurethane beams well.
Faux Wood Beam Installation
Unfinished polyurethane beams are a raw material, not a finished product. They're delivered with a primer surface that's ready for paint, stain, or specialty finish - but the finishing work happens after installation, on site, by the painter or homeowner. This is both an opportunity and a responsibility. The opportunity is total customization - any color, any finish, any effect you can imagine. The responsibility is that the final appearance depends entirely on the quality of the finishing work. Let me share what I've learned about finishing polyurethane beams well.
writingStyle
fine-finish-painter technique
Preparation
Unfinished polyurethane beams arrive with a consistent primer surface, but they still benefit from light preparation before finishing. Light sanding with 220-grit sandpaper creates a slightly toothed surface that helps finish adhesion. Wipe down with a tack cloth to remove all dust. Any surface imperfections (rare, but possible from shipping) should be filled with a compatible filler and sanded smooth. The preparation work takes time but the finish quality depends on it.
Paint vs. Stain
Paint covers the polyurethane color completely - any color from bright white to deep black is possible. Stain enhances the wood-grain appearance by adding transparent or semi-transparent color. The choice depends on the design intent. For painted beams, use a high-quality acrylic latex paint with good adhesion properties. For stained beams, use a stain compatible with polyurethane (most stains work; test on a sample first).
Application Technique
Apply finishes in thin, even coats rather than thick coats. Multiple thin coats produce a smoother, more durable finish than fewer thick coats. Use a high-quality brush or sprayer - the finish quality is limited by the application tool. Allow proper drying time between coats (check the finish manufacturer's specifications). Sand lightly between coats with 320-grit sandpaper for the smoothest final result.
Common Mistakes
The biggest mistakes I see in field-finished polyurethane beams: applying finish too thickly (causing drips and uneven sheen), skipping the preparation work (causing poor adhesion), not maintaining a wet edge during application (causing visible lap marks), and not allowing adequate drying time between coats (causing finish failure). All of these are avoidable with patience and proper technique. The polyurethane beam itself is a forgiving substrate - the finish quality depends on the human applying it.
Advantages Of Unfinished Product
Frequently Asked Questions
Are faux wood beams realistic looking?
Yes, our faux wood beams feature hand-carved textures and multi-step finishing that captures every detail of authentic aged wood. Most people cannot tell the difference.
How much do these beams weigh?
Our faux wood beams are approximately 88% lighter than real wood. A typical 8-foot beam weighs only 10-15 pounds, making DIY installation easy.
Can I install these outdoors?
Yes, we offer outdoor-rated faux wood beams that are UV-resistant and waterproof, perfect for covered patios and porches.
How do I get a quote?
Click the "Get Inspired - Contact Us" button above. We typically respond within 2-4 hours with pricing tailored to your project.



