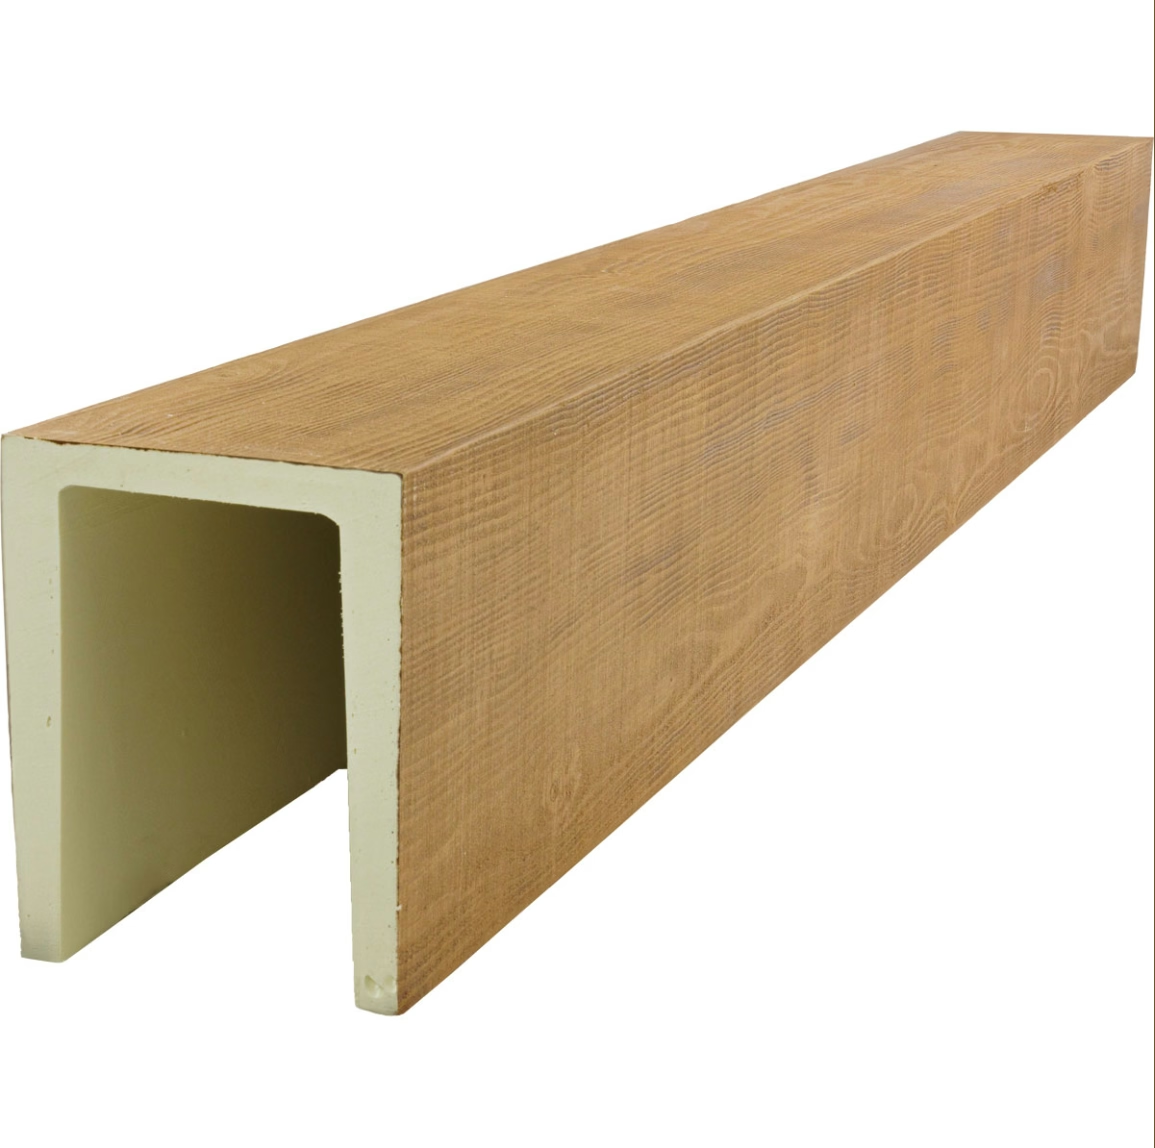
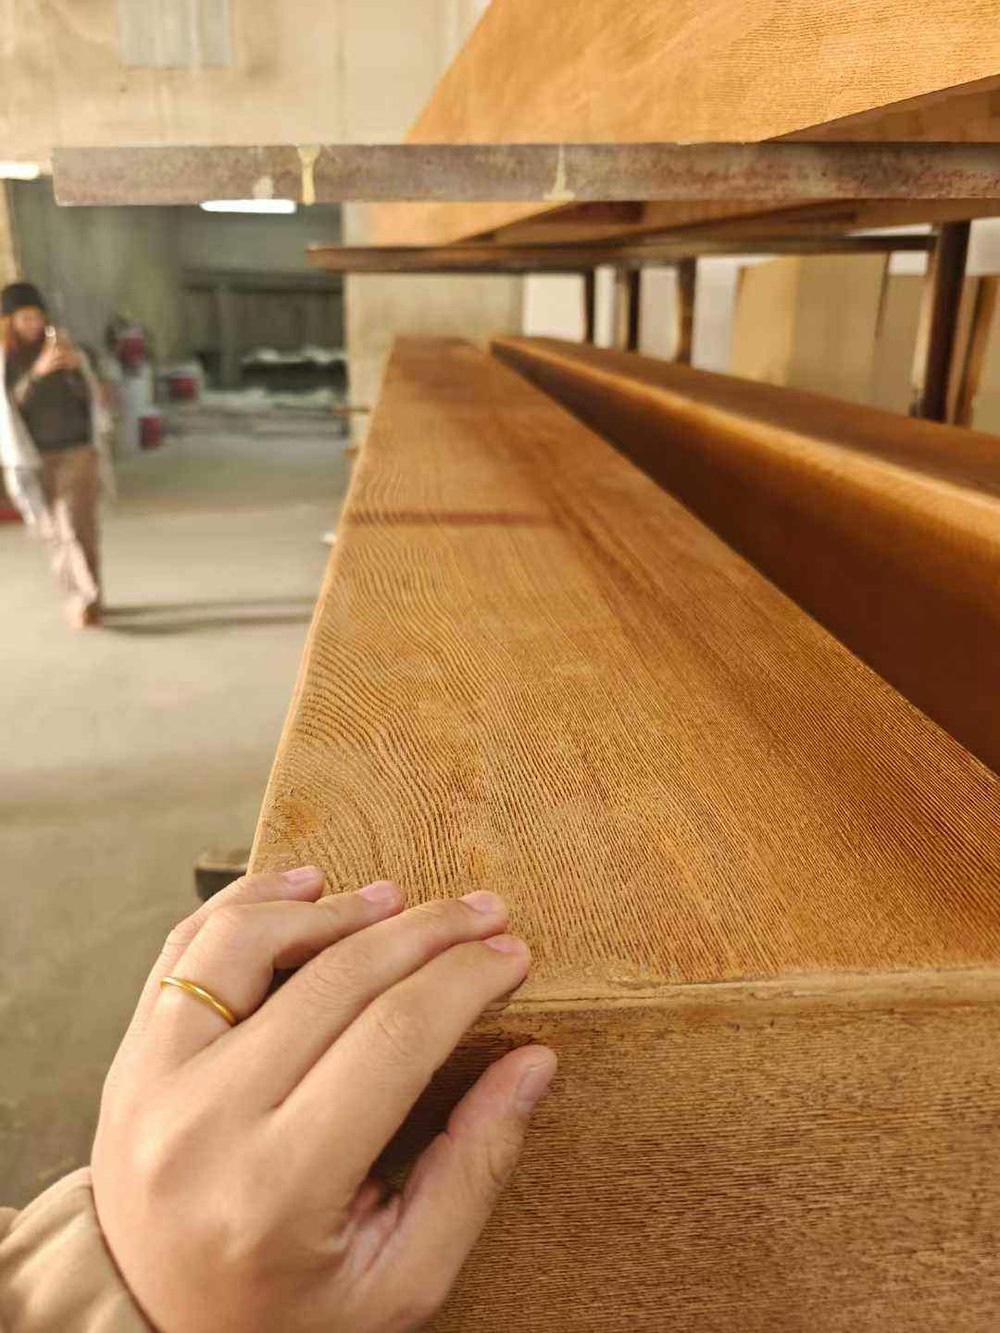
A faux ceiling beam that wants to be taken seriously has to overcome a fundamental credibility problem. The ceiling is where viewers look up, often with the beam silhouetted against a light-colored background where every imperfection stands out. The eye has time to study the surface because ceilings are rarely cluttered with competing visual elements. A beam that reads as plastic or artificial on a feature wall can read as obviously fake on a ceiling where it has nowhere to hide.
Exact natural wood replicas address this problem by combining high-resolution cast surfaces with finishes designed to match real timber behavior under ceiling lighting conditions. The result is a beam that looks genuinely constructed rather than applied as decoration. For designers and homeowners committed to authentic-looking interiors, this level of fidelity is the difference between a ceiling that suggests timber and one that convincingly presents as timber.
The replication work begins with understanding how real wood behaves under ceiling light. Natural timber absorbs and reflects light differently across its surface. Early wood and late wood show subtle color shifts. Grain lines cast small shadows. Knots have darker, denser texture. Finish treatments age unevenly, leaving patina in some areas and not others. A convincing faux beam must reproduce all of these behaviors, not just the surface texture.
Casting techniques that produce authentic surfaces
The starting point for any credible replica is the master pattern. Premium factories source real timber boards, often antique or specially selected for character, and use them as the master for high-resolution silicone molds. The mold captures every detail of the original surface at a resolution that standard production techniques cannot match.
What the mold actually transfers is the topographic relief of the wood surface. The polyurethane cast that comes out of the mold has the same depth, grain ridge, and knot depression as the original timber. This depth is what allows the cast surface to react to light the way real wood does. When light rakes across a true cast surface, it produces the same subtle highlights and shadows that real wood shows, because the surface geometry is essentially the same.
Lower-quality replicas skip this casting step and use molds with chemically etched or CNC-machined patterns. The resulting surface has grain appearance from a distance but lacks the three-dimensional depth that gives real wood its character. Under the bright, even light that often illuminates ceilings, the difference becomes obvious. Skilled observers can spot an etched surface within seconds.
Finish sequences that bring out the cast surface
The cast surface is the foundation, but the finish determines how convincingly the foundation reads. A multi-step finishing sequence is what transforms a textured polyurethane cast into something that visually behaves like timber. Skipping steps or simplifying the sequence produces a beam that looks underfinished even when the underlying texture is correct.
The typical sequence for a natural wood replica begins with a base stain that establishes the species color. For oak, this is usually a warm tan. For walnut, a deeper brown. For pine, a paler yellow-tan. The base stain is applied evenly to set the overall tone, then allowed to dry before subsequent steps.
A glaze coat follows, applied and partially wiped back to leave pigment concentrated in the grain recesses and around knots. This step is what makes the grain pattern visible rather than just textural. Without it, even a beautifully cast surface can look flat because there is no tonal contrast between grain highs and lows.
A wash or toner adds subtle variation across the surface. Some areas get slightly more pigment, others slightly less, mimicking the way natural wood varies in tone across its length. This irregularity is critical because uniform color is one of the most obvious giveaways of artificial wood. Real wood is never uniform, and a finish that looks uniform on a faux beam immediately reads as fake.
The final step is a topcoat that seals the finish and provides the appropriate sheen level. Matte topcoats preserve the soft, natural appearance of unfinished wood. Satin topcoats add a hint of reflectivity that suggests a finished surface but still reads as wood. Gloss topcoats are usually avoided for natural wood replicas because they create the plastic-looking reflection that the rest of the finishing work is designed to prevent.

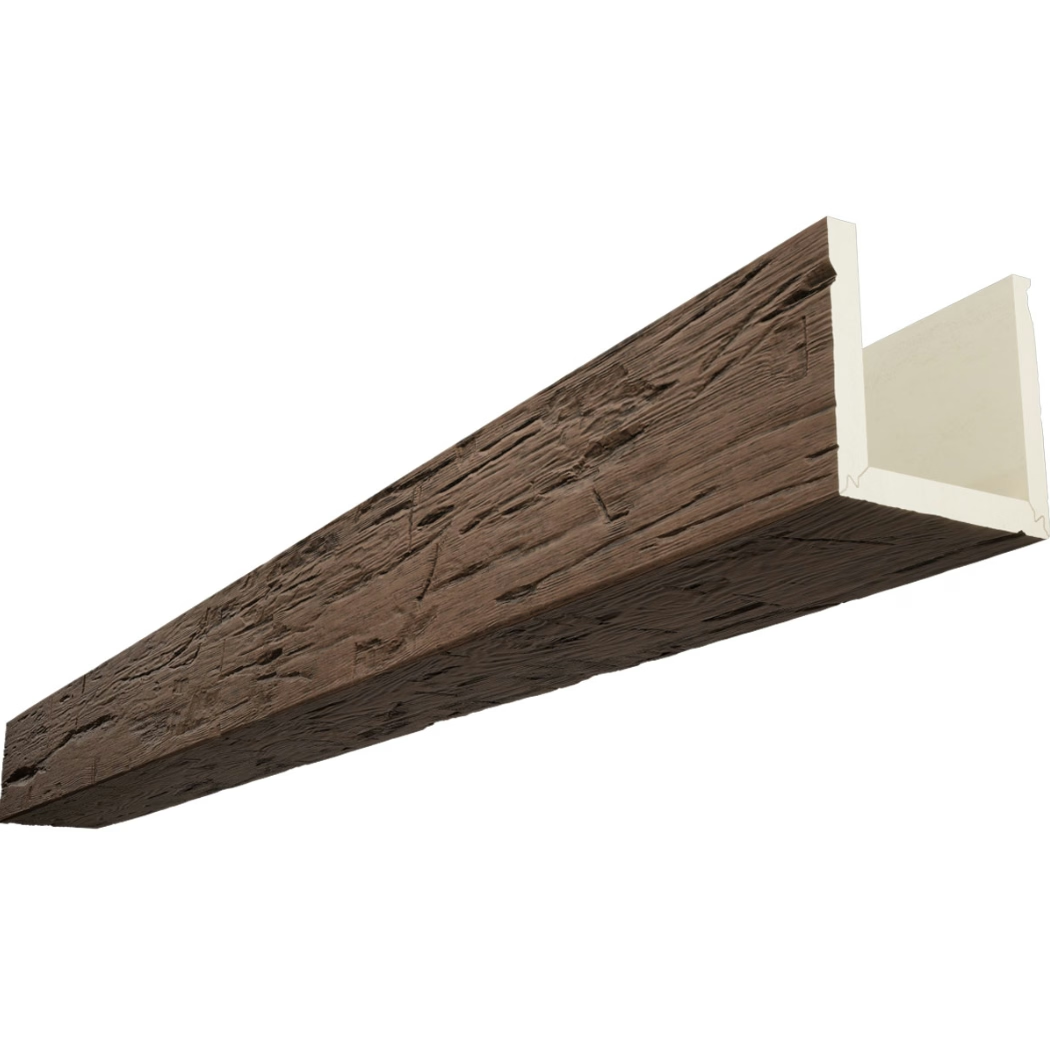
Color and lighting considerations
Color matching between faux and real wood depends heavily on the lighting environment in which the beam will be viewed. Daylight, incandescent, LED, and fluorescent lighting all render wood color differently. A beam that matches a real wood reference under showroom fluorescent may look too red or too yellow under warm LED lighting in a residential interior.
Experienced finishers account for this by using light-stable pigments and testing finishes under multiple light sources. They also understand that beams on ceilings typically receive more ambient light than beams on walls, which means subtle color variations get amplified. The color has to be carefully tuned to avoid looking washed out under bright conditions.
For projects with specific lighting design, sample beams should be evaluated under the actual lighting that will be installed. If the lighting is not yet installed when beams are specified, the designer should anticipate the color temperature of the planned fixtures and choose finishes accordingly. Warm 2700K to 3000K lighting generally flatters wood tones, while cool 4000K and above can make warm woods look slightly off.
Cross-section design and mounting considerations
A beam that looks authentic on the surface still needs to behave authentically at the ends and edges. The cross-section of a real timber beam shows end grain that differs from face grain, with circular or arc-shaped patterns rather than the parallel lines of the side surfaces. Faux beams that capture this end grain detail in their end caps read as much more convincing than those with simplified or flat end treatments.
Mounting brackets are another area where authenticity can be preserved or undermined. Visible brackets should be selected to match the visual character of the installation. Wrought iron or hand-forged steel brackets suit rustic and farmhouse applications. Black powder-coated steel brackets suit modern and industrial applications. The wrong bracket choice can make an otherwise convincing beam look out of place.
For the most authentic installations, hidden mounting systems allow the beam to appear to float against the ceiling without visible hardware. Recessed brackets, cleat-mounted systems, and direct adhesive mounting all support the illusion of a beam that has been there as long as the building. Visible brackets, while sometimes necessary for structural reasons, should be chosen with the same care as the beam finish.
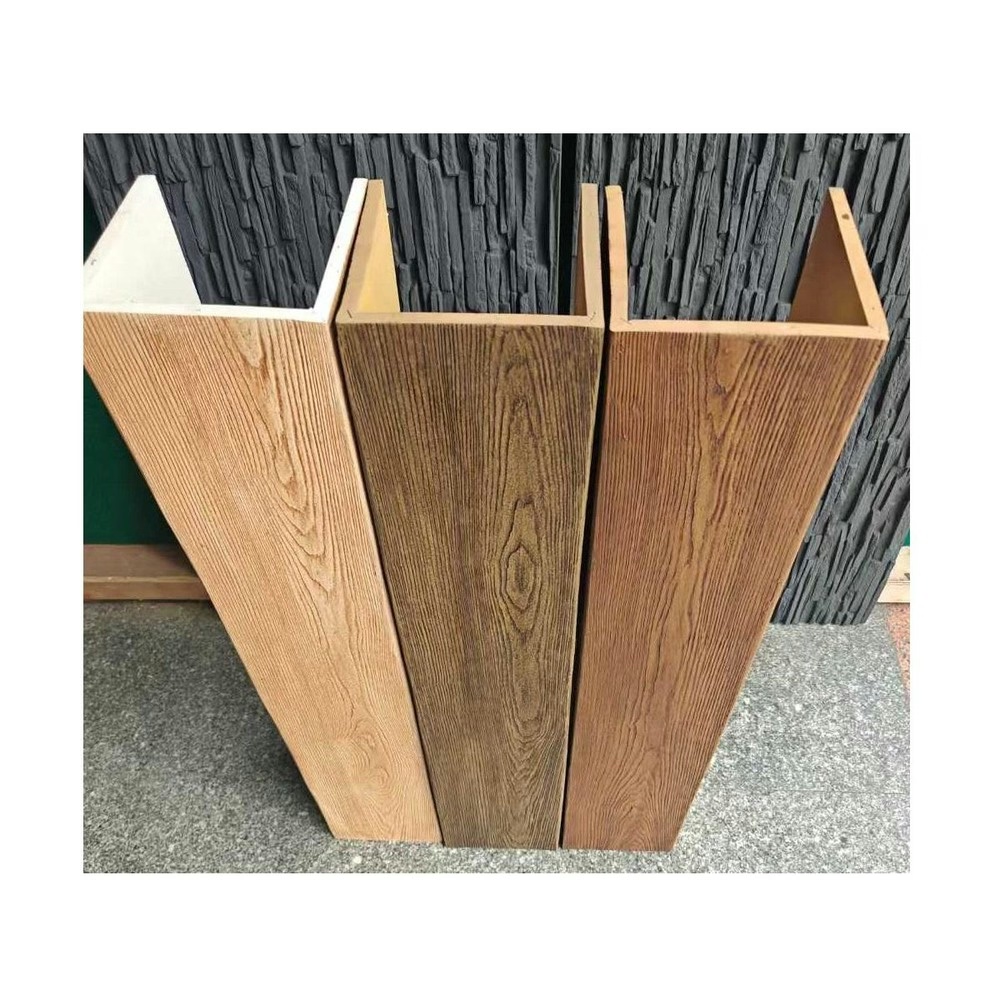
Installation details that maintain authenticity
Several installation practices help preserve the authentic appearance of faux ceiling beams. Joint treatment matters because seams between beam segments are visible under the right lighting conditions. Tight joints, color-matched fillers, and careful finishing at seams make the difference between an installation that looks like one continuous beam and one that looks like assembled pieces.
End cap installation should be done as part of the beam mounting, not added later. Setting the end cap at the same time as the beam ensures consistent alignment and finish. Field-installing end caps after the beam is mounted often results in slight misalignment that becomes visible under raking light.
Touch-up work after installation should use the same finish products and techniques as the original factory finishing. The factory typically provides touch-up kits with appropriate stains, glazes, and topcoats. Using off-the-shelf wood fillers or generic stains in the field almost always produces visible repairs that compromise the overall authenticity of the installation.
Comparing premium and budget replicas
The market for natural wood replica faux beams spans a wide quality range. Budget replicas use etched molds, simplified finishes, and lower-grade materials. They sell for less and they look like they sell for less. For applications where authenticity is not critical, such as temporary installations, back-of-house commercial spaces, or projects with very tight budgets, budget replicas can be perfectly acceptable.
Premium replicas use cast surfaces, multi-step finishes, and quality-controlled production. They cost more and they look like they cost more. For applications where the beam will be seen up close, photographed for marketing materials, or evaluated by discerning clients, the premium quality is worth the additional investment.
The difference between the two is most apparent under direct comparison. Place a budget replica next to a premium replica under good lighting and the gap becomes obvious. The budget beam has surface texture but lacks depth. The premium beam has texture, depth, color variation, and finish quality that combine into an authentic appearance. The price difference is significant, but so is the visual difference.
Specification checklist for natural wood replicas
When specifying exact natural wood replica beams for a project, several items belong on the specification sheet. The timber species and source should be named where possible, because different oak sources produce visibly different results. The cut direction (flat-sawn, quarter-sawn, rift-sawn) should be specified because it dramatically affects the grain pattern.
The finish system should be specified in terms of base color, glaze intensity, and topcoat sheen. Vague descriptions like "natural oak finish" are invitations for disappointment. Detailed specifications like "white oak, flat-sawn, light golden tone with subtle brown glaze, matte topcoat" give the factory a clear target and reduce the risk of receiving an off-target result.
Sample approval before production is essential. The sample should be evaluated at the actual installation site under the planned lighting. If the sample is approved in the factory showroom and rejected on site, the production run is wasted. The cost of a careful sample approval process is trivial compared to the cost of a rejected beam run.
Finally, installation documentation should be requested and followed. The factory typically provides installation guides specific to their product, including recommended adhesives, mounting hardware, and finishing techniques. Following these guides produces better results than improvising on site, and it ensures that the beam performs as the manufacturer intended. The investment in proper installation is part of what the premium replica pricing covers.
Technical References
ASTM standards cited in every specification
Test Data
Lab results from internal testing program
Updated 2026
Reviewed against current product specs