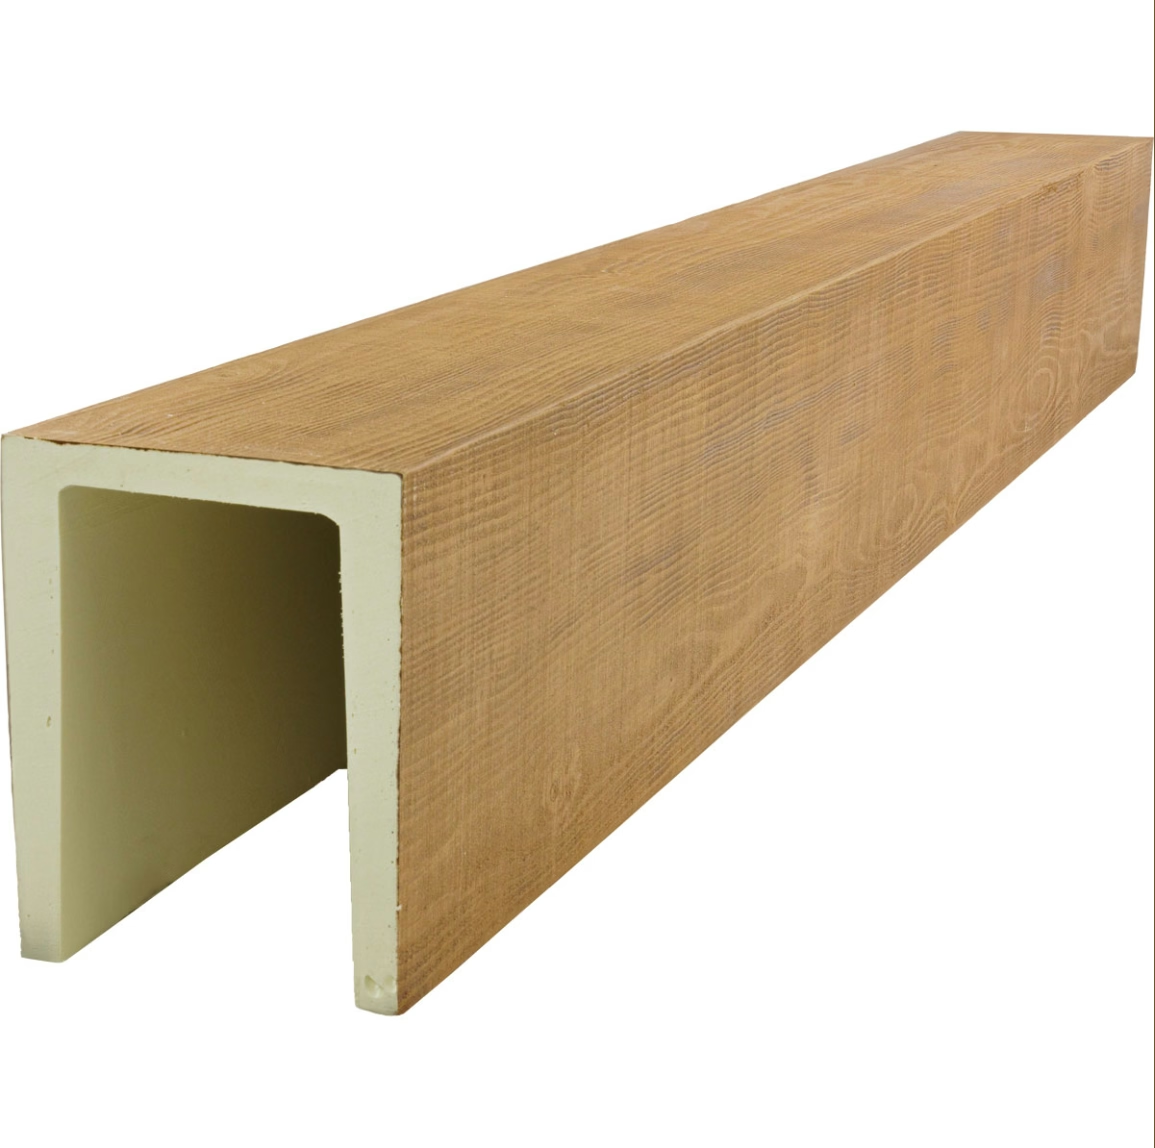
The moment you commission a new PU faux beam profile, the clock starts on mould development. This is a process that most buyers don't see, don't understand, and therefore don't plan for. The result is compressed schedules, missed deadlines, and expensive rush charges.
This article is a behind-the-scenes look at how custom moulds are built for PU faux beam production — what happens at each stage, how long each stage takes, and what can go wrong. If you're an architect, designer, importer, or project manager working on a custom beam project, this will help you plan your schedule realistically.
The stages of custom mould development
Custom mould development for PU faux beams breaks down into five stages. Each has a realistic timeline, and each has failure modes that can add unexpected days or weeks.
Stage 1: Design and engineering review (3 to 10 business days)
Before any physical work starts, the factory's engineering team reviews the profile design and assesses mouldability. This stage is the most important and most frequently skipped by buyers eager to get started.
The engineering review covers:
- Profile geometry: Can the cross-section be reproduced in a two-part mould? Are there undercuts that require sliding plates or flexible liners? Is the draft angle (the taper that allows the cured foam to release) sufficient?
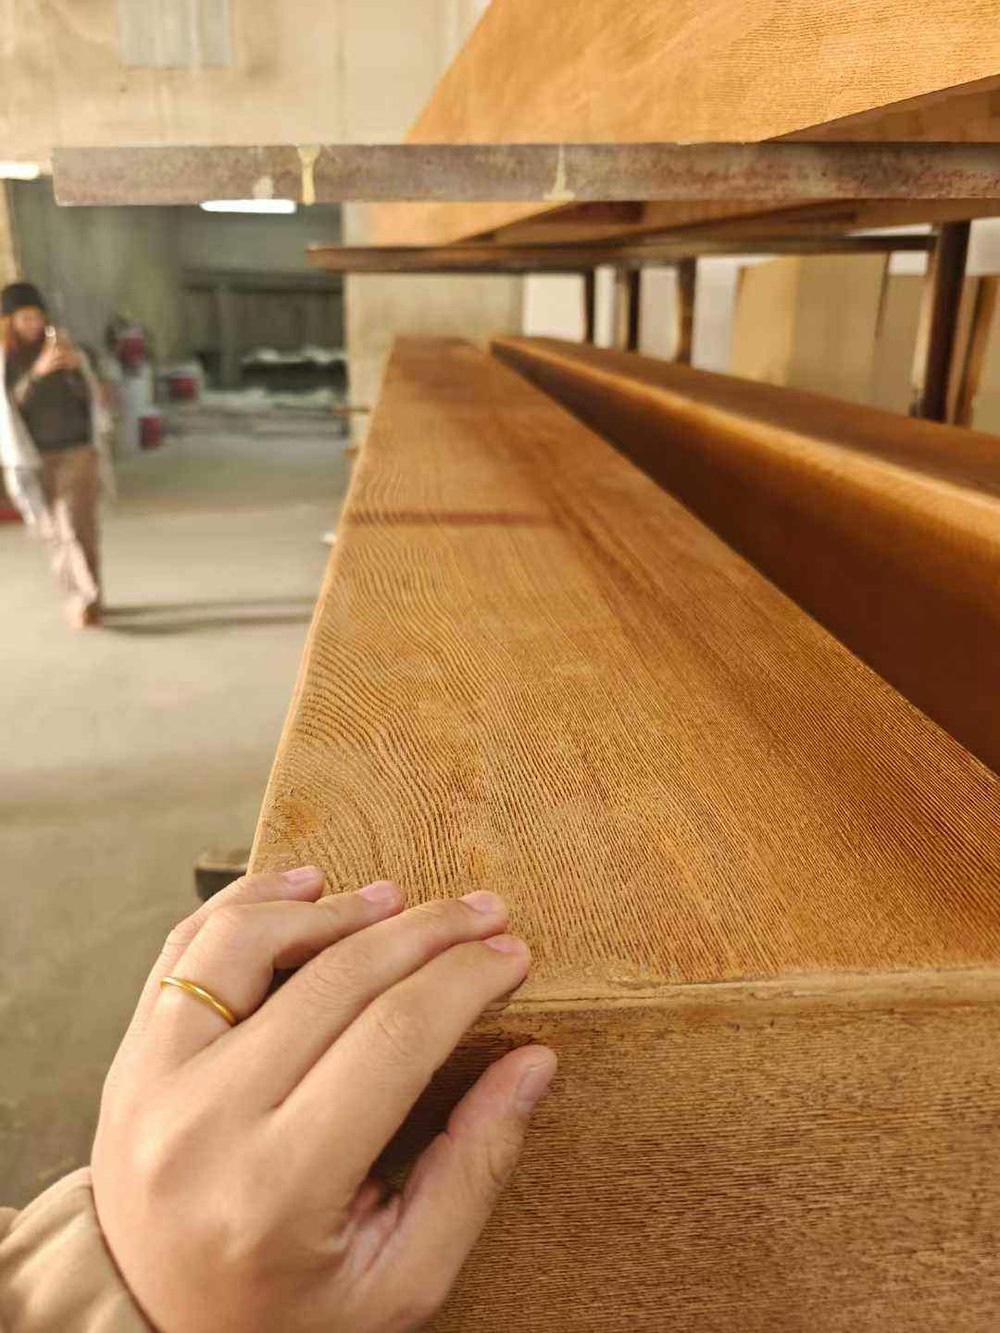
- Wood grain texture: How will the grain texture be applied — embossed into the mould surface, or added as a separate coating step? Does the grain direction work with the profile geometry?
- Beam length: Is the beam length compatible with the factory's production equipment? Long beams may require multi-piece moulds or continuous-cast methods.
- Material compatibility: Will the PU resin system react correctly with the proposed mould material? Some release agents and mould treatments interact with specific foam systems.
The output of this stage is an engineering sign-off — either confirming that the design is producible as-is, or recommending modifications. Design modifications at this stage are cheap. Design modifications after the mould is cut are expensive.
For straightforward profiles — a chamfered rectangle, a stepped cross-section, a simple ornamental profile — this stage can be completed in 3 to 5 days. For complex profiles with sculptural detail or compound geometry, it may take a full 10 days.
Stage 2: Master pattern creation (5 to 20 business days)
The master pattern is the physical reference from which the production mould is made. For simple profiles, the master pattern may be machined directly from a CAD file. For ornamental profiles with hand-carved detail, the master pattern may require sculpting by hand.
CNC-machined master patterns are the standard for most profiles. A 3-axis or 5-axis CNC mill takes a CAD file and machines the profile geometry into a block of tooling board, aluminum, or modeling board. The machining accuracy is typically ±0.1 mm, which is sufficient for most decorative beam profiles.
For profiles with organic or sculptural detail — acanthus leaves, rope twist, carved figures — the master pattern may be produced by a combination of CNC machining and hand sculpting. A specialist model maker takes a CNC-machined roughing pass and refines the surface by hand to add the fine detail that a machine can't reproduce cleanly.
The master pattern is the most critical physical object in the entire mould development process. A flawed master pattern produces a flawed mould, which produces flawed beams. The factory's QC team should inspect the master pattern against the original design before approving it for mould making.
Stage 3: Production mould making (10 to 25 business days)
The production mould is the tool that will produce hundreds or thousands of beam pieces. It has to be more durable and more precisely made than the master pattern.
Aluminum tooling board moulds are the most common for decorative beam production. The tooling board — a high-density composite material designed for PU moulding — is machined from the master pattern using a copy milling machine or CNC mill. The machining time depends on the profile complexity and the mould size.
For a simple rectangular beam with a basic wood grain texture, a two-part mould can be machined in 10 to 15 days. For a complex ornamental profile with multiple parting lines and sliding plates, machining can take 20 to 25 days.
After machining, the mould goes through finishing: polishing the cavity surface, installing threaded inserts for clamping, applying release agent coatings, and test-fitting the two halves. Any dimensional errors discovered at this stage require remachining, which adds time.
Stage 4: Trial pour and validation (5 to 15 business days)
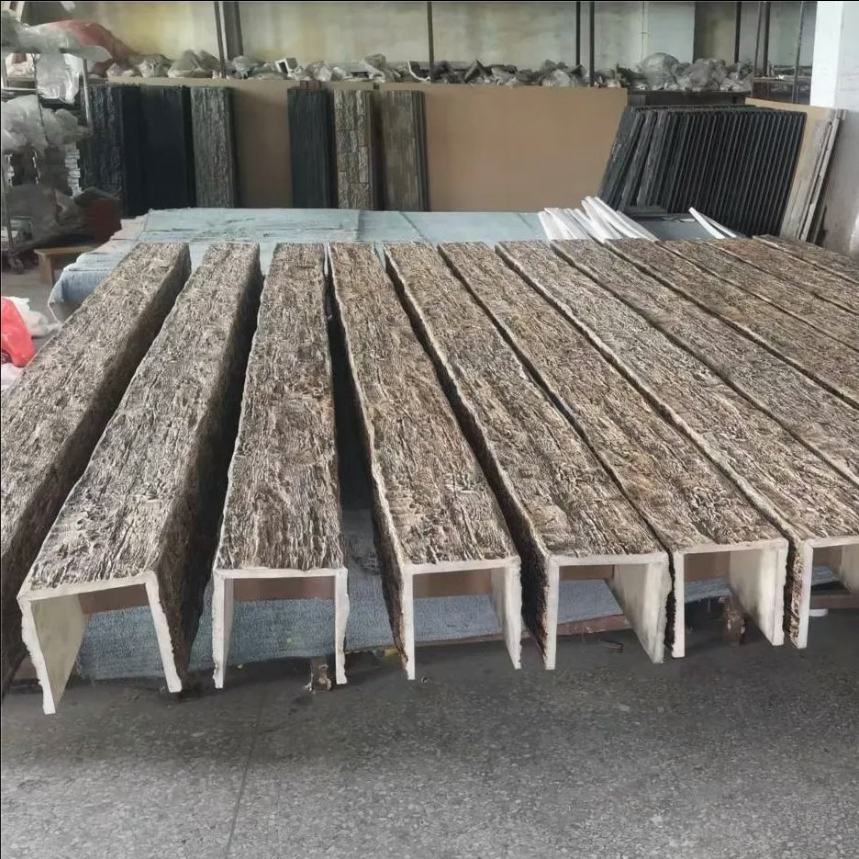
The first pour using the new mould is a trial — not production. The trial pour tests whether the mould works, whether the foam fills the cavity completely, and whether the cured beam matches the design intent.
The trial pour process:
- The mould is assembled and clamped.
- The PU resin system is mixed and poured.
- The foam rises, skins over, and cures.
- The beam is demoulded and inspected.
- The factory documents any defects or deviations from spec.
A successful first trial is rare. More commonly, the trial reveals one or more issues: incomplete fill in tight sections, flash at the parting line, surface blemishes from trapped air, or dimensional deviations from the design. Each issue requires analysis, mould modification (polishing, shimming, or recutting), and a second trial pour.
The validation cycle typically runs two to four trials before the mould is production-ready. Each trial cycle takes 2 to 4 days, including pour, cure, demould, inspection, and modification.
Stage 5: Sample approval (3 to 7 business days)
Once the mould produces a beam that meets the design intent, the factory prepares sample beams for buyer approval. The samples are finished — sanded, primed, stained, and sealed — to represent the production finish as closely as possible.
The buyer reviews the samples against the original specification: profile geometry, dimensions, grain texture quality, finish color and consistency, and overall appearance. Any issues identified at this stage require another trial cycle.
For straightforward profiles with no design changes, sample approval can be completed in a single review cycle. For complex profiles where the buyer wants modifications, sample approval can take multiple cycles and significantly extend the timeline.
Total lead time summary
Adding up the stages, a realistic lead time for a new custom beam profile mould is:
| Profile complexity | Design review | Master pattern | Mould making | Trial & validation | Sample approval | Total |
|---|---|---|---|---|---|---|
| Simple (chamfered, stepped) | 3-5 days | 5-8 days | 10-15 days | 5-10 days | 3-5 days | 26-43 days |
| Medium (polygonal, tapered) | 5-7 days | 8-12 days | 15-20 days | 8-12 days | 3-5 days | 39-56 days |
| Complex (ornamental, sculpted) | 7-10 days | 12-20 days | 20-25 days | 10-15 days | 5-7 days | 54-77 days |
These timelines assume no design changes after the engineering review, no rework on the mould, and prompt sample approval. In practice, expect to add 1 to 2 weeks to the total for normal iteration.

What compresses the timeline
Certain factors can reduce lead time if managed proactively:
Pre-approved CAD files: Providing the factory with a complete, dimensioned CAD file (STEP or IGES format) at the start of the project eliminates the design interpretation step and can save a week in the engineering review.
In-house mould making: Factories with on-site CNC capabilities can compress mould making by eliminating the outsource step. The master pattern and production mould are made by the same team, in the same facility, with direct communication between the model maker and the mould maker.
Parallel processing: In some factories, the master pattern and the mould making can proceed in parallel if the engineering review confirms producibility early. This saves time but carries risk if the design changes after the parallel work has started.
Existing similar moulds: If the new profile is a variant of an existing mould (a different cross-section using the same wood grain texture, for example), the factory may be able to reuse parts of an existing mould and reduce the tooling time significantly.
What extends the timeline
Design changes mid-process: Changing the profile geometry after the master pattern is machined requires a new master pattern and potentially a new mould. This is the single biggest cause of schedule overruns.
Complex ornamental detail: Hand sculpting of master patterns is slow and dependent on the model maker's schedule. High-relief ornamental detail can add weeks to Stage 2.
Third-party finish testing: If the project requires fire-rated or UV-tested finishes, the trial validation cycle extends because each trial has to be documented and tested before the next iteration.
Communication delays: Every round of sample review, issue identification, and modification approval requires communication between the buyer and the factory. Time zone differences, language barriers, and approval chains can add days to each cycle.
Planning your project schedule
A custom beam project has three parallel tracks: the architectural design, the beam sourcing, and the site preparation. The beam sourcing track — specifically, the mould development — is usually the longest lead-time item in the whole project.
The practical implication: start the mould development conversation early. The ideal time to involve a beam supplier is at the design development stage, when the profile is being finalized but the construction documents aren't complete. This gives the factory time to develop the mould while the project team is finalizing details and preparing the site.
If you're starting a custom beam project with a fixed completion date, work backward: subtract the installation lead time (shipping from China: 3 to 6 weeks), the production lead time (2 to 4 weeks for a known profile, longer for a new profile), the sample approval time (1 to 2 weeks), and the mould development time (6 to 11 weeks for a new profile). That gives you the latest date by which the mould development must begin.
Custom mould development is a significant investment of time and money. Treat it as a project in its own right, with its own schedule, milestones, and risk register. Done well, it produces a mould that will generate thousands of beams over years. Done poorly, it produces a mould that generates nothing but problems.
Technical References
ASTM standards cited in every specification
Test Data
Lab results from internal testing program
Updated 2026
Reviewed against current product specs