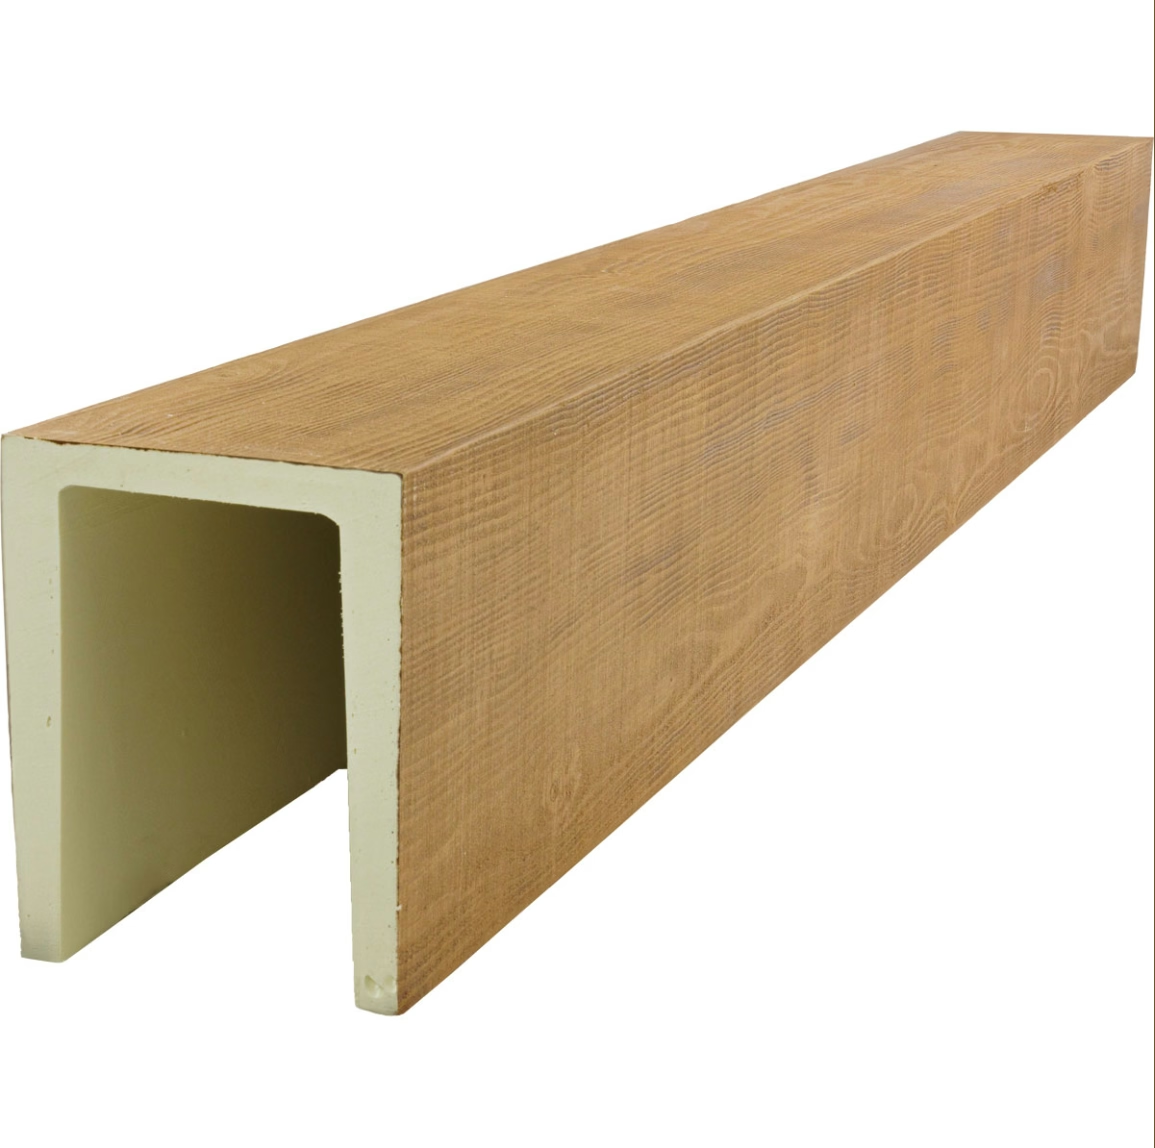
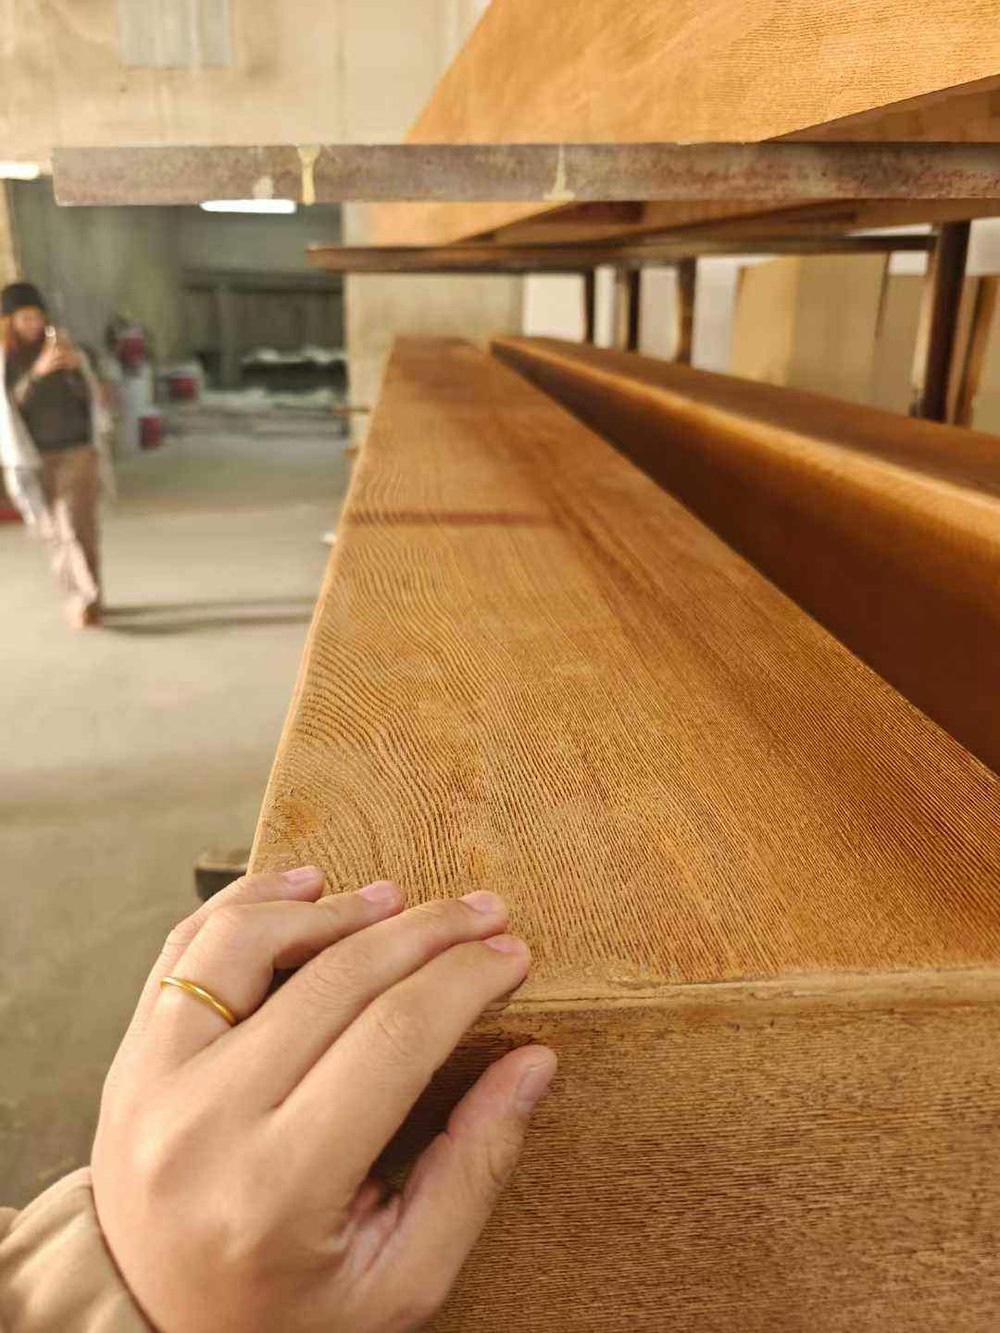
A photograph of a beam on a white background tells you very little about how it will look in your project. Lighting, adjacent finishes, scale, and the way the texture reads at the viewing distance all change the impression dramatically. That is why custom sample pieces of PU faux beams exist — to let designers and contractors evaluate the real product in the real space before production begins on the full order.
What a Sample Piece Shows You
A well-chosen sample piece answers four questions that photographs cannot.
Does the color read correctly in this room? The same stain looks different under warm halogen, cool LED, daylight from a north-facing window, and fluorescent tube lighting. Bring the sample to the room and view it at the times of day the space will be occupied.
Does the texture work at the planned viewing distance? A deep hand-hewn texture looks compelling up close but can read as busy or chaotic from the other side of a large room. A sample piece placed at the planned viewing distance tells you whether the texture density is right.
How does the beam relate to adjacent materials? A beam finished in a medium oak tone beside a pale limestone wall creates a very different impression than the same beam beside dark walnut flooring. The sample helps calibrate the palette.
Does the beam fix and handle as expected? Contractors appreciate being able to pick up a sample piece, see how heavy it is, test a screw into the end grain, and confirm that the profile fits as expected over the structural member.
Choosing the Right Sample Piece
Not every project needs the same sample. Match the sample to the decision it needs to inform.
| Decision | Sample needed |
|---|---|
| Choosing between two finish tones | One 300 mm piece in each tone |
| Confirming texture depth | One 300 mm piece showing the texture |
| Checking profile proportions | One 300-600 mm piece, full cross-section |
| Verifying fit over structural member | One full-length piece fitted to the actual member |
| Color matching to existing millwork | One piece plus a chip of the target color |
| Checking UV stability of exterior finish | One piece placed in direct sunlight for 2-4 weeks |

Evaluating a Sample Piece on Site
Once the sample is in hand, follow a consistent evaluation process.
Step 1 — Controlled lighting. View the sample first in natural daylight, then under the project's planned artificial lighting. Compare the sample against any adjacent finishes.
Step 2 — Scale check. Place the sample at the planned viewing distance. The texture density should look intentional, not arbitrary.
Step 3 — Handling test. Have the installing contractor dry-fit the sample against the planned backing. Check the fixings and verify the beam weight is within the planned handling method.
Step 4 — Documentation. Photograph the sample in situ with the adjacent finishes visible. This photograph becomes part of the approval record.
When Sample Pieces Reveal Problems
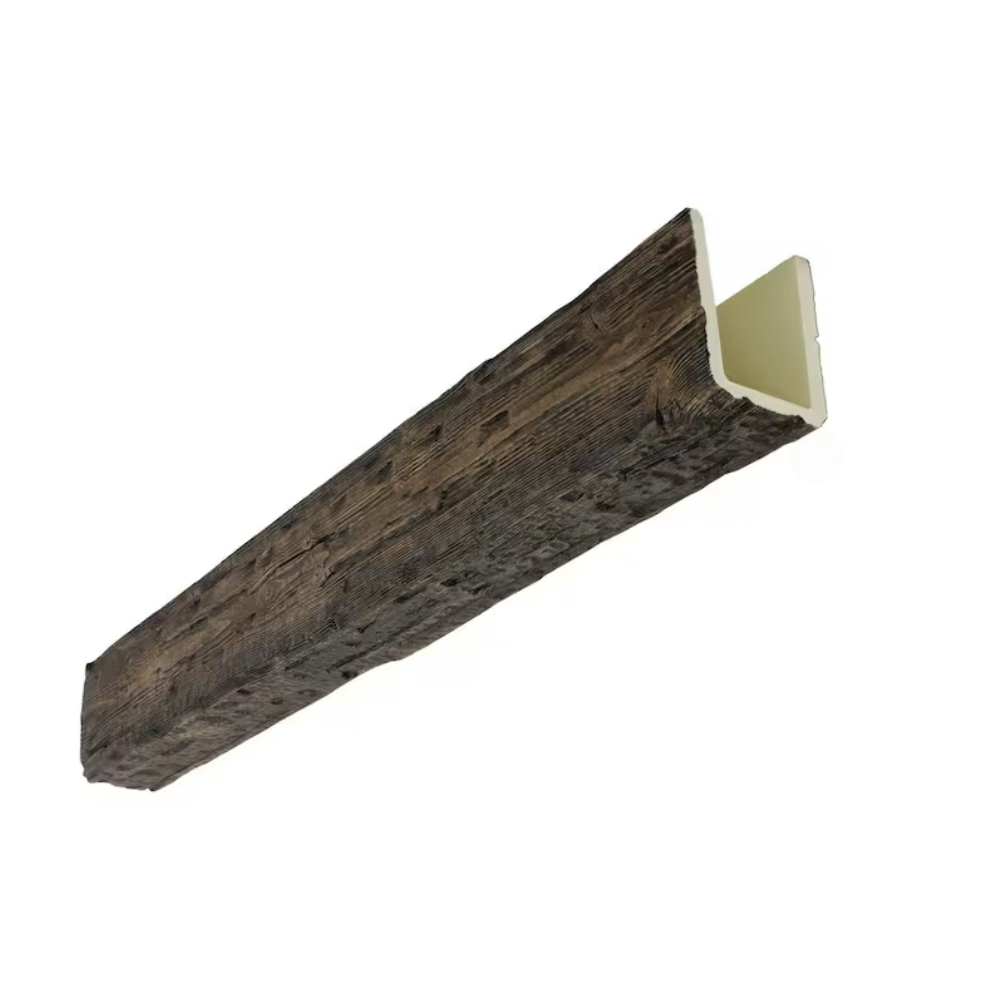
A sample piece sometimes shows that something needs to change. The most common discoveries are the stain being too dark or too warm (request a revised sample), the texture being too deep for the space (switch to a lighter texture option), the profile looking too heavy or too light in context (adjust the cross-section dimensions), and the beam not fitting over the structural member (confirm the actual dimensions of the structural member and update the specification).
After Approval
Once a sample piece is approved in writing, it becomes the quality reference for the production run. If production runs months after the sample was approved, we recommend requesting a fresh sample to confirm the finish is still within tolerance. Resin and stain batches can drift slightly over time.
Technical References
ASTM standards cited in every specification
Test Data
Lab results from internal testing program
Updated 2026
Reviewed against current product specs