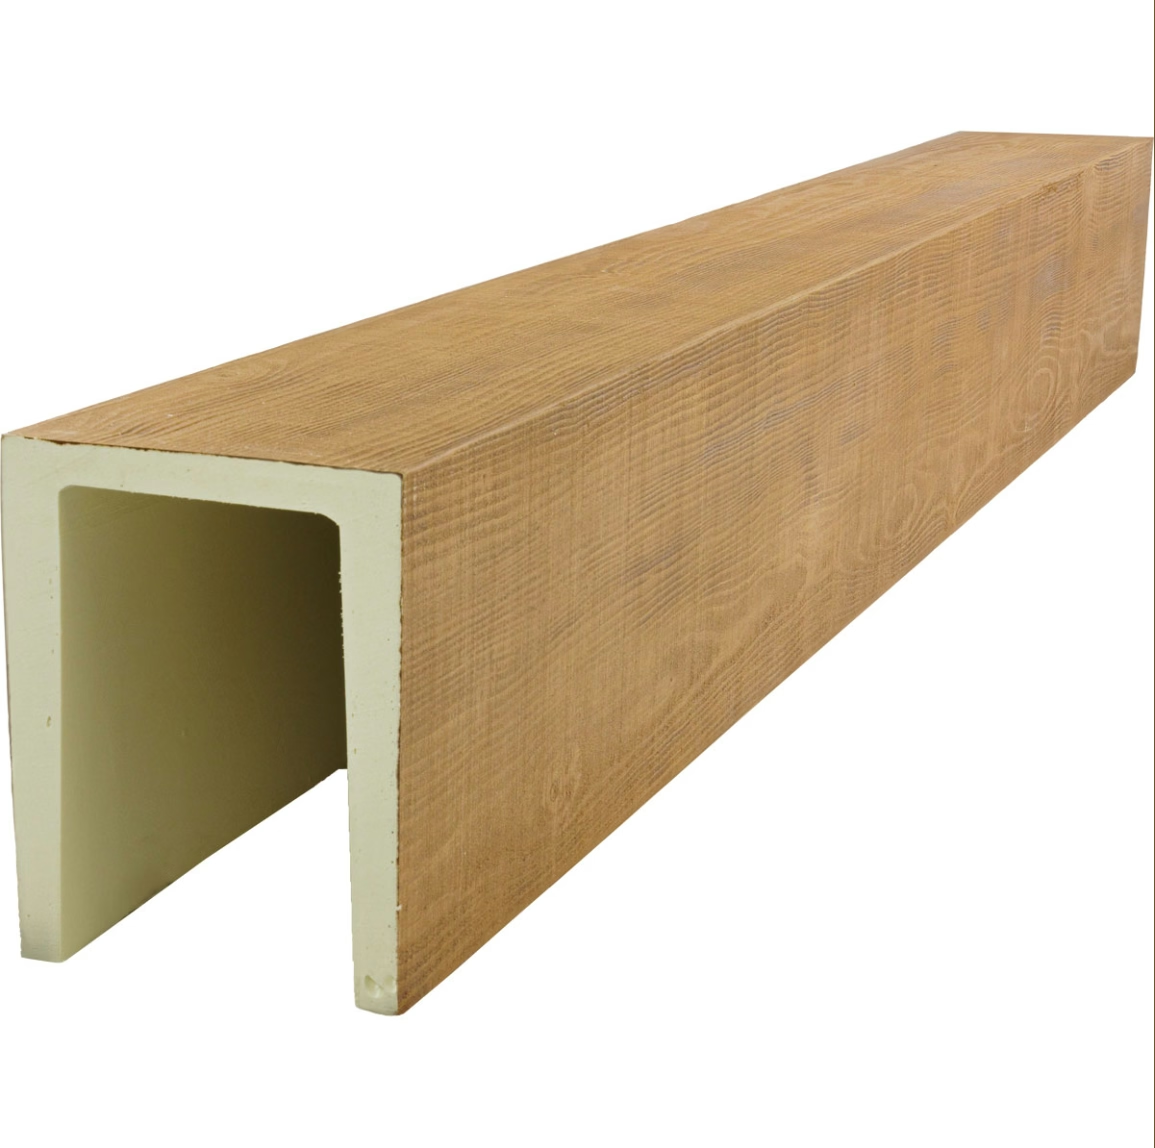
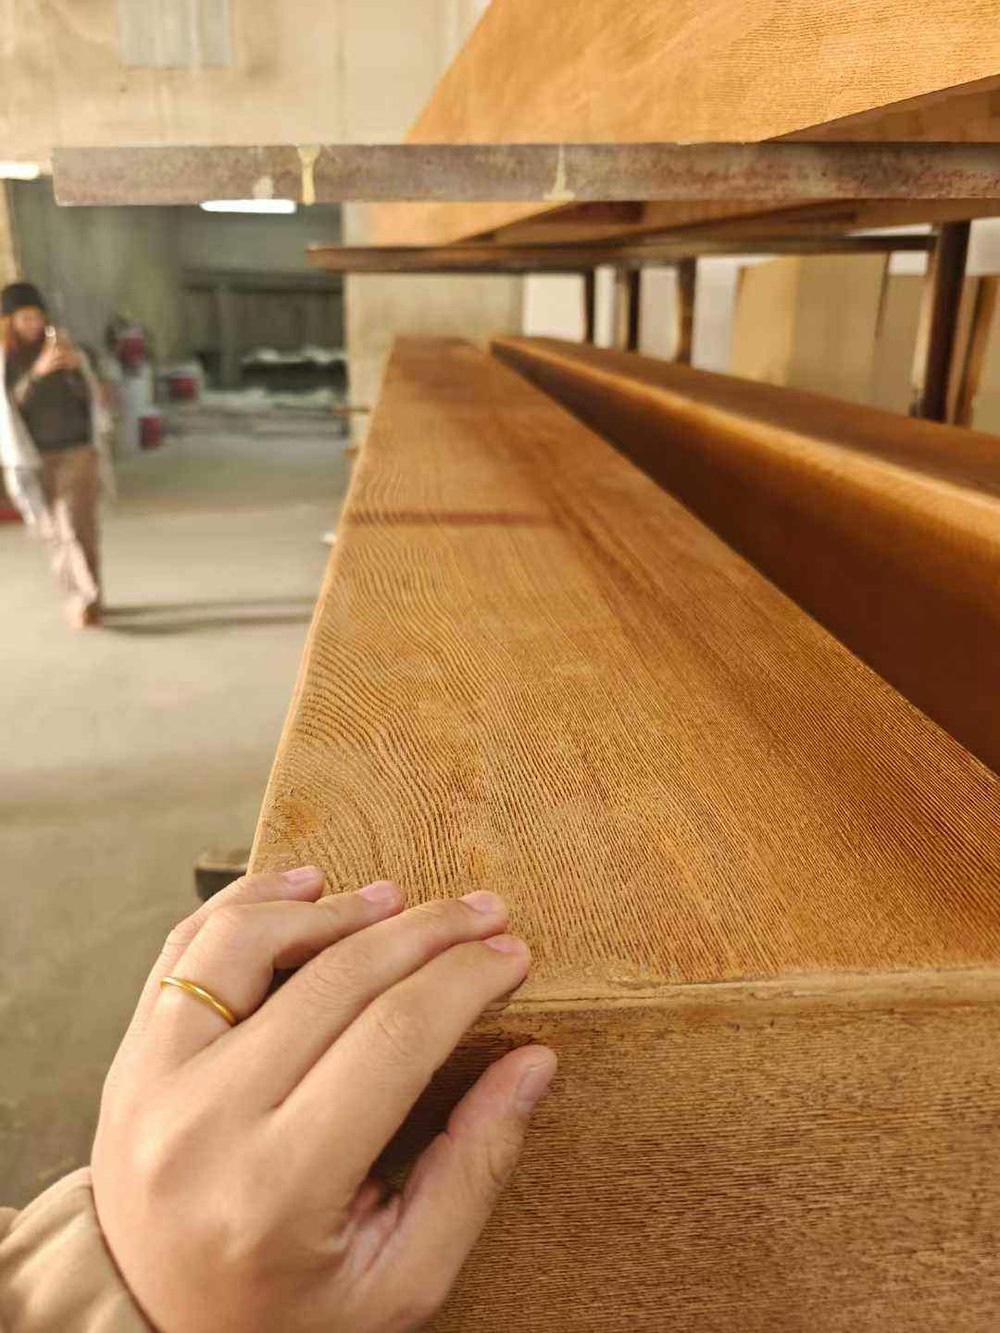
A plain faux beam, no matter how well textured or finished, can still look like what it is: a decorative trim piece. The addition of authentic-looking hardware is what elevates the beam from trim to architecture. The iron strap that wraps around the beam at the joint, the bolt that passes through the face, the corner plate that reinforces the intersection — these details are the visual language of timber frame construction, and they are available in decorative form for use with faux beams.
Why Hardware Matters
Hardware on a timber frame beam is honest. In real timber frame construction, the bolts, straps, and plates serve a structural purpose: they hold the joints together. The hardware is exposed because there is no reason to hide it, and over centuries of timber frame building, the hardware became part of the aesthetic vocabulary.
When decorative hardware is applied to a faux beam, it brings this vocabulary of honesty into the room. The beam with hardware reads as structural, even though it is decorative. The hardware is the signal that tells the brain: this is part of the building's structure, not just an add-on trim piece.
Types of Decorative Hardware
Decorative hardware for faux beams comes in several categories, each serving a different visual and functional purpose.
Straps are long narrow pieces of metal that wrap around the beam at joints, at mid-span, or at regular intervals along the length. They mimic the appearance of iron straps used in traditional timber framing to reinforce joints against racking and splitting. Decorative straps are available in flat profiles and twisted or textured profiles that add visual interest.
Bolts are round or square-headed fasteners that pass through the beam face at joints and at regular intervals. They mimic the appearance of through-bolts used in timber frame construction to secure joints. Decorative bolts are available in cast iron, cast aluminum, and molded polyurethane with a metallic finish.
Plates are flat or slightly shaped pieces of metal that cover the joint between two beams. They are used at T-junctions and cross-junctions where the end of one beam meets the face of another. Decorative plates create a solid, reinforced look at these critical joints.
Brackets and hangers are L-shaped or angled pieces that support the beam at the wall or at intermediate support points. They are used in applications where the beam end is visible and needs a termination detail.
Material and Finish Options
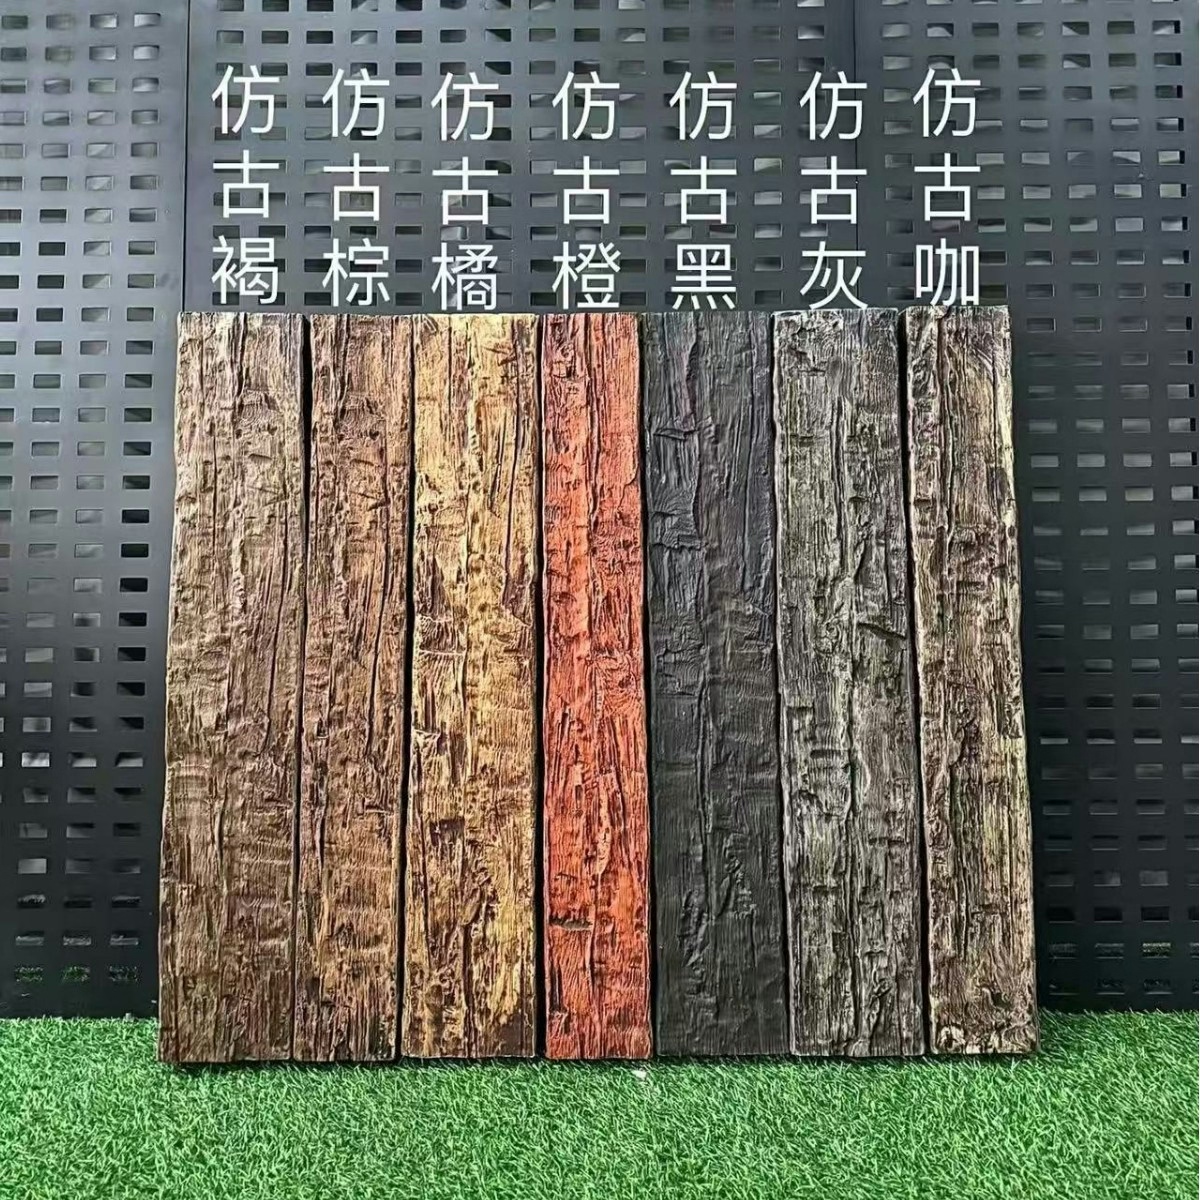
Decorative hardware for faux beams is available in the same material range as the beams themselves, with finishes that coordinate with the beam stain.
Cast iron hardware has the most authentic look and the most weight. It is the traditional material for timber frame hardware, and it reads as the most genuine option. Cast iron can be finished with a flat black, oil-rubbed bronze, or natural iron gray coating. Over time, untreated cast iron develops a rust patina that many designers find desirable.
Cast aluminum hardware is lighter than cast iron and does not rust, which makes it a practical choice for humid environments and outdoor applications. It can be finished with the same coatings as cast iron to achieve a similar appearance.
Molded polyurethane hardware with a metallic finish is the most affordable option and is suitable for projects on a tight budget. The finish quality has improved significantly in recent years, and the best polyurethane hardware is difficult to distinguish from cast metal at normal viewing distances.
Sizing Hardware to the Beam
The hardware should be proportional to the beam. A bolt or strap that is too small for the beam looks like a toy and undermines the authenticity of the installation. A strap or plate that is too large for the beam looks like overkill.
As a general rule, the hardware element should occupy approximately one-fifth to one-quarter of the beam face width. A six-inch beam works well with hardware that is one to one and a half inches in its narrowest dimension. A ten-inch beam can accommodate hardware that is two to two and a half inches wide.
The placement of hardware should follow the conventions of real timber frame construction. Bolts at joints should be spaced symmetrically around the connection. Straps should align with the grain direction of the beam and should wrap at least halfway around the beam perimeter.
Installation Methods
Decorative hardware is installed after the beams are in place and after the finish is applied. The hardware is mounted with screws or bolts that pass through the hardware and into the beam.
For cast iron and cast aluminum hardware, pre-drilling pilot holes in the beam prevents the material from cracking under the screw pressure. The screws should be long enough to penetrate the beam by at least half an inch.
For polyurethane hardware with adhesive mounting, the adhesive should be a construction-grade product that is compatible with polyurethane. The hardware should be pressed firmly into place and held for thirty to sixty seconds while the adhesive grabs.
For the most secure installation, a combination of adhesive and screws provides both immediate holding power and long-term mechanical strength.
Pairing Hardware with Other Details
Hardware works best when it is part of a coordinated system. Matching straps, bolts, and plates from the same product line ensure consistency of material, finish, and style.
A typical coordinated hardware package for a beam installation might include straps at the beam ends, bolts at the joints, and a matching corner plate at the primary intersection. The hardware should be consistent in material and finish across all elements.
If the room also features other iron or metal elements like door hardware, light fixtures, or furniture legs, the beam hardware should coordinate with these elements. A room with brass door hardware and black beam straps looks disconnected. A room with consistent iron or black metal throughout looks intentional.
Common Design Applications
Hardware accents are most effective in rustic, farmhouse, lodge, and industrial interiors where the raw, honest quality of exposed hardware is part of the design vocabulary.
In a mountain lodge or ski resort interior, iron straps and bolts on the beams reinforce the timber frame aesthetic that defines the space. The hardware adds to the sense of age and weight that makes these spaces feel substantial.
In a farmhouse or country interior, simpler hardware elements like basic bolts and flat straps add character without overwhelming the clean lines of the furniture and finishes.
In an industrial or loft interior, heavy cast iron hardware on exposed faux beams reinforces the factory and warehouse heritage of the space. The hardware becomes a design statement rather than a detail.
Caring for Hardware Finishes
Cast iron hardware in interior applications requires minimal maintenance. A periodic dusting is sufficient to keep the surface clean. If the iron has developed a natural rust patina, the patina should be sealed with a clear matte topcoat to prevent further oxidation and to contain any loose rust particles.
Cast aluminum and polyurethane hardware require no maintenance beyond cleaning. A damp cloth removes dust and fingerprints, and the finish remains stable over time.
For outdoor applications, all hardware should be sealed with a marine-grade clear coat that provides UV protection and prevents moisture penetration.
Sourcing Coordinated Hardware
The best approach is to source beam hardware from the same supplier that provides the beams. This ensures that the profiles, finishes, and sizing are all coordinated, and it simplifies the ordering and delivery process.
For custom hardware requirements, many suppliers can produce custom iron elements from drawings or sketches provided by the designer. The lead time for custom hardware is typically four to eight weeks, and the cost includes a mold fee for any new designs.
What Designers Should Specify
Designers specifying hardware for a beam installation should include the following information in the specification: the beam profile and size, the hardware style and material, the finish specification, the placement of each hardware element, and the quantity of each type required.
A detail drawing showing the placement of hardware at each joint and along each beam length is the clearest way to communicate the requirement to the supplier and the installer.
Cost Considerations
Decorative hardware for faux beams is priced per piece, with costs ranging from a few dollars for basic bolts to fifty dollars or more for elaborate custom straps. A complete coordinated hardware package for a typical residential installation typically costs between two hundred and one thousand dollars, depending on the complexity of the design and the quality of the hardware.
This is a modest investment that adds disproportionate visual value to the finished installation. The hardware is the detail that separates a good beam installation from a great one.
Technical References
ASTM standards cited in every specification
Test Data
Lab results from internal testing program
Updated 2026
Reviewed against current product specs