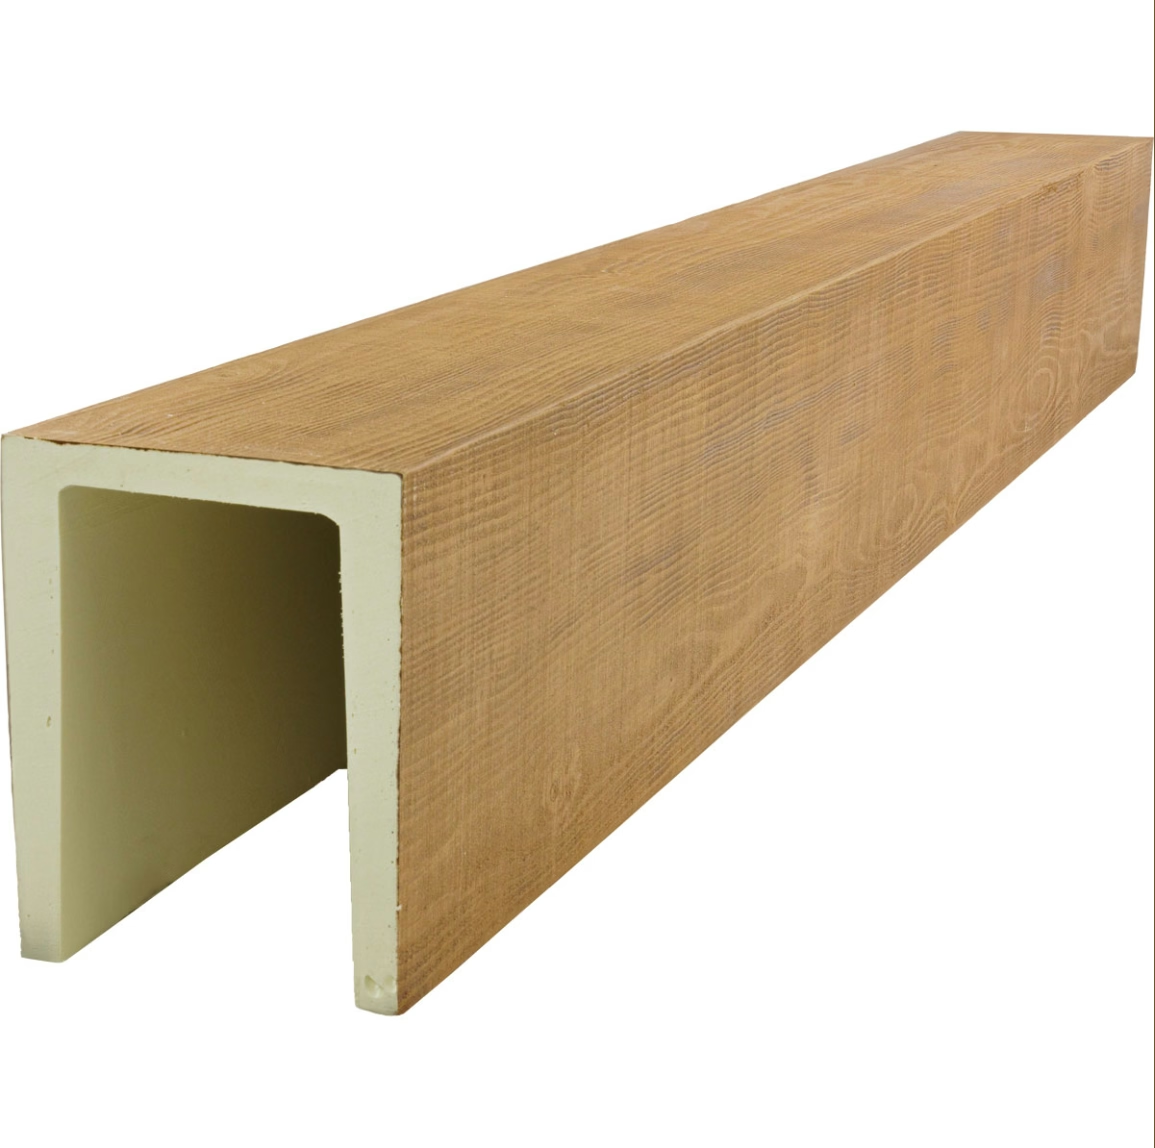
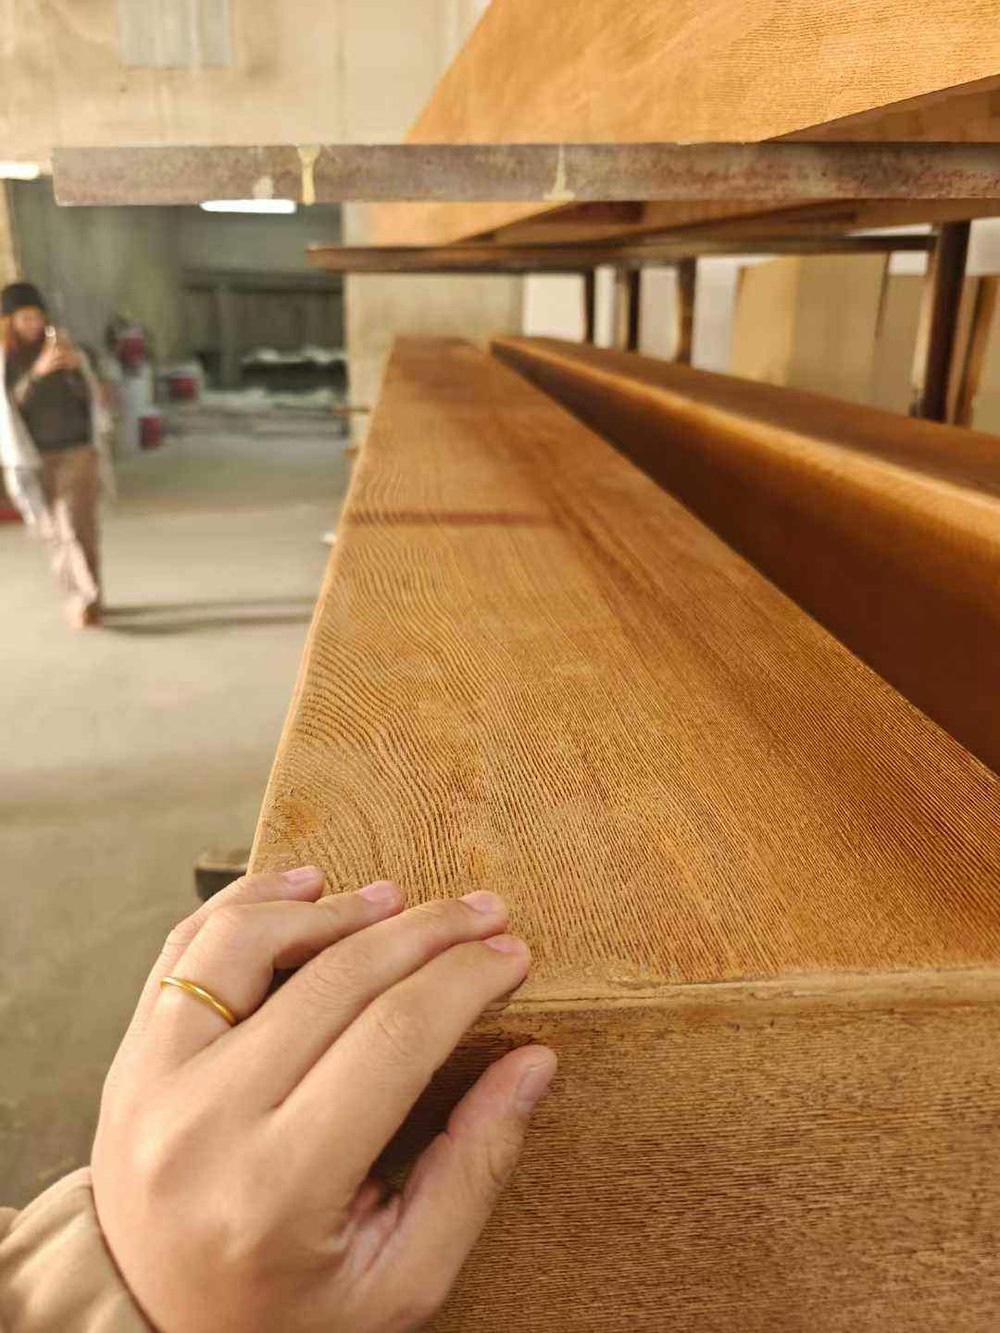
A beam is more than a single piece of material spanning from wall to wall. In a complete installation, the beam interacts with the ceiling, the walls, other beams, and the light. At each of these interactions, a transition is required, and that transition is handled by a trim piece.
Decorative side trim pieces are the finishing elements that complete a beam installation. They are the details that separate a professional installation from an amateur one, and they are the elements that most affect the long-term appearance of the beams.
The Components of a Complete Beam Set
A complete beam set includes several distinct components beyond the main beam body.
The main beam body is the primary structural-looking element that runs the length of the span. It is the element that defines the visual character of the beam ceiling and carries the weight of the design.
Side trim pieces are applied to the edges of the beam where the beam face meets the beam flange or the ceiling plane. They create a clean, finished edge that hides the joint between the beam and the mounting surface.
End caps are installed at the exposed ends of beams where they terminate against a wall or another beam. They cover the end grain of the beam and provide a polished termination.
Transition pieces are used where two beams of different profiles meet, or where a beam changes direction. They create a smooth visual bridge between the elements.
Corner pieces are used at beam intersections where two beams meet at an angle. They cover the joint and provide a decorative detail that reinforces the intersection.
Why Side Trim Matters
The side trim of a beam is its most visible surface. When someone looks at a beam from below, they see the bottom face and the two side faces. The quality of the side trim affects the perceived quality of the entire beam.
A beam with clean, consistent side trim reads as a manufactured product of high quality. A beam with rough, inconsistent, or missing trim reads as an incomplete installation.
The side trim also affects the durability of the beam. The edges of a beam are the most vulnerable to impact damage. A properly trimmed edge is protected from chips and cracks that would otherwise occur at the most exposed part of the beam.
Types of Side Trim
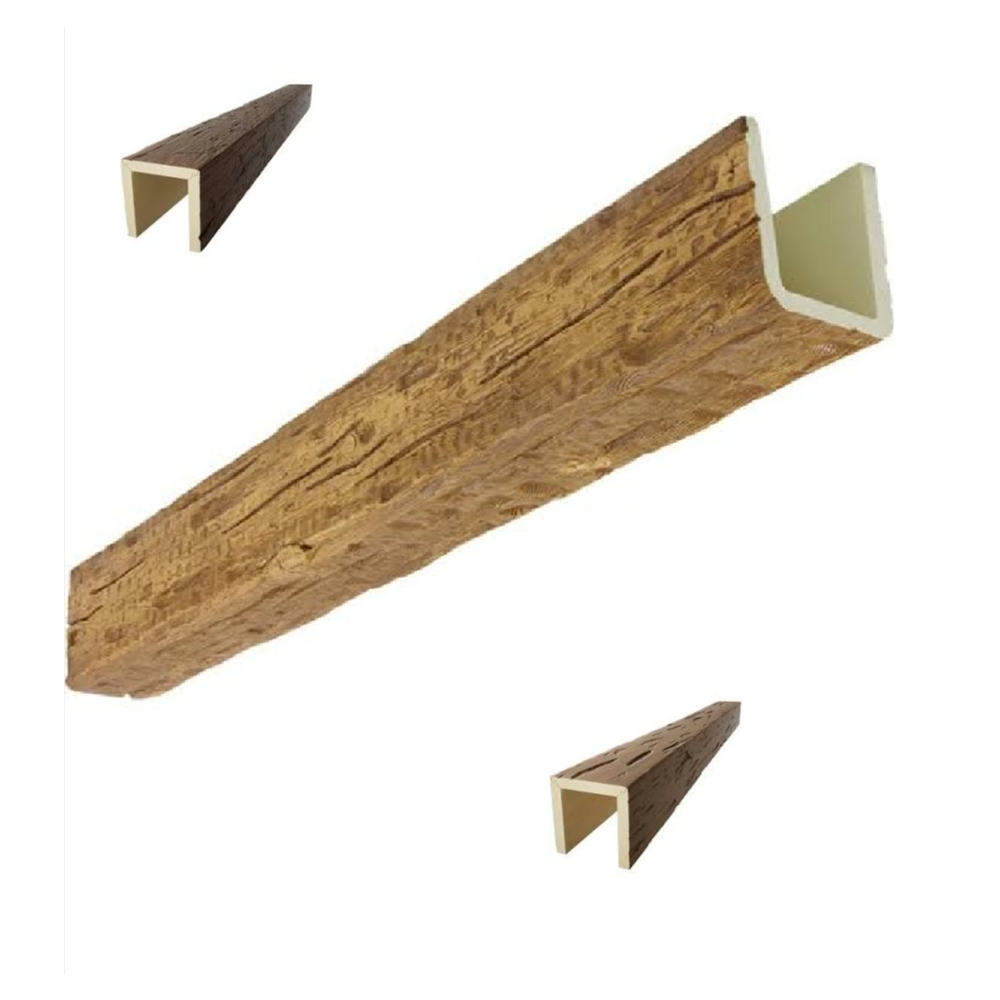
Side trim is available in several forms, each suited to a different installation scenario.
Integrated flange trim is part of the beam itself. The beam is manufactured with a built-in flange that covers the mounting surface and provides a finished edge. This is the most common and most cost-effective trim solution.
Applied strip trim is a separate piece that is applied to the edge of the beam after installation. It is used when the beam does not have an integrated flange or when the flange is insufficient for the application.
Decorative profile trim is a profiled piece that is applied to the beam edge for visual effect. It is used in traditional and rustic installations where the trim contributes to the overall aesthetic of the beam.
End Cap Options
End caps are the termination detail at the exposed end of a beam. They are essential when the beam end is visible, which occurs at window openings, at room corners, and at any location where the beam does not run into a wall.
A flush end cap is a flat piece that is installed flush with the end of the beam. It creates a clean, square termination that is appropriate for contemporary installations.
A profiled end cap has a decorative profile that matches the beam's side trim. It is used in traditional and rustic installations where the end cap contributes to the overall aesthetic.
A mitered end cap is cut at an angle to match the beam's profile at the termination point. It is used when the beam terminates against a surface that is not perpendicular to the beam.
Transition Pieces for Complex Layouts
Complex beam layouts require transition pieces that connect beams of different profiles or directions.
An L-transition connects two beams that meet at a right angle. One beam terminates into the face of the other, and a transition piece covers the joint and creates a clean connection.
A T-transition connects a beam that terminates into the face of another beam. The terminating beam ends at the face of the main beam, and a transition piece covers the joint.
An X-transition connects two beams that cross at the same plane. A decorative medallion or plate covers the intersection and creates a visual anchor at the crossing point.
Material and Finish Coordination
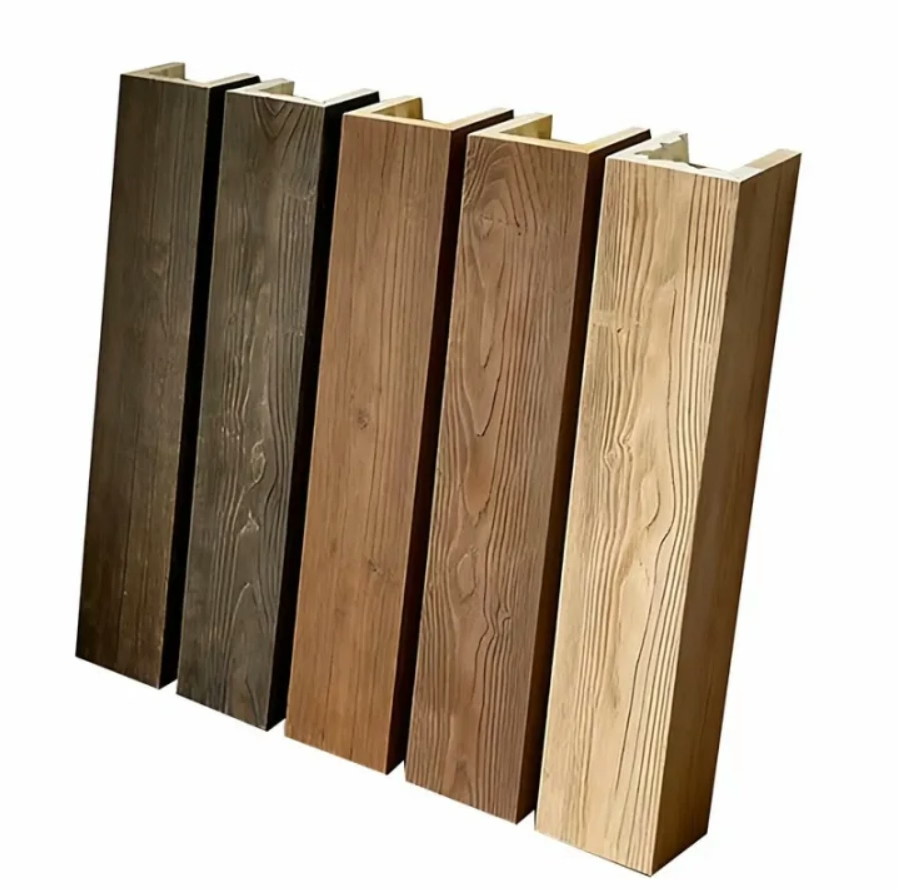
All trim pieces should be manufactured from the same material and finished with the same process as the main beam body. Any difference in material or finish between the beam and the trim is visible and undermines the authenticity of the installation.
The easiest way to ensure coordination is to order all components from the same supplier as a complete set. Most suppliers offer trim pieces that are designed to work with their specific beam profiles.
If trim must be sourced separately, the finish should be applied after all pieces are on-site so that any slight color differences can be corrected with a touch-up application.
Installation Sequence
The installation sequence for trim pieces should follow the logical order of the beam installation.
First, the main beam bodies are installed and secured. The beams should be level, properly positioned, and firmly attached to the mounting surface.
Second, the end caps are installed at all exposed beam ends. The end caps should be test-fitted before adhesive is applied to ensure a tight joint.
Third, the side trim pieces are installed along the beam edges. The trim should be aligned with the beam profile and secured with adhesive and finishing nails.
Fourth, the transition pieces and corner pieces are installed at beam intersections and direction changes. These pieces should be test-fitted and adjusted before adhesive is applied.
Quality Indicators
High-quality trim pieces have consistent dimensions, clean edges, and a finish that matches the beam body. The trim should feel solid and substantial, not thin or flimsy.
Low-quality trim pieces have visible seams, rough edges, and a finish that does not match the beam body. They are more likely to chip, crack, or separate from the beam over time.
For professional installations, sourcing trim pieces from the same supplier as the beams is the best way to ensure consistent quality.
Cost of Complete Trim Sets
Trim pieces are priced per piece or per linear foot, depending on the complexity of the profile. A complete trim set for a typical residential beam installation typically costs between one hundred and five hundred dollars, depending on the number of beams and the complexity of the layout.
This is a modest addition to the beam material cost that has a significant impact on the finished appearance. The trim is the detail that makes the installation look professional.
Technical References
ASTM standards cited in every specification
Test Data
Lab results from internal testing program
Updated 2026
Reviewed against current product specs