A corbel is a structural-looking piece of ornament that has been used in architecture for millennia. In classical and medieval construction, corbels supported the projection of a roof, a balcony, or an upper floor by gradually stepping the stone or wood outward from the supporting wall. The corbel was both functional and beautiful, which is the ideal combination in architectural ornament.
Decorative polyurethane corbels bring this tradition into contemporary beam installations. They do not support any structural load, but they create the visual impression that the beam is supported by something substantial and crafted. A beam end that rests on a corbel reads as more intentional and more authentic than a beam end that simply meets the wall.
The Role of Corbels in Beam Installations
Corbels serve two purposes in a beam installation: visual support and visual termination.
At a beam end, a corbel provides a visual landing for the beam. The beam appears to rest on the corbel rather than simply ending at the wall. This creates a sense of support that is satisfying to the eye and that reinforces the structural character of the beam.
At a beam joint, a corbel provides a visual reinforcement of the connection. The corbel covers the joint and suggests that the joint is solid and well-made. This is particularly effective at T-junctions where the end of one beam meets the face of another.
At an intermediate support point, a corbel provides a visual column that carries the beam across a gap. Even when the beam does not actually need support, the corbel creates the impression of support that the design requires.
Styles of Decorative Corbels
Polyurethane corbels are available in several styles, each associated with a different design aesthetic.
The L-corbel is the simplest and most versatile form. It is an L-shaped bracket with a vertical arm that attaches to the wall and a horizontal arm that supports the beam. The L-corbel works in both contemporary and traditional interiors.
The scroll bracket is a corbel with a decorative scroll or curve at the top. The scroll adds visual interest and suggests handcraftsmanship. It is appropriate for traditional, farmhouse, and cottage interiors.
The acanthus corbel is a corbel with a carved acanthus leaf design at the top. This is the most elaborate corbel style and is associated with classical and Renaissance architecture. It is appropriate for formal interiors and restoration projects.
The Geometric corbel is a corbel with clean lines and simple angles. It is appropriate for contemporary and minimalist interiors where the design language favors restraint over ornament.
Materials and Manufacturing
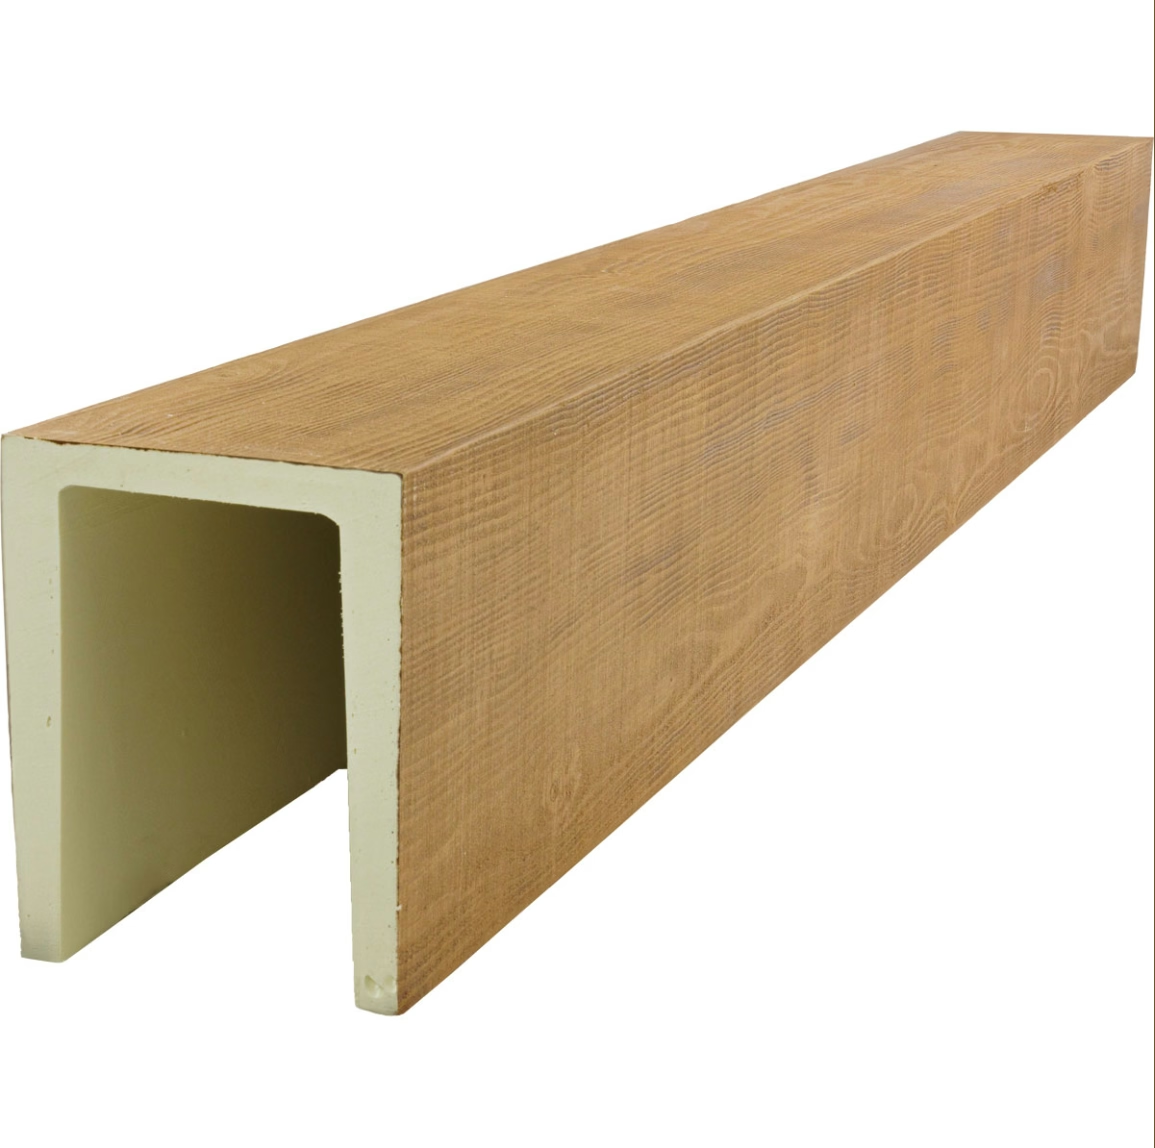
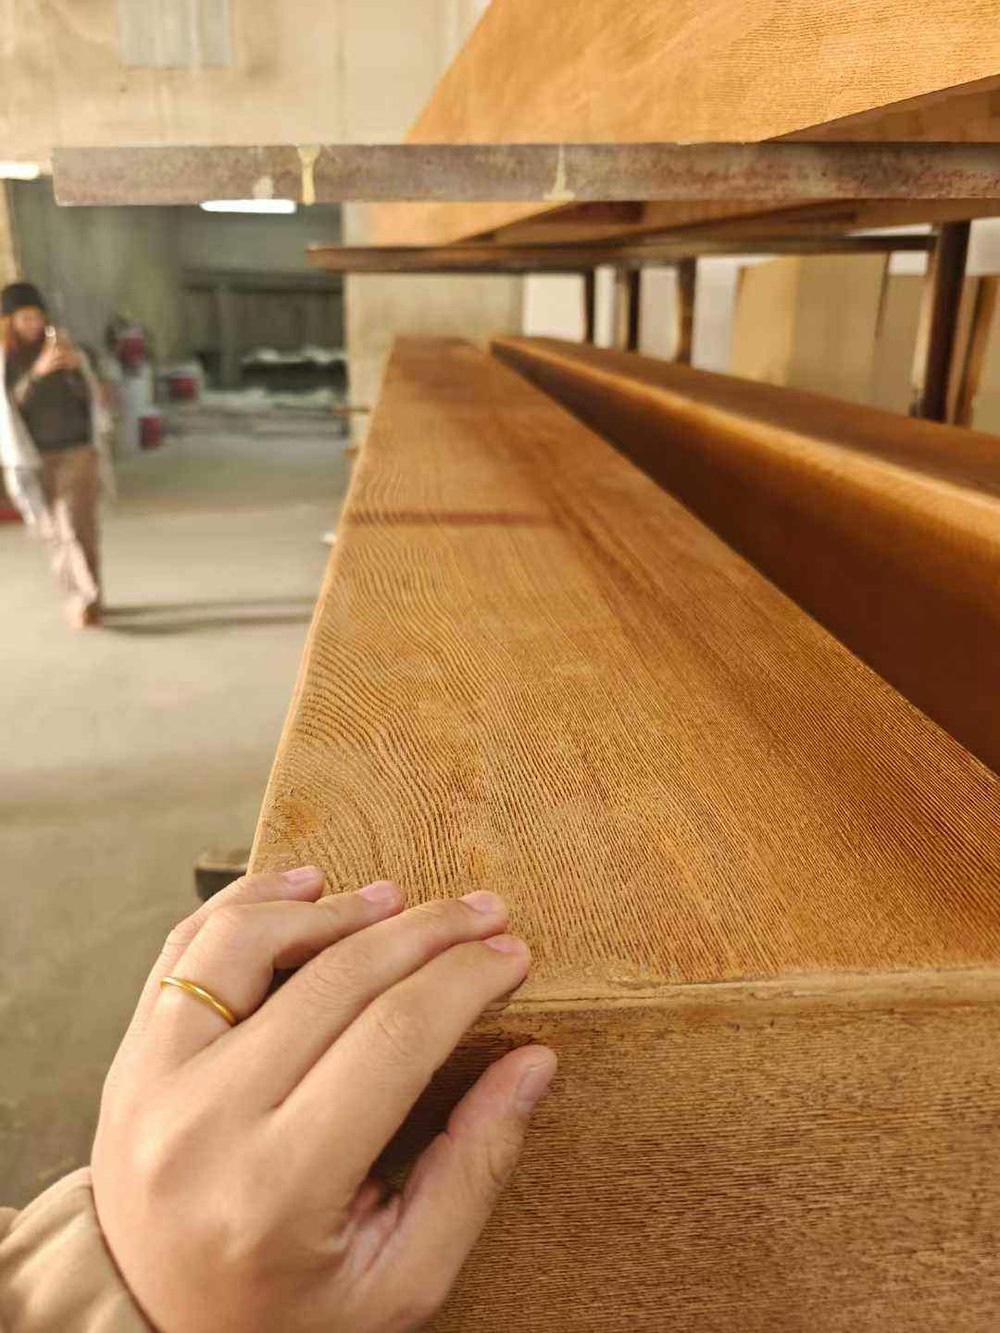
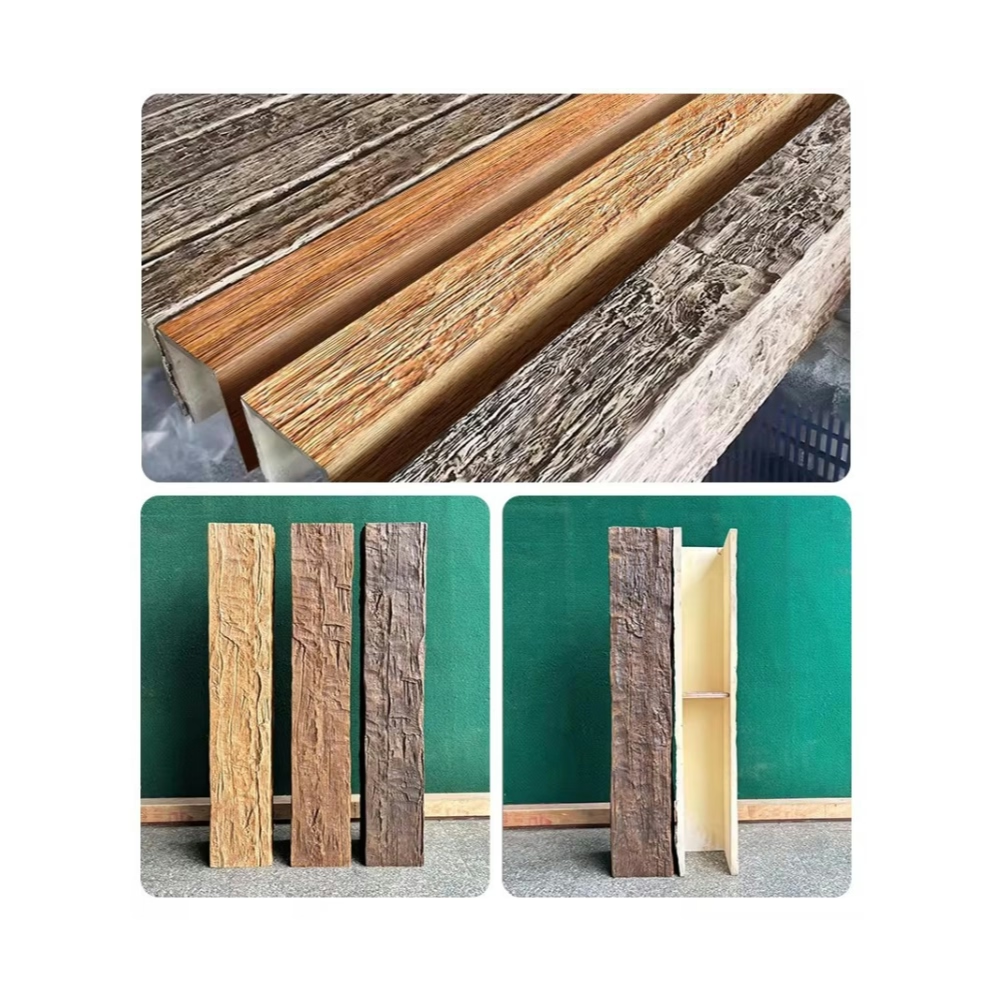
Polyurethane corbels are manufactured using the same molding process as polyurethane beams. The material is mixed, poured into a mold, cured, and finished with stain or paint.
The quality of the corbel depends on the quality of the mold and the density of the polyurethane. High-quality molds capture fine detail without distortion. High-density polyurethane holds fasteners better and is more resistant to impact damage than low-density foam.
The finish on the corbel should match the finish on the beams it accompanies. The easiest way to ensure a match is to order the corbels from the same supplier as the beams.
Sizing Corbels to the Beam
The corbel should be proportional to the beam. A corbel that is too small for the beam looks weak and inadequate. A corbel that is too large for the beam looks heavy and overwhelming.
As a general guideline, the corbel should be approximately one-half to two-thirds the width of the beam face in height. For a six-inch beam, a corbel that is three to four inches tall is appropriate. For a ten-inch beam, a corbel that is five to six inches tall is appropriate.
The corbel should also be proportional to the beam in depth. The corbel's horizontal arm should extend far enough to provide a substantial landing for the beam, but not so far that it looks top-heavy.
Installation Methods
Corbels are installed after the beam is in place and after the finish is applied. The installation sequence is important because the corbel must be positioned to align with the beam end.
The vertical arm of the corbel is mounted to the wall with screws driven through the arm into the structural framing. The horizontal arm supports the beam and may be attached to the beam end with screws or adhesive.
For maximum security, both connections should be mechanical. Adhesive alone is not sufficient for supporting the weight of the beam, even though the corbel is not actually carrying any structural load.
The corbel should be test-fitted before adhesive is applied. The fit between the corbel and the beam should be tight and flush, with no visible gaps. Any gaps should be filled with paintable caulk after the corbel is installed.
Brackets vs. Corbels
Brackets and corbels serve similar functions but have different visual characteristics.
A bracket is typically a flat piece of material, often with a decorative profile along the edge. It is mounted to the wall at an angle and supports the beam from below. Brackets are generally simpler and less ornate than corbels.
A corbel is typically a three-dimensional piece with a horizontal support surface and a vertical mounting surface. It is mounted flat against the wall and provides a landing for the beam. Corbels are generally more substantial and more ornate than brackets.
For many installations, the choice between a bracket and a corbel is a matter of aesthetic preference. A contemporary installation may prefer the clean lines of a bracket. A traditional installation may prefer the substantial presence of a corbel.
Pairing Corbels with Hardware
Corbels and decorative hardware are natural partners in a timber frame aesthetic. A corbel with a matching iron bracket or strap creates a more complete visual statement than either element alone.
The hardware should be coordinated with the corbel in material and finish. A cast iron corbel with a cast iron strap reads as a unified system. A mismatched combination of materials and finishes undermines the authenticity of the installation.
Cost and Sourcing
Polyurethane corbels are priced per piece, with costs ranging from twenty to one hundred fifty dollars depending on the size, style, and finish. A complete set of corbels for a typical residential installation typically costs between one hundred and eight hundred dollars, depending on the number of corbels and the style selected.
Corbels should be ordered from the same supplier as the beams to ensure material and finish consistency. Custom corbel designs are available from most suppliers for projects with specific requirements.
What Designers Should Specify
Designers specifying corbels for a beam installation should include the following information: the corbel style and size, the finish specification, the quantity required, and the placement on the beam layout.
A detail drawing showing the corbel in position relative to the beam and the wall is the clearest way to communicate the requirement to the supplier and the installer.
A sample of the planned corbel in the actual beam finish should be reviewed before the production order is placed.
Maintenance
Polyurethane corbels require the same minimal maintenance as polyurethane beams. A periodic dusting and an occasional wipe-down with a damp cloth keeps the corbel looking new.
The factory finish should be checked periodically for any chips or cracks at the edges, which are the most vulnerable points. Any damage should be touched up with a matching stain marker or paint.
For outdoor applications, the corbel should be sealed with a marine-grade clear coat that provides UV protection and prevents moisture penetration.
Technical References
ASTM standards cited in every specification
Test Data
Lab results from internal testing program
Updated 2026
Reviewed against current product specs