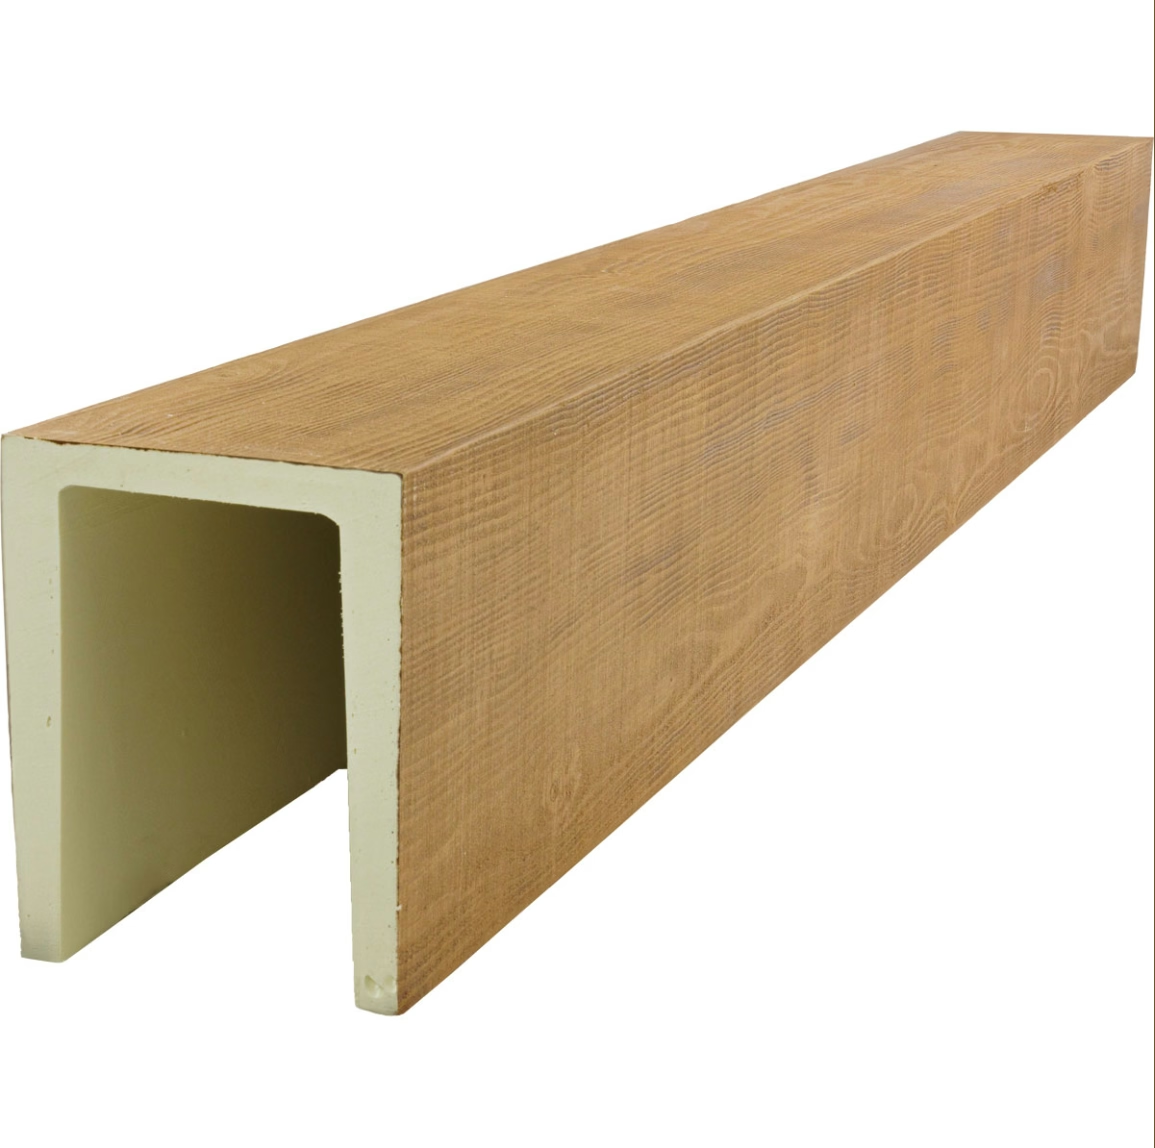
Purlins belong to the vocabulary of structural engineering—horizontal roof members that span between rafters, distributing load to primary beams or walls. In decorative architectural applications, purlins serve the same visual function: they define horizontal planes, create rhythm across ceiling spans, and establish the structural logic that makes exposed ceilings feel intentional rather than merely unfinished.
The challenge with real timber purlins in decorative applications is that they bring structural baggage to what is fundamentally an aesthetic exercise. They weigh too much for easy ceiling mounting, they move with humidity changes, they require blocking or engineered support that complicates installation, and they cost enough to price many projects out of the exposed timber aesthetic entirely.
PU resin purlins sidestep these problems by treating the purlin as what it becomes in decorative applications: an architectural trim element that approximates the visual character of structural timber while being optimized for the specific demands of ceiling mounting and ceiling maintenance.
Purlins, Beams, and Battens: Defining the Vocabulary
Confusion between purlins, beams, and battens leads to specification errors that affect both the visual result and the installation methodology. Each element occupies a distinct position in the architectural vocabulary.
Beams are typically larger than purlins and carry more visual weight. A beam might be 8 to 14 inches wide and 6 to 10 inches deep, spanning significant distances and serving as a primary design element. Beams often appear at room perimeters, where they meet walls, or at structural intervals across large spans.
Purlins are generally smaller than beams and carry less visual weight. A purlin might be 4 to 7 inches wide and 3 to 5 inches deep, appearing in groups or runs that create rhythm across a ceiling plane. Purlins typically run parallel to each other at regular intervals, creating a structured appearance reminiscent of exposed roof structure.
Battens are the smallest of the three, typically 1 to 3 inches wide, and serve to cover joints between panelized ceiling materials or to create a board-and-batten aesthetic. Battens are almost always applied to a continuous substrate rather than spanning independently.
In ceiling design projects, mixing these elements creates complexity that can overwhelm a space. The most successful installations typically feature one dominant element—a beam or purlin system—with the other elements either absent or clearly subordinate.

Cross-Sectional Profiles and Their Visual Effects
PU purlins are manufactured in a range of cross-sectional profiles, each producing a different visual character that designers can leverage for specific aesthetic effects.
Rectangular profiles provide a clean, contemporary appearance. The straight lines and sharp corners read as modern and intentional, complementing minimalist architectural vocabularies. Rectangular purlins are the easiest to match with adjacent trim and the simplest to finish.
Chamfered profiles soften the rectangular form with 45-degree cuts at the corners, creating subtle shadow lines that suggest craftsmanship and reduce the harshness of sharp angles. Chamfered purlins bridge traditional and contemporary aesthetics.
Ogee and crown profiles introduce curved elements that reference classical moldings. These profiles work well in traditional interiors or in contemporary spaces that deliberately incorporate classical details for warmth or character.
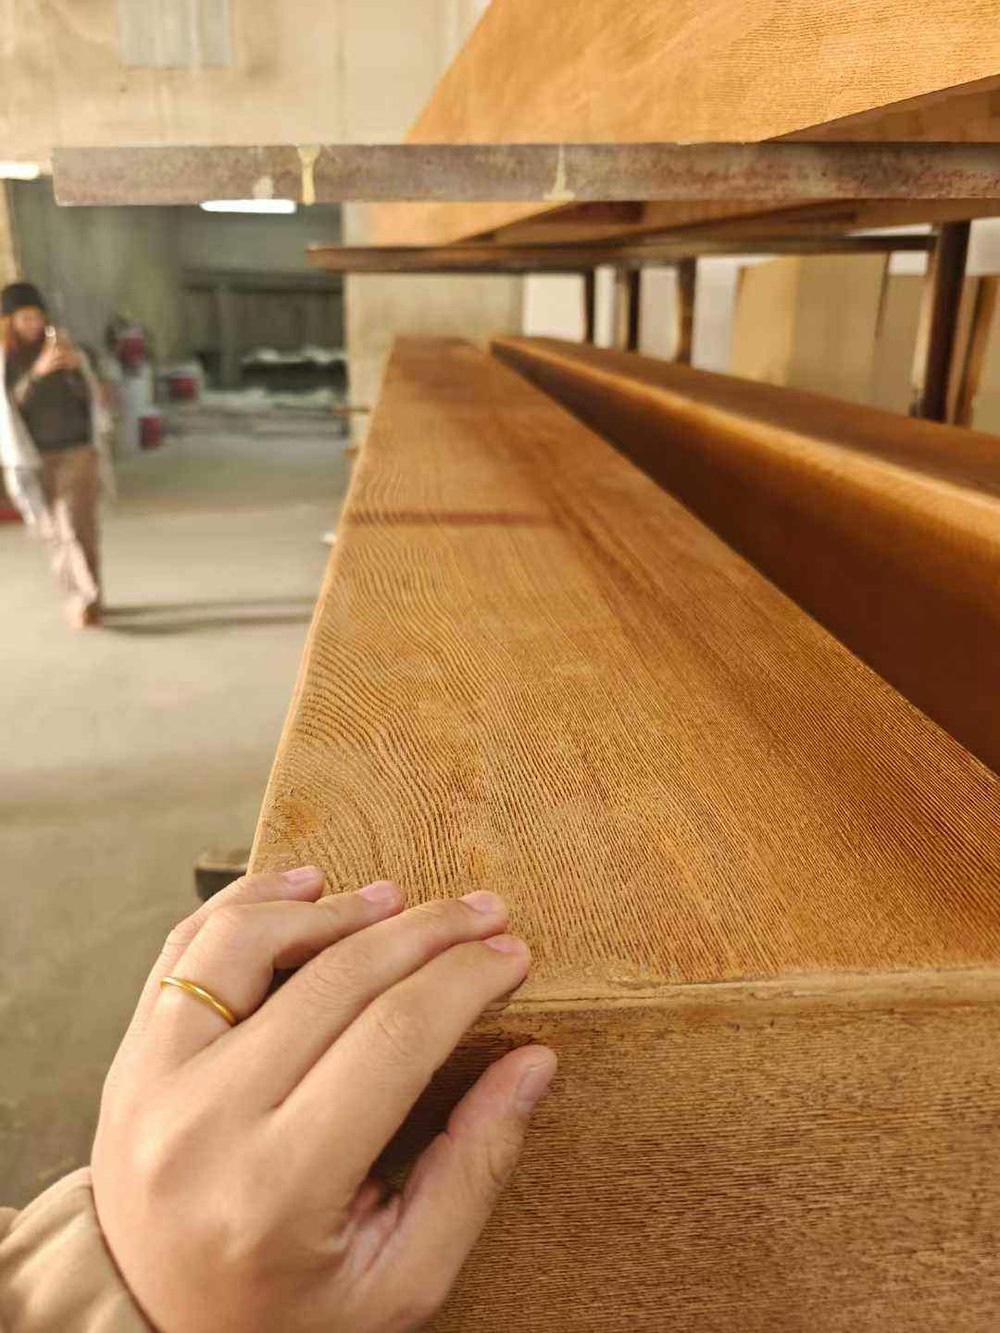
Hand-hewn and rough-sawn profiles replicate the irregular surfaces of timber that has been worked by hand or processed with rough-cut saws. These textures add visual interest and hide surface imperfections, but they require more careful finishing and maintenance than smooth profiles.
The depth-to-width ratio of the purlin affects how it reads in the space. Purlins with equal depth and width appear square and chunky; purlins with depth exceeding width appear tall and structural; purlins with width exceeding depth appear wide and substantial. Match the ratio to the ceiling height and room scale.

Hollow-Core Construction and Its Implications
Most PU purlins intended for ceiling applications feature hollow-core construction—either a fully open cavity through the center or a partial cavity that reduces material usage without compromising the visible surface.
The hollow-core construction achieves several objectives simultaneously. It reduces material cost by using less polyurethane per linear foot. It reduces shipping weight, which affects transportation economics on long-haul or international shipments. It permits the insertion of concealed mounting hardware or structural reinforcement where required. And it reduces the thermal mass of the installed element, which affects how the purlin responds to temperature changes.
The wall thickness of hollow-core purlins affects both structural performance and finish quality. Thicker walls (1/2 inch or more) resist impact damage and provide a more substantial feel under casual contact. Thinner walls (3/8 inch or less) are more vulnerable to accidental damage but are adequate for ceiling installations where the purlins are not within reach of occupants.
Internal reinforcement options include aluminum extrusion inserts that maintain straightness over long spans, steel rod inserts that provide load capacity for pendant fixtures, and wood dowel inserts that accept standard fasteners. Specify reinforcement based on the specific installation requirements rather than assuming standard hollow-core construction is adequate for all applications.
Finish Systems and Their Maintenance Implications
PU purlins accept a range of finish systems that produce different aesthetic effects and maintenance requirements.
Pre-finished white or light colors ship ready for installation and require no site finishing. The factory application provides consistent coverage and durability that exceeds typical site-applied finishes. These purlins require only routine cleaning and occasional touch-up where the surface is abraded.
Primed surfaces receive a factory-applied primer that prepares the PU surface for on-site topcoating. This approach allows contractors to match the purlin finish to adjacent trim or walls without coordinating color between manufacturer and installer. The primed surface requires light sanding and at least one topcoat application.
Stain-and-finish systems are the most complex but also the most versatile. The PU surface does not accept stain like natural wood—it requires either gel stain applied thickly and manipulated to simulate grain, or a stain-blocking primer followed by faux finishing techniques. The result can convincingly replicate wood species, but the process requires skill and time.
Raw surfaces are rare but available for projects that will apply finishes in the field. Raw PU accepts most paints and stains but requires more aggressive surface preparation to ensure adhesion.
The maintenance implications of these finish systems vary significantly. Pre-finished products may go years without attention; stained finishes may require annual inspection and touch-up where wear occurs.

Installation Configurations for Ceiling Applications
PU purlins install in configurations that range from simple surface mounting to complex integrated systems with hidden support.
Surface mounting attaches purlins directly to a continuous ceiling substrate—drywall, plaster, or existing ceiling material. This is the simplest and fastest installation method. The purlins are held by construction adhesive supplemented with screws through the purlin into the substrate. The method works well for purlins up to 6 inches in width and 8 feet in length.
Furring strip mounting involves attaching horizontal furring strips to the ceiling substrate, then mounting purlins to the furring strips. This method raises the purlin off the ceiling surface, creating a shadow line that enhances the three-dimensional effect. It also permits longer purlin spans without intermediate support.
Suspended mounting uses aircraft cable or steel rod suspended from the structural ceiling, with the purlin attached to the hanging elements. This configuration creates the appearance of floating purlins and is useful in spaces with high ceilings where the purlins should not appear to rest on the visible ceiling plane.
Beam-grid mounting incorporates purlins into a larger beam system where purlins run perpendicular to beams and attach to them at regular intervals. This configuration creates the most substantial architectural effect and suits spaces that can accommodate the visual complexity of intersecting horizontal elements.
Spacing and Layout Strategies
Purlins installed in groups benefit from systematic spacing that creates visual rhythm without monotony. The spacing strategy depends on the room dimensions, ceiling height, and desired visual effect.
Regular spacing places purlins at equal intervals across the ceiling plane. This creates a sense of order and structure that suits formal or contemporary spaces. The spacing interval is typically calculated based on the purlin width—divide the total ceiling width by the number of purlins to achieve uniform gaps.
Structural spacing aligns purlins with visible structural elements—rafters, joists, or columns—to suggest a structural relationship that reinforces the design narrative. Even when the purlins are not actually structural, alignment with structural elements makes the decorative system appear intentional.
Diminishing spacing places purlins closer together near walls and farther apart at the ceiling center, or vice versa. This graduated spacing can correct visual imbalance in rooms with asymmetric proportions or direct attention toward focal points.
The depth or height of the purlin relative to adjacent ceiling planes affects how the spacing reads. Wider spacing between shallow purlins appears more open; closer spacing between tall purlins appears denser and more enclosed.
Coordinating Purlins with Other Ceiling Elements
Ceiling design projects often incorporate multiple elements beyond purlins—beams, medallions, crown molding, coffers, or recessed lighting. Coordinating these elements requires attention to proportion, finish, and installation sequence.
Proportional harmony requires that the purlin size relates appropriately to the sizes of adjacent elements. If the room includes a dominant beam, the purlins should be clearly subordinate in scale. If the purlins are the dominant element, other elements should not compete for attention.
Finish consistency across multiple ceiling elements creates a unified appearance. Different elements receiving different finish treatments require careful color matching or deliberate contrast. Coordinate the finish schedule early in design development to avoid last-minute decisions.
Installation sequence matters when elements intersect or attach to each other. The general principle installs secondary elements after primary elements—the purlins after the beams, the molding after the purlins. This allows secondary elements to be cut and fitted to primary elements rather than the reverse.
Expansion and contraction in PU materials, while minimal compared to wood, can affect how adjacent elements interact. Allow small gaps at joints between elements to permit movement without buckling or joint opening. These gaps accept caulking that maintains the visual appearance of continuity while accommodating physical movement.
Material Specifications for Project Documents
Architects and project managers preparing specifications for PU purlin installations should include the following elements in project documents.
Material specifications should identify the PU formulation type, density range, surface texture, and any performance certifications (fire rating, UV stability for exterior applications). The specification should reference specific products or manufacturers by name to ensure the installed products meet the design intent.
Finish specifications should identify the finish system, color or stain reference, and any field finishing requirements. If samples are required for approval, this should be stated explicitly with requirements for sample size and approval timeline.
Installation specifications should identify mounting method, fastener requirements, adhesive specifications, and any required blocking or backing. If engineering approval is required for the installation, this should be noted with requirements for submission timing and approval authority.
Maintenance provisions should identify the expected maintenance requirements and interval, any recommended cleaning products, and requirements for repair materials or touch-up finishes.
By addressing these elements in project documents, architects ensure that the installed purlins meet the design intent and that the building owner understands the maintenance commitment associated with the selected system.
Technical References
ASTM standards cited in every specification
Test Data
Lab results from internal testing program
Updated 2026
Reviewed against current product specs