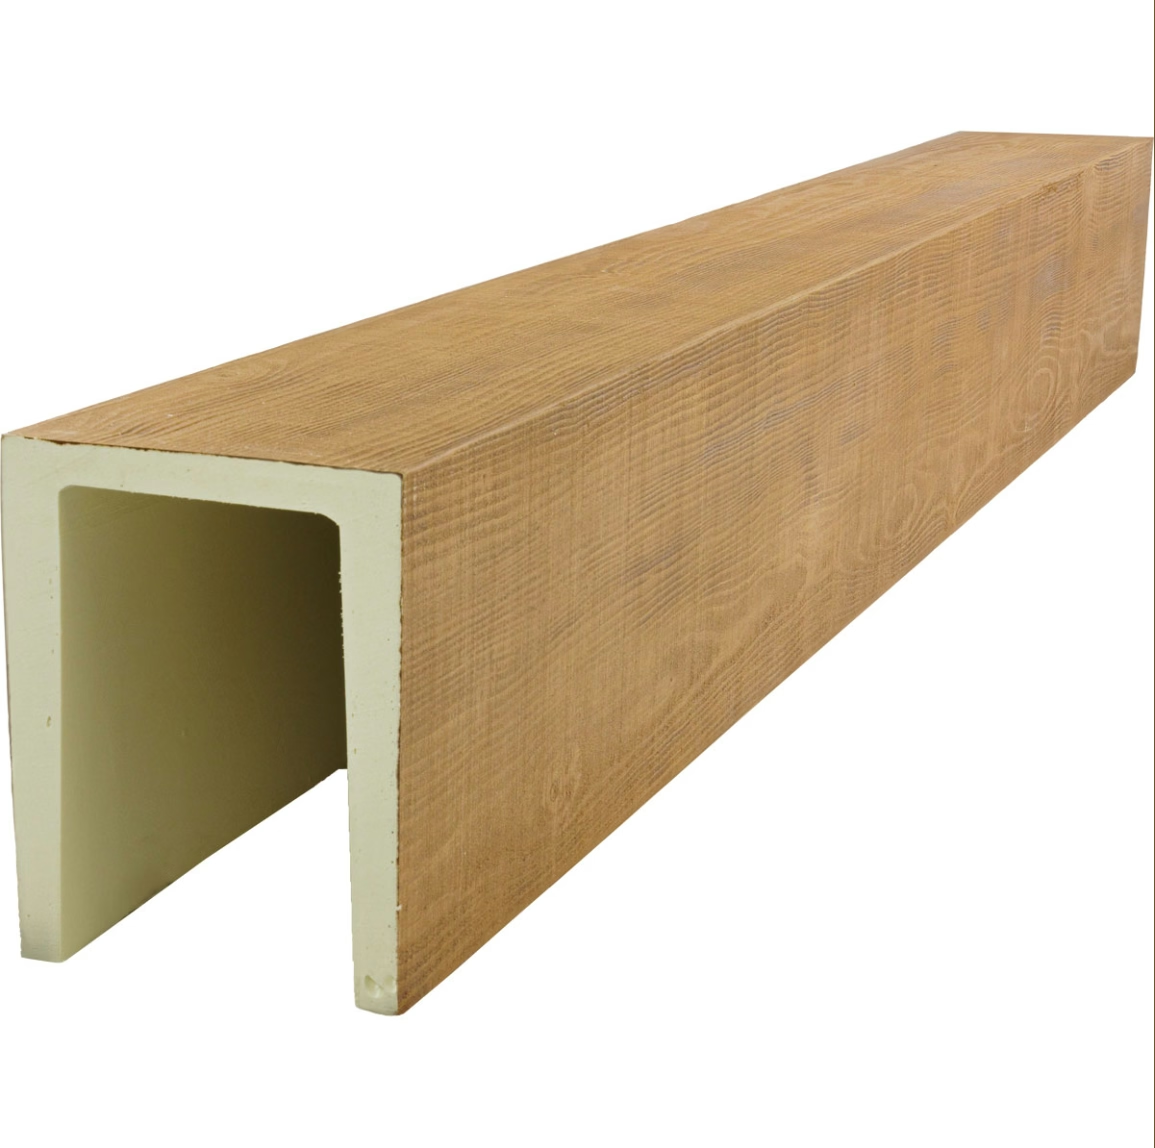
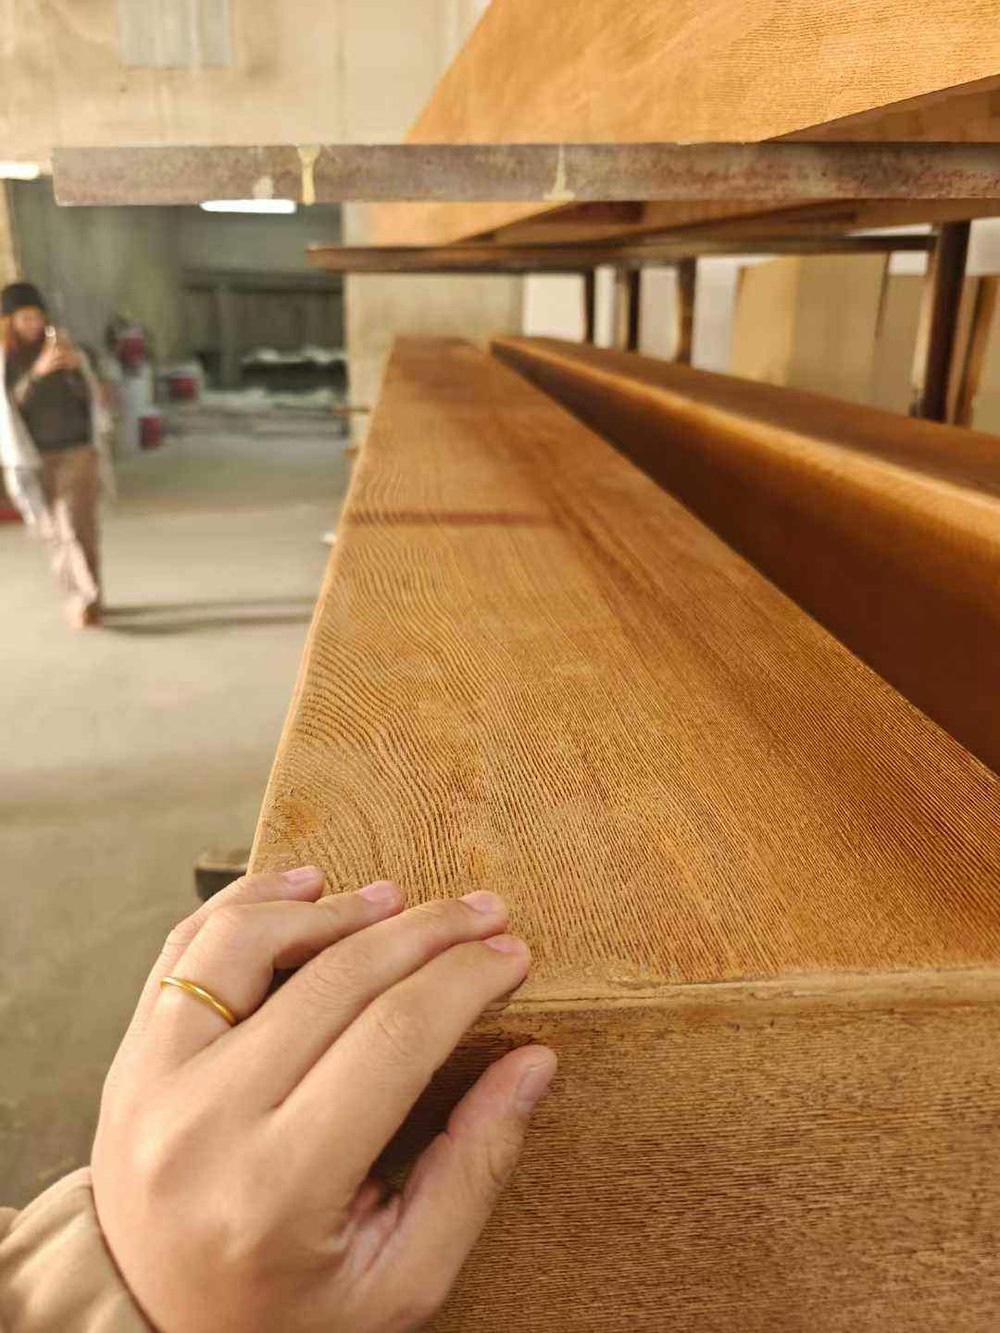
Most polyurethane faux timber beams leave the factory already colored. The grain is molded in, the tone is baked in, and the protective topcoat is sealed. So when a homeowner pulls one out of the crate and holds a can of wood stain next to it, the question is fair: can I make this beam darker, lighter, warmer, or cooler without ruining it?
The honest answer is that staining a polyurethane faux beam is rarely the right move. What you actually want, in most cases, is either a tinted topcoat, a gel stain applied as a glaze, or a recolored beam ordered from the manufacturer. Each of those routes gives you control over the final tone without compromising the surface. This guide walks through why traditional stain behaves the way it does on PU, what works instead, and how to plan a color change that holds up over time.
How Polyurethane Faux Beams Get Their Color
A polyurethane faux beam is a closed-cell foam product cast in a mold. The mold carries two pieces of information: the shape of the beam, including the grain texture, and a base color layer applied before the part is pulled. After demolding, the beam is sealed with a UV-stable topcoat that locks in pigment and gives the surface a slight sheen.
This matters because the color is not just a surface film. It is integrated into the casting system, then capped with a finish that resists water, oils, and solvents. Anything you put on top of that finish has to bond to a very smooth, very non-porous surface. Regular wood stain is engineered to penetrate raw, porous cellulose. On a sealed PU beam, it has nowhere to go.
Why Penetrating Stain Fails on PU
Penetrating stains carry pigment suspended in oil or water. They rely on soaking into open wood fibers to deposit color evenly. Polyurethane faux beams are made of foam that has no fibers and a topcoat that has no pores. The stain sits on the surface, beads unevenly, and dries as a streaky film that wipes or scratches off within weeks.
Even if you scuff the topcoat aggressively to give the stain something to grab, the underlying foam does not absorb like wood does. You end up with a patchy, artificial-looking surface that does not match the molded grain pattern. Homeowners who try this route usually end up sanding the beam back and starting over, or replacing it entirely.
What the Topcoat Actually Does
The factory topcoat is doing more than adding shine. It protects the pigment layer from UV fading, prevents yellowing of the foam underlayer, and gives the beam a wipe-clean surface for everyday dust. Any color treatment you apply has to respect that role. A stain that softens or dissolves the topcoat will leave the beam unprotected and almost certainly cause the molded color to lift, blur, or shift.
What Works Instead of Stain
If you want a different color, you have three reliable paths. None of them involve traditional penetrating stain.
Gel Stain Used as a Glaze
Gel stain is thick, almost paste-like, and sits on top of surfaces rather than soaking into them. When applied over a sealed PU beam in thin coats, it behaves like a tinted glaze. You can warm up a tan beam to look more like cherry, deepen a honey tone toward walnut, or add a smoky cast that mimics aged oak. The key is working in very thin layers and wiping excess off before the gel tacks up.
Gel stain is not a permanent solution the way factory pigment is, but it is durable enough for interior ceiling beams that don't get touched. A coat of clear matte or satin polyurethane over the gel locks it in and brings back the protective layer you lost. Expect to do light maintenance every few years in high-sun rooms.
Tinted Polyurethane or Water-Based Topcoat
If you only need to nudge the color slightly, a tinted clear coat is the cleanest option. Mix a universal colorant or a small amount of compatible paint into your clear topcoat and apply it as you would any other finish. This shifts the tone without hiding the grain texture. It also restores or refreshes the protective layer at the same time.
This route is popular with installers who need to harmonize a new beam with existing trim, cabinetry, or furniture. A trained eye can usually tell that the beam is slightly cooler or warmer than the factory standard, but the change reads as natural variation rather than as a refinished product.
Factory Recoloring Before Shipping
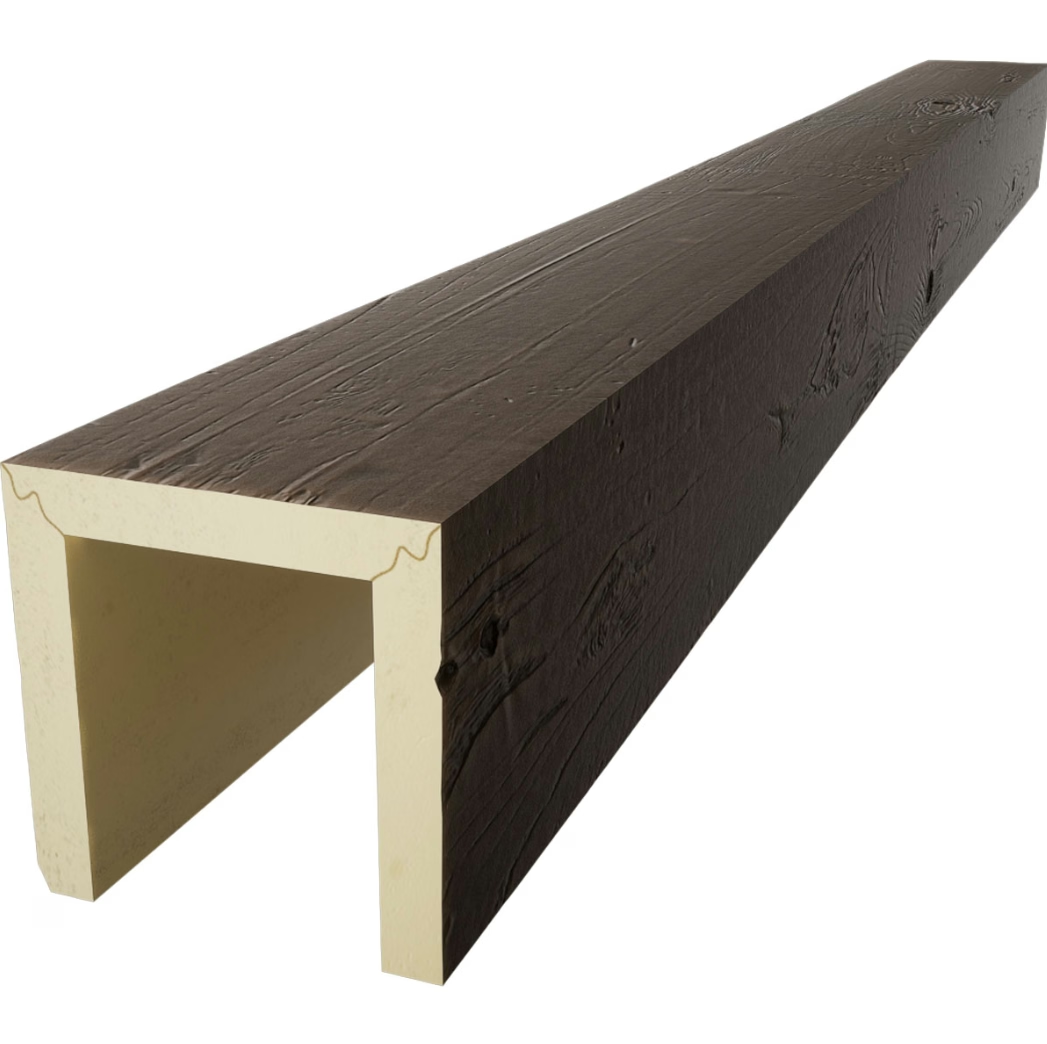
For major color changes, ordering the beam in a custom tone from the manufacturer is the most reliable route. Most PU beam producers offer a color match service against a sample you send in: a piece of flooring, a cabinet door, a swatch of fabric. They adjust the pigment load in the mold and ship a beam that arrives already the color you want, with the same UV-stable topcoat as the standard line.
Lead time is usually a week or two longer than stock colors, and there is often a small setup fee. For projects where the beam is a focal point of the room, that trade-off is worth it. The result looks intentional, holds up to sunlight, and avoids any DIY risk on a finished product.
When Custom Color Is Worth the Effort
Custom coloring makes sense in three situations. First, when the beam has to match an existing wood species in the room, like a dark walnut floor or a reclaimed pine ceiling. The eye picks up mismatched undertones very quickly, especially on a horizontal plane above eye level.
Second, when the room has unusual lighting. North-facing rooms, rooms with strong colored walls, and rooms with lots of natural stone can make a stock beam tone look flat or off. A subtle shift in pigment can bring the beam into harmony with the rest of the palette.
Third, when the project is commercial and the beam will be photographed for marketing or for the developer's portfolio. A custom-matched beam photographs better, ages better, and removes the telltale signs of a generic catalog product.
Prep and Application Tips If You Do Refinish
If the beam is already installed and you decide to adjust the tone on site, take it seriously. Work in good light, mask the surrounding ceiling and walls, and remove or cover anything below the beam. Lay down a drop cloth. Have rags, mineral spirits or water (depending on the product), and a clear topcoat ready before you open any color product.
Surface Prep
Lightly scuff the existing topcoat with 320-grit sandpaper or a fine scotch-brite pad. You are not trying to remove the finish, just to give the new coat some tooth. Wipe off all dust with a tack cloth or a damp rag. Any dust left behind will telegraph through the gel or tinted topcoat.
Test First
Always test on the back of the beam, on an offcut, or on a hidden end before committing to a full face. Gel stain and tinted topcoat can both surprise you with how much pigment they carry. A second coat is almost always darker than the first. Going slow is the only way to avoid over-darkening.
Sealing the Finish
Once you reach the tone you want, seal it. Two thin coats of water-based polyurethane in the sheen of your choice (matte for a rustic look, satin for most interiors, semi-gloss for a more formal space) will lock the color in and restore the protective layer. Allow full cure time between coats, usually two to four hours for water-based products. Stay off the ladder for at least 24 hours after the final coat.
Common Questions From Homeowners
Homeowners working on beam projects tend to ask the same handful of questions. Here are the ones that come up most often in our inbox.
Will Paint Work Better Than Stain?
Paint works very well on PU beams and is the right answer if you want a solid color rather than a wood tone. Use a primer designed for plastics or for glossy surfaces, then two coats of a quality latex or alkyd paint. Paint hides the molded grain, so this only makes sense if you want the beam to read as painted wood rather than stained wood.
Can I Whitewash a PU Beam?
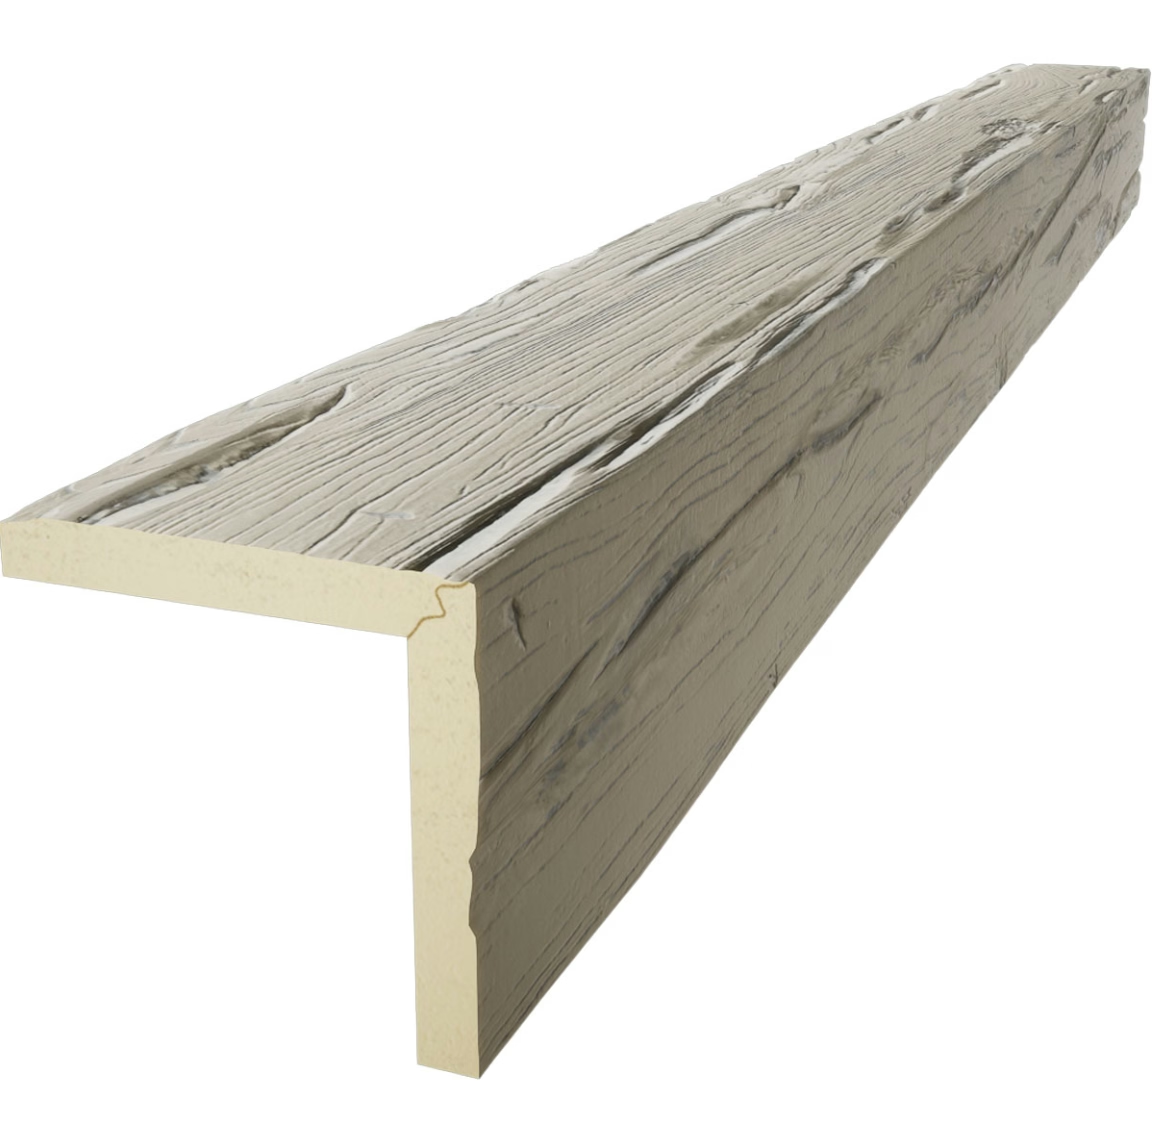
Whitewashing is closer to a tinted topcoat than a stain. Dilute white or off-white latex paint roughly 50/50 with water, brush it on, and wipe it back. The molded grain shows through the haze and you get the soft farmhouse look many homeowners want. Seal with a clear matte topcoat.
How Long Will a Gel Stain or Tinted Topcoat Last?
Indoors, away from direct sun, a sealed gel stain or tinted topcoat will look good for five to ten years before needing a refresh. In a sunroom or under a skylight, that drops to three to five years. Plan on a light scuff-and-recoat when you see the first signs of fade, not a full strip-and-redo.
What About Faux Wood Beams Already Faded?
Older PU beams that have lost some color from years of UV exposure can sometimes be revived with a tinted topcoat rather than a full refinish. The fade is usually even across the beam, so adding pigment back into the protective layer restores the look without the streaking risk of working on a sealed surface.
Final Thoughts Before You Start
Staining a polyurethane faux timber beam is one of those ideas that sounds reasonable until you understand what the product is made of. The beam is a finished good, not a raw substrate. Treating it like raw wood almost always leads to a result that is harder to fix than the original color was to live with.
If the stock color is close but not perfect, a tinted topcoat or a light gel stain glaze will get you there. If the stock color is wrong for the room, send a sample to the manufacturer and order the beam in the tone you actually want. Both routes protect the surface, hold up to time, and let the beam do what you bought it to do.

The beam is one of the few architectural elements in a room that everyone looks up at. Taking the time to get the color right, either at the factory or with a careful on-site glaze, pays back every time someone walks into the room.
Technical References
ASTM standards cited in every specification
Test Data
Lab results from internal testing program
Updated 2026
Reviewed against current product specs