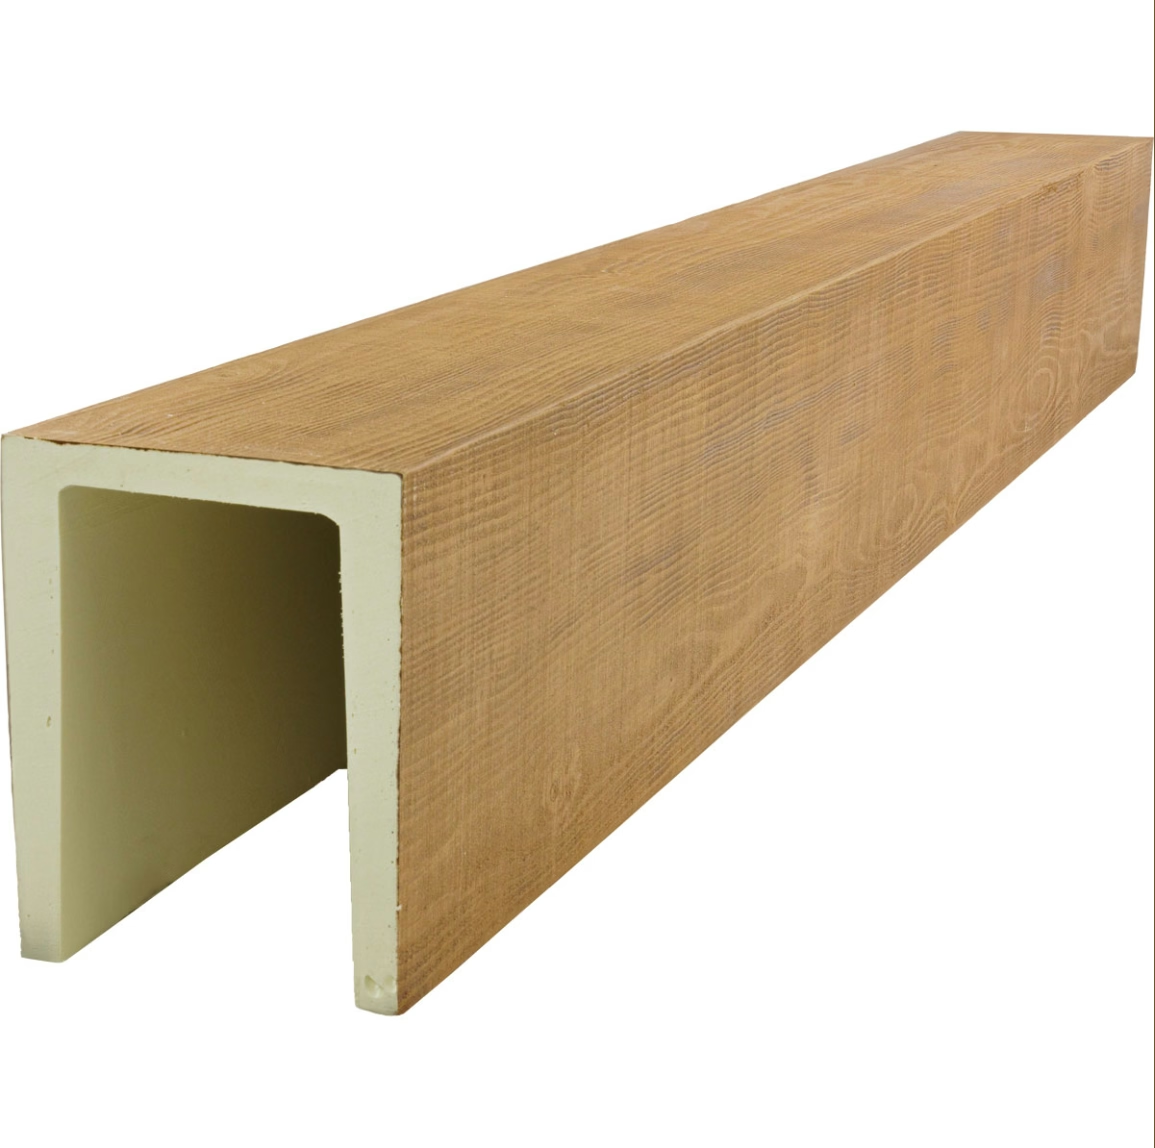
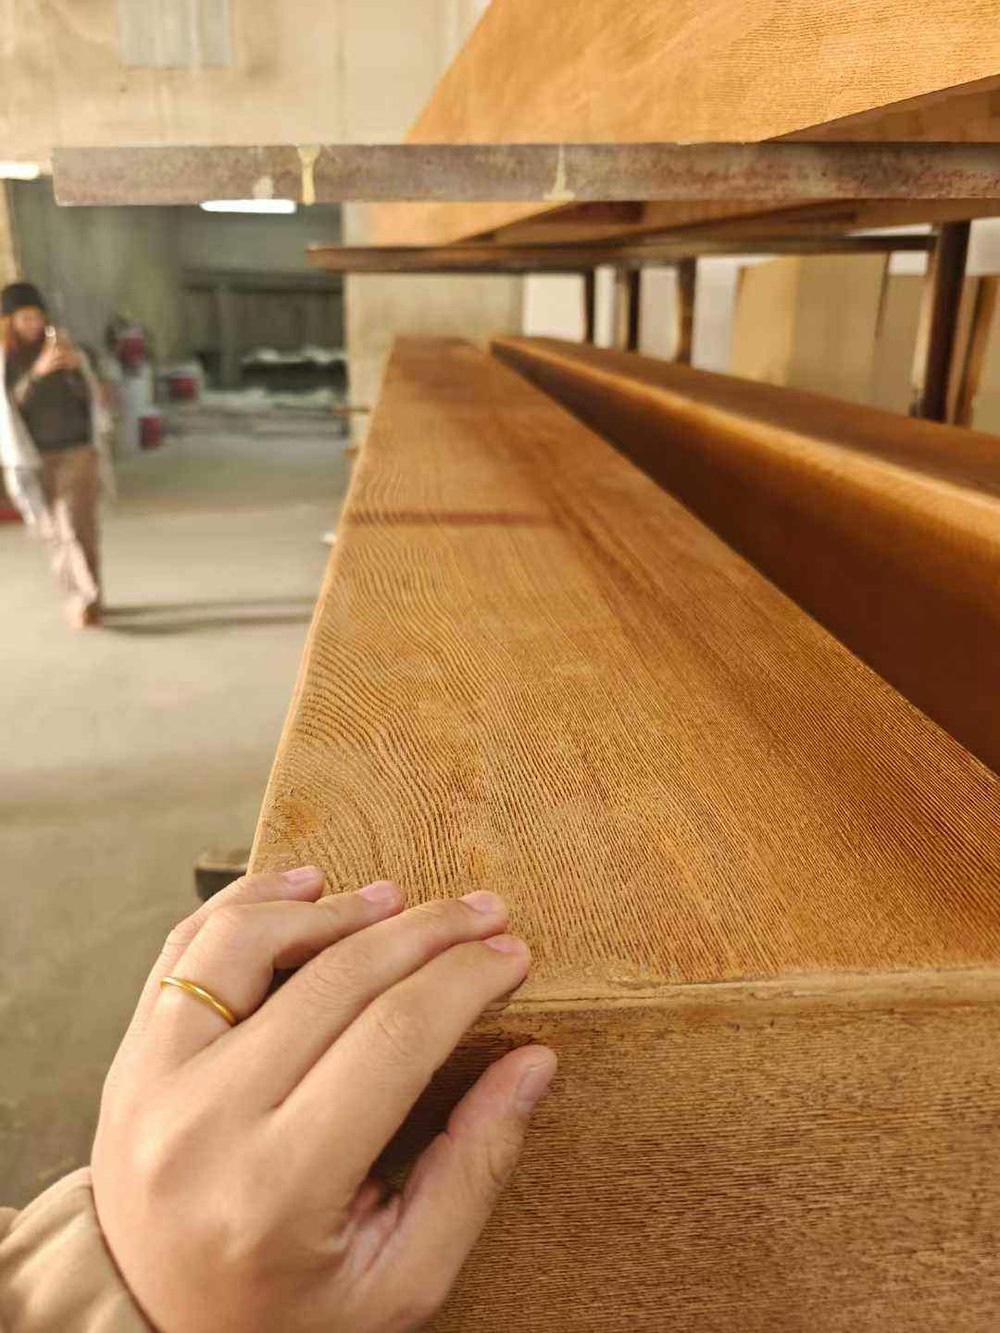
The first time you pick up a polyurethane faux wood beam, the most striking thing is how little it weighs. A four-meter beam that would weigh 30 kilograms in solid timber comes in at under 8 kilograms in PU foam. That difference changes everything about how the installation can be approached, who can do the work, and what ceiling structures can support the finished beam.
The low weight is a product of the closed-cell foam structure that gives PU beams their other useful properties, including moisture resistance, dimensional stability, and the ability to carry a detailed surface texture without weight. It also means that almost any ceiling can accept a PU beam without structural reinforcement, which is not true of solid timber.
What Lightweight Means in Practice
For a solo installer, the low weight means most beams can be lifted onto the brackets without a helper. The limit is usually arm reach and ladder stability rather than beam weight. A two-meter beam can typically be installed by one person from a stepladder, and even a four-meter beam is manageable with a helper standing at the far end to guide it.
For the ceiling structure, the low weight means most residential ceilings can support PU beams without any additional reinforcement. A standard ceiling joist system designed for drywall can carry several PU beams without approaching its load limits. This is a significant difference from solid timber beams, which often require additional structural support in the ceiling to carry their weight.
For the hardware, the low weight means simpler brackets and fewer mounting points. A PU beam typically needs brackets every 60 to 90 centimeters, compared to every 30 to 45 centimeters for a comparable solid timber beam. The brackets themselves are smaller and lighter, which makes them easier to handle on a ladder.
Planning Considerations
Even though the beams are lightweight, the planning process is the same as for any ceiling project. Measure the room, locate the joists, mark the layout, and order the beams with enough lead time to receive them before the installation date.
The one planning difference is that lightweight beams can span longer distances between brackets than solid timber beams. For a typical residential installation, a PU beam can span 90 centimeters between brackets without any noticeable sag. For longer spans, the bracket spacing should be reduced or the beam should be reinforced with a backing strip inside the channel.
Consider the ceiling height when planning the installation. Beams on a standard 2.4-meter ceiling are easy to reach from a stepladder. Beams on a 3-meter ceiling require a taller ladder or a small scaffold, which adds time and complexity to the installation. Beams on a vaulted ceiling above 4 meters may require a full scaffold setup, which is best left to professional installers.
Hardware for Lightweight Beams
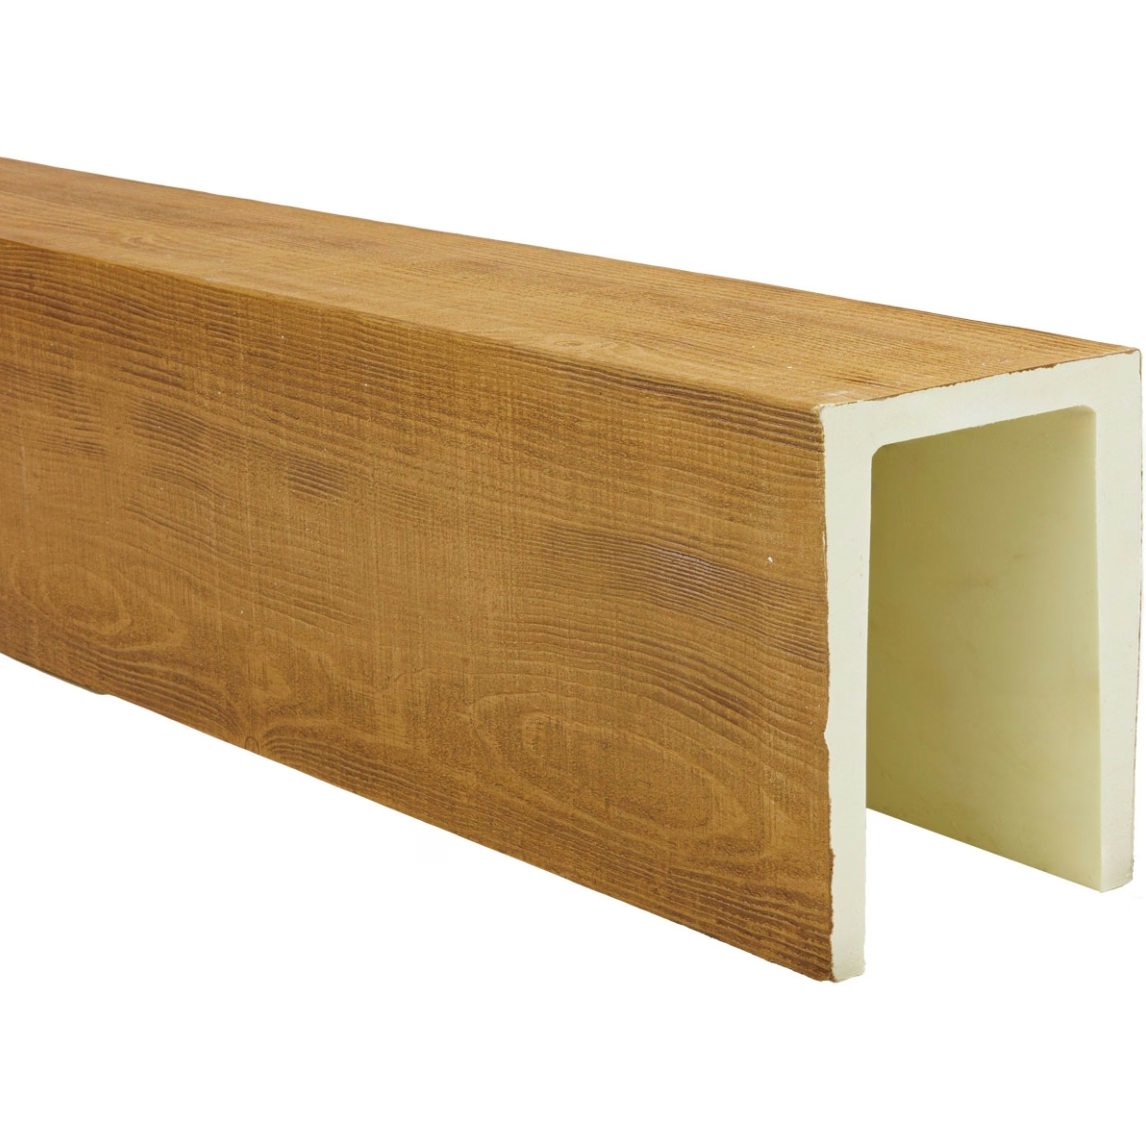
The brackets that come with most PU beam kits are designed specifically for the weight of the beam. Standard residential brackets are typically rated for 15 to 25 kilograms per bracket, which is well above the actual load of a PU beam. The over-spec gives a safety margin and makes the brackets suitable for longer beams or for heavier PU beam profiles.
The screws that come with the kit are also sized for the application. Wood screws for joist mounting are typically 50 to 65 millimeters long, which provides adequate penetration into standard framing lumber. Drywall anchors for installations between joists are usually heavy-duty metal anchors rated for the weight of the beam.
For installations on metal framing or on concrete ceilings, different fasteners are required. Self-drilling metal screws work for steel framing, while concrete screws with masonry anchors work for concrete ceilings. The beam kits usually do not include these specialty fasteners, so they need to be sourced separately.
Installation Process
Mark the bracket locations on the ceiling using a level or laser. Lightweight beams are more forgiving of slight bracket misalignment than heavier beams, but it is still worth taking the time to mark the locations accurately. Use a pencil and a straightedge, and check each mark with a tape measure before moving to the next.
Pre-drill the screw holes for each bracket using a drill bit slightly smaller than the screws. This step is particularly important on hard ceilings like plaster or wood paneling, where driving a screw directly can crack the surface. The pre-drilled hole also makes it easier to drive the screw straight, which produces a cleaner installation.
Hold the bracket in position and drive the screws through the bracket and into the ceiling. Check the bracket for level before driving the second screw. Once both screws are in, the bracket is secure and ready to receive the beam.
Lift the beam into position. For lightweight PU beams, this step is usually easier than expected. The beam can be guided onto the brackets from below, with the routed channel dropping over the bracket arms as the beam is pushed up into place.
Secure the beam to the brackets with the included set screws or clips. Tighten the set screws until they are snug, but do not over-tighten, which can dimple the foam or crack the channel wall.

Solo Installation Tips
For DIYers working alone, a few techniques make the installation easier. Use a beam saddle or a pair of ladders with a crossbar to support one end of the beam while you work on the other end. The saddle holds the beam at the right height, so you can position the brackets and make adjustments without trying to hold the beam in one hand and a drill in the other.
A laser level is particularly valuable for solo installations. Set the laser line at the bottom edge of the beam and use it as a reference for both the bracket height and the final beam position. The laser stays in place while you work, which is much easier than trying to hold a level in position with one hand while driving screws with the other.
Pre-assemble as much as possible before climbing the ladder. Set the brackets on the track at the correct spacing, pre-cut any openings in the beam for junction boxes or fixtures, and have all of the necessary tools and fasteners within reach. The time spent preparing at ground level saves much more time working overhead.
Finishing the Installation
End caps, caulk lines, and corner joints require the same attention as any other beam installation. The lightweight nature of the beam does not change the finishing requirements, but it does make the finishing work easier because the beam can be lifted off the brackets temporarily if you need access to a particular area.
Check the beam for level and alignment from several angles around the room before sealing the ends. A beam that looks level from directly below can show a slight twist when viewed from the side. The twist is usually correctable by adjusting the brackets slightly, and doing this before the ends are sealed is much easier than doing it after.
When Lightweight Beams Are Not the Right Choice
Lightweight PU beams are not the right choice for every application. Load-bearing applications, such as a beam that needs to support a section of the roof or carry the weight of a second story, require solid timber or structural steel. Decorative applications are where PU beams excel.
Fire rating is another consideration. PU foam has a lower fire rating than solid timber, and a PU beam cannot be used in applications where a fire-rated structural member is required. In most residential installations, this is not an issue, but it is worth checking with the local building department if the beam is part of a multi-family building or a commercial space.
For installations where the beam will be exposed to high heat, such as directly above a wood-burning stove or a fireplace, PU beams may not be suitable. The foam can soften at temperatures well below its flash point, and the resulting deformation can damage the beam finish. Solid timber or steel is a better choice for these applications.
Technical References
ASTM standards cited in every specification
Test Data
Lab results from internal testing program
Updated 2026
Reviewed against current product specs