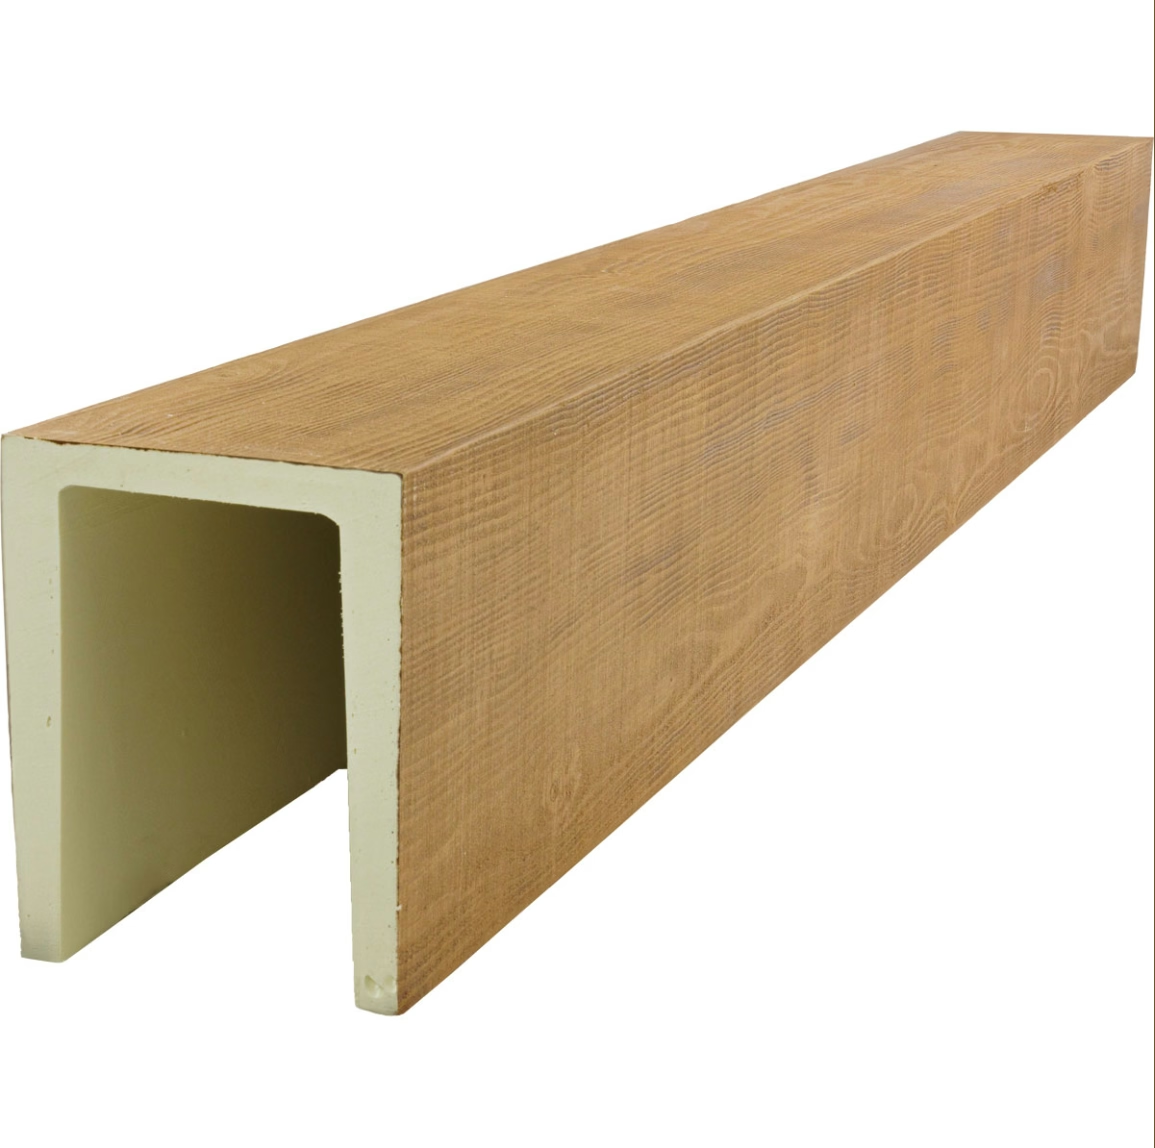
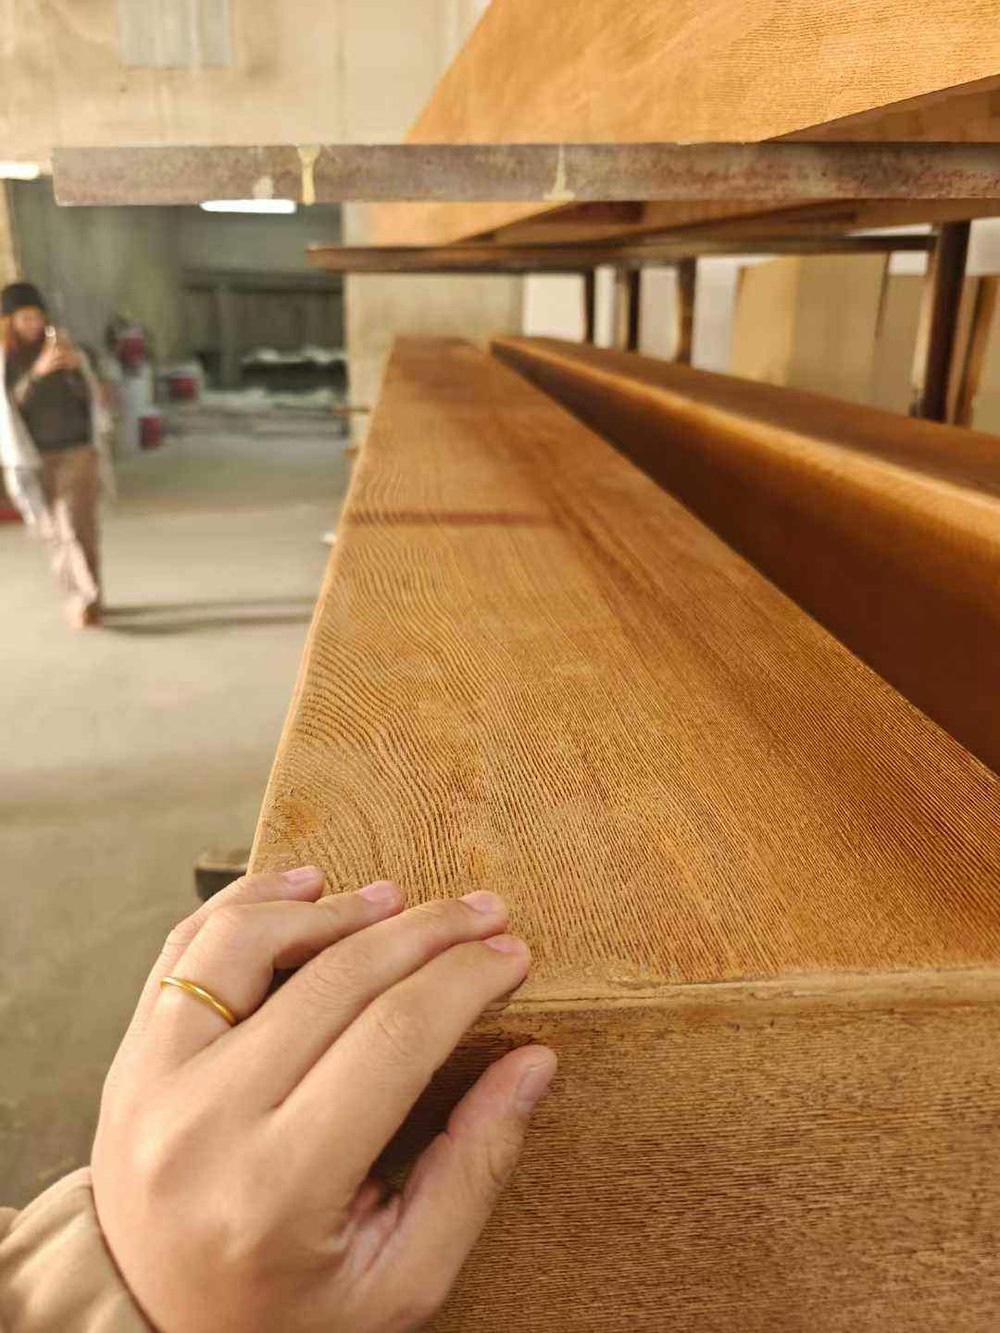
A long scrape across the corner of an exposed beam can ruin the calm of an otherwise finished room. The good news is that polyurethane faux wood beams do not behave like solid timber when they get damaged. They dent rather than splinter, and the surface layer that carries the wood grain print and stain is thick enough to absorb light repair work without exposing anything underneath.
Most scratches that show up on installed PU beams fall into three categories. There are hairline scuffs that only affect the clear topcoat, slightly deeper marks that go through the stain into the colored foam body, and the rarer gouges that actually break the surface. Each one has a different fix, and you can usually tell which you are dealing with by running a fingernail across the mark. If your nail catches, you have gone beyond the topcoat.
Why PU Faux Beams Behave Differently From Real Wood
Polyurethane beams are made by pouring a foam resin into a mold that carries a wood grain texture. The factory applies a base stain and then a protective topcoat before the beam ever ships. That means the visible "wood" is actually a thin engineered skin sitting on top of a closed-cell foam core. The skin is tough, but it is not invincible, and once it is breached the foam underneath shows up as a slightly different color.
The advantage of this construction for repair purposes is that the foam itself is color-tinted during manufacturing to match the stain on the outside. A scratch that goes through the topcoat often reveals foam that is darker than the surface, not lighter, which means you are blending into a similar hue rather than fighting a bright raw spot.
It also means that aggressive sanding is risky. You can take off the printed grain if you push too hard, and once that texture is gone you cannot recreate it without a full re-finish. The repair philosophy for these beams is to do the least aggressive thing first, then escalate only if the result still looks wrong.
Tools and Materials You Will Need
Gather everything before you climb the ladder. Running up and down for forgotten items is the fastest way to turn a thirty-minute touch-up into a frustrating afternoon.
- Microfiber cloths, at least three
- Isopropyl alcohol in a small spray bottle
- 400-grit and 800-grit wet/dry sandpaper
- A small foam sanding block
- Color-matched touch-up stain in a squeeze bottle
- A fine artist's brush, size 0 or 1
- Putty stick or wax filler in a matching tone
- Clear matte or satin topcoat spray
- Painter's tape
- A small flashlight or phone light for inspection
Most PU beam manufacturers sell touch-up kits that include a stain pen, a small container of grain wash, and a topcoat. If yours does not, any home center can help you match a stain chip to the beam color. Bring a sample if you have an offcut, or hold swatches against the beam in natural light.

Step One: Clean the Area Thoroughly
Dust and wax from furniture polish can fill a scratch and make it look worse than it is. Before you decide how bad the damage is, wipe the beam with a microfiber cloth lightly dampened with isopropyl alcohol. Work along the length of the beam, not across it, so you do not push grit into the grain pattern.
Let the area dry for ten minutes. The alcohol evaporates quickly and will not affect the foam, but any cleaning residue left behind will interfere with the adhesion of any filler or stain you apply next. Once dry, inspect the scratch again with a light held at a low angle across the beam. This raking light reveals the depth and the edges of the damage in a way that overhead room light never does.
Step Two: Address Shallow Scuffs
If the scratch is only in the topcoat, you may not need filler or stain at all. Lightly buff the area with 800-grit paper wrapped around a foam block. Use very little pressure and let the paper do the work. You are trying to knock down any raised edges around the scratch, not remove the surrounding grain pattern.
Wipe the dust away with a dry microfiber cloth and check the surface. In many cases the scuff simply disappears because the surrounding topcoat was slightly disturbed and you have now blended it back to a uniform sheen. If the area looks dull compared to the rest of the beam, a light mist of satin topcoat from a spray can will bring it back to the right finish.
Hold the spray can at least 25 centimeters away and apply in short bursts rather than a single heavy coat. Two thin coats with five minutes between them produce a much better result than one wet coat, which is likely to run and leave a visible line.
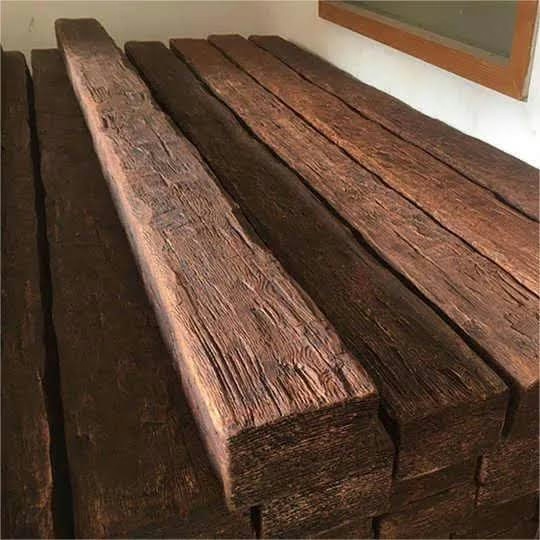
Step Three: Filling Slightly Deeper Scratches
Scratches that you can feel with a fingernail usually need a wax filler or putty stick. Warm the stick slightly by rolling it between your palms, then press it into the scratch at an angle so the filler packs in rather than smearing across the surface. A plastic putty knife or even a credit card works well for pressing the filler home.
Remove the excess with a clean edge pulled across the beam in the direction of the grain. The filler should sit just slightly proud of the surface. You will sand it flush after it has cured, which usually takes fifteen to thirty minutes depending on the brand. Once cured, sand very lightly with 400-grit paper followed by 800-grit, keeping the pressure even so you do not create a dip.
Step Four: Color Blending
Filler on its own rarely matches the beam color exactly. That is normal, and it is what the stain step is for. Dip your fine brush into the touch-up stain and draw it along the scratch, following the grain direction. Work in thin layers. You can always add more color, but taking color away means starting over.
Let each layer dry fully before judging the match. Stain on filler looks much darker when wet than it will once dry. If the beam has multiple tones in its grain pattern, mix two shades on a piece of cardboard to create intermediate tones. Use the darker mix in the deeper parts of the grain print and the lighter shade on the higher portions to mimic the way the factory applied the original finish.
Step Five: Sealing the Repair
A repaired scratch without a fresh topcoat will collect dirt and look dull within months. Once the stain has dried for at least two hours, apply a light coat of the same finish the rest of the beam carries, usually satin or matte. Spray cans are easiest for this step because they produce a thin, even mist without brush marks.
Mask the surrounding ceiling and wall with painter's tape before spraying. Overspray on a freshly painted ceiling is the kind of mistake that turns a small repair into a much bigger repaint job. Two light coats, five minutes apart, will seal the repair and restore the sheen to match the rest of the beam.

Common Mistakes to Avoid
The most frequent error is sanding too aggressively. The grain print on a PU beam is only a fraction of a millimeter deep, and once you have removed it you cannot put it back. If the scratch is in a visible part of the grain pattern, switch from sanding to filling rather than trying to sand it out.
The second mistake is skipping the topcoat. Repair work looks perfect on day one and disappointing on day thirty because the unsealed area picks up oils from the air and from cleaning. The topcoat is what makes the repair last, so do not leave it off.
Finally, do not try to fill a scratch with wood filler intended for real lumber. Wood fillers are designed to expand and contract with timber. PU foam does not move the same way, and a wood filler patch on a PU beam will usually crack within a season. Use a wax filler or a polyurethane-specific repair compound instead.
When to Call a Professional
Most homeowners can repair a scratch successfully with the steps above. There are a few situations where it makes sense to call a finisher or to ask the beam manufacturer for guidance. Long cracks that run the full length of a beam, areas where the foam has actually crumbled, and damage near a joint or seam may need a more involved repair that includes structural reinstallation of the affected section.
If your beams are still under warranty, contact the manufacturer before doing any repair work. Many warranties cover surface damage and will either send a touch-up kit or arrange for a technician to come out and restore the finish. Attempting a repair yourself can void that coverage, so it is always worth a quick call first.
Keeping Scratches From Coming Back
Once the repair is done, a few small habits will keep the rest of the beam looking new. Dust beams regularly with a microfiber head rather than a feather duster, which can leave streaks. Avoid hanging anything directly from a beam unless it was designed to take the load, and use furniture pads on anything that sits close to a beam end.
For rooms where ceiling fans are mounted near beams, make sure the fan is balanced. An unbalanced fan vibrates the ceiling structure, and over time that vibration can work loose the adhesive behind a beam, which then shifts and rubs against the mounting hardware. Most beam-related damage in those situations comes from movement rather than from any direct impact.
Technical References
ASTM standards cited in every specification
Test Data
Lab results from internal testing program
Updated 2026
Reviewed against current product specs