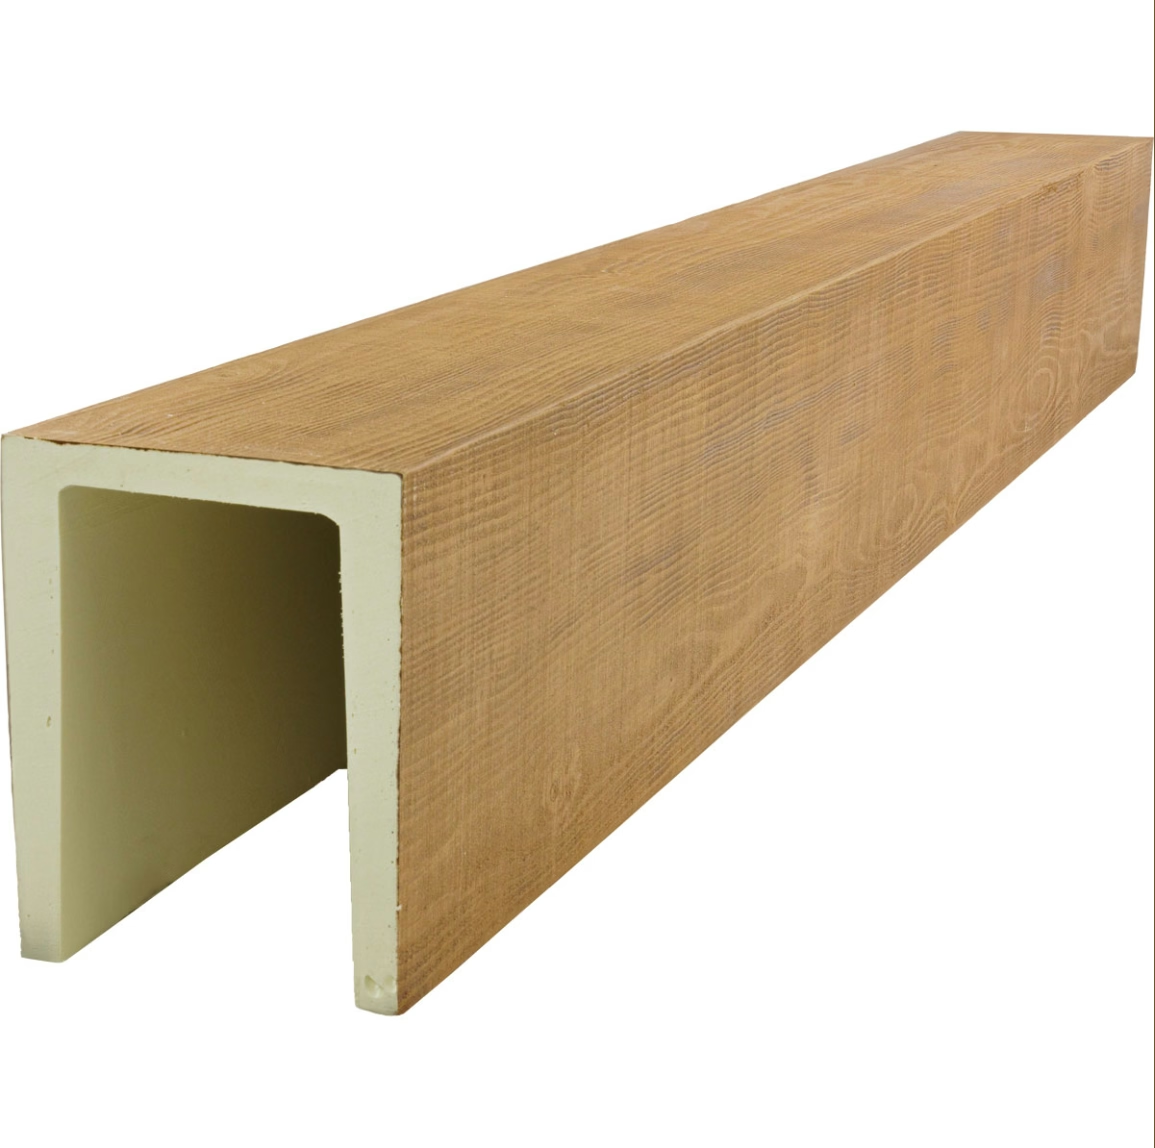
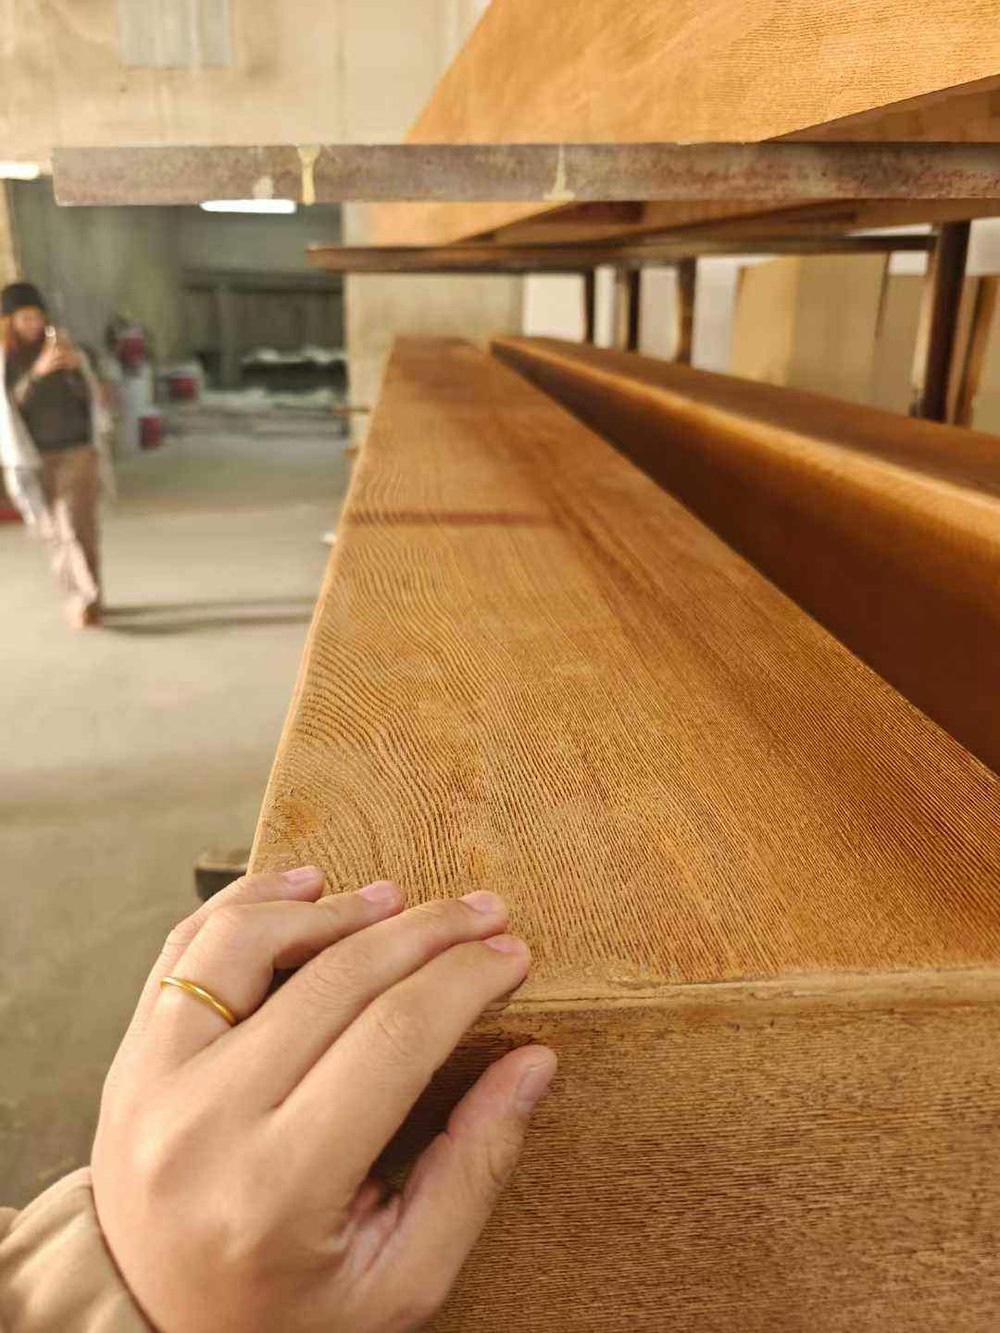
A chip in a polyurethane faux beam usually shows up at the worst possible moment, often during a move, while carrying a ladder, or when a child decides that the beam corner is the perfect height for a marker experiment. The size of the chip often looks worse than the underlying damage, because the rough foam underneath catches shadows and makes the spot look deeper than it really is.
The repair process for a chip is similar to a scratch but takes an extra step to rebuild the missing volume. You cannot simply stain over a chip the way you would a scratch. The foam has to be replaced with something that holds its shape, takes color, and bonds to the surrounding material without cracking loose over time.
Why Chips Happen and Why They Look Worse Than They Are
Polyurethane foam has a closed-cell structure, which gives the beam its light weight and its ability to resist moisture. The trade-off is that the foam is more brittle at thin points than solid timber would be. Corners, edges, and the lower exposed face of a beam are the most common chip locations because they take the brunt of any contact.
The visual impact is amplified by the factory finish. A chip removes the printed grain and the topcoat in one motion, exposing foam that has a flatter, more uniform appearance. Against a richly stained and textured beam face, that flat patch draws the eye, even when it is only a few millimeters across.
Materials That Work and Materials to Avoid
Not every filler you find at the hardware store will bond to PU foam. Some wood fillers contain solvents that soften or even dissolve polyurethane, leaving you with a bigger problem than the chip you started with. The same is true of standard polyester body fillers used in auto repair.
What does work is two-part epoxy putty designed for plastics, lightweight spackling compounds rated for foam, and the dedicated touch-up kits sold by most PU beam manufacturers. Wax filler sticks work for small shallow chips but tend to fall out of anything deeper than three millimeters because wax does not bond mechanically to foam the way a hardening filler does.
If you are unsure about a product, test it on an offcut or on the back side of an installed beam before using it on a visible face. A small dab left for twenty-four hours will tell you everything you need to know about adhesion and compatibility.
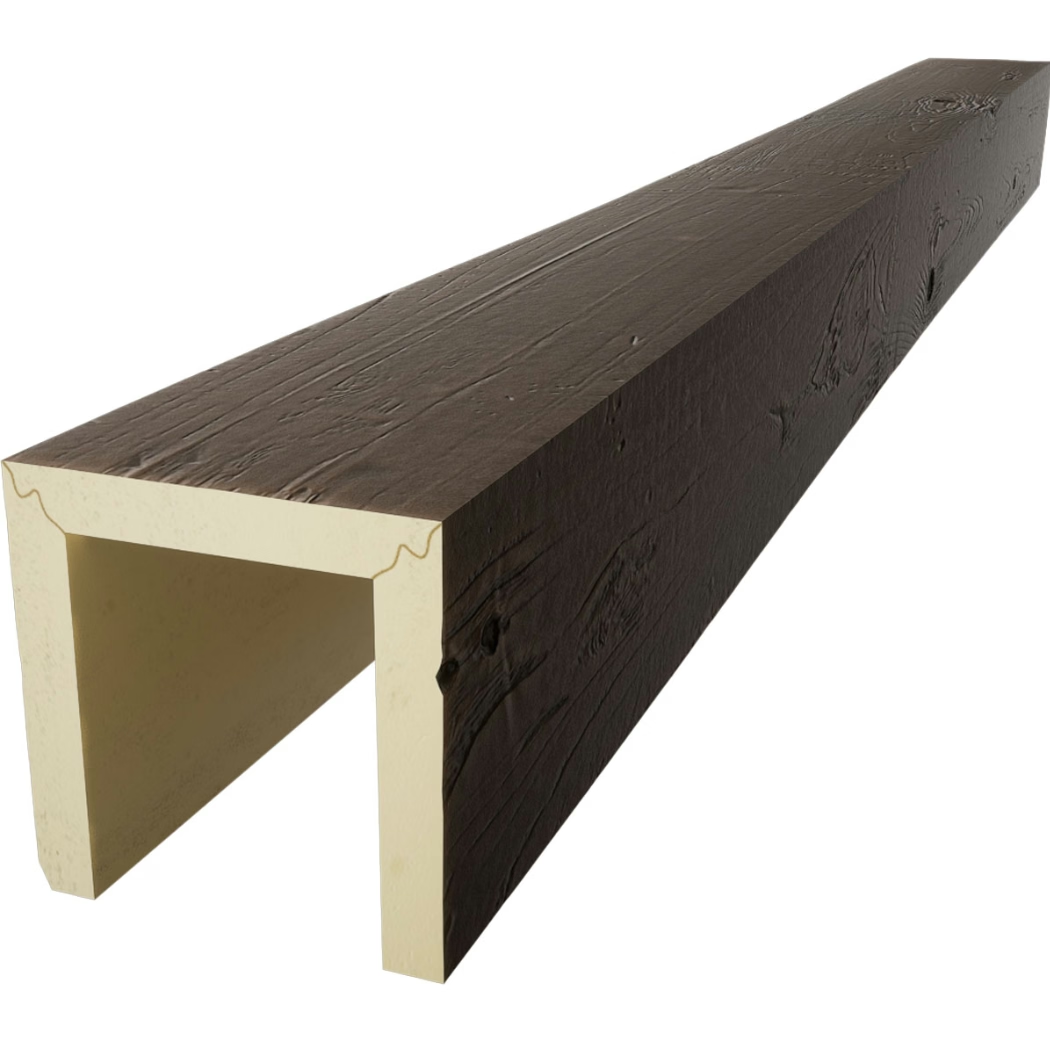
Step One: Trim and Clean the Chip
Resist the urge to fill the chip as soon as you see it. Loose foam strands and any debris left in the cavity will weaken the bond of the new filler. Use a sharp utility knife or the corner of a chisel to trim away any protruding foam, cutting back to a clean edge rather than leaving a ragged feather.
Blow the dust out with compressed air or a gentle puff from your mouth, then wipe the area with isopropyl alcohol on a cotton swab. The alcohol cuts any oils that might be sitting on the foam and evaporates without leaving residue. Allow a few minutes of drying time before moving on.
Step Two: Build the Filler in Layers
For chips deeper than five millimeters, do not try to fill the cavity in one pass. A thick blob of filler shrinks slightly as it cures, and that shrinkage shows up as a depression in the middle of the patch. Instead, fill in two or three thin layers, letting each one set before adding the next.
Press the filler firmly into the cavity so it makes good contact with the foam underneath. Air pockets are the most common cause of filler popping out later, especially on overhead beam faces where gravity works against you during the curing process. A small flexible plastic spreader is the best tool for this work. Metal tools tend to gouge the surrounding beam surface, while plastic flexes just enough to follow the contour.
Step Three: Shape the Patch While It Cures
Most fillers pass through a plastic phase during curing where they can be trimmed cleanly with a knife but have not yet hardened fully. Watch the manufacturer's instructions for the right timing. Cutting too early pulls the filler out of the cavity, while cutting too late means you have to sand aggressively, which brings back the original risk of damaging the printed grain on the surrounding beam.
Carve the patch so it sits just slightly proud of the surface, then sand it flush with 220-grit followed by 400-grit paper. Sand in the direction of the printed grain pattern rather than across it. This keeps any sanding scratches hidden inside the grain lines rather than across the smooth portions of the beam face.
Step Four: Recreate the Grain If Needed
Small chips rarely disturb enough of the grain pattern to need recreation. The printed texture is forgiving, and most chips fall on the edges and corners where the grain transitions to a smoother finish anyway. If the chip landed on a heavily textured portion of the beam, you can suggest new grain lines with a fine artist brush and a slightly darker shade of the touch-up stain.
Practice on a piece of cardboard first. The goal is to lay down hairlines that look like the surrounding grain rather than uniform stripes. Slightly varying the spacing between strokes and varying the line weight makes the repair disappear into the original pattern.
Step Five: Color and Finish
Apply the stain in thin layers, drying between coats, until the patch matches the surrounding beam. The first coat always looks too light, the second coat often looks too dark, and somewhere around the third coat things usually settle into the right tone. Patience here saves you from having to strip the patch and start over.
Seal the patch with a light mist of the same sheen topcoat used on the rest of the beam. Two thin coats are better than one heavy one. Heavy coats run, and runs on a beam face are extremely difficult to fix without leaving a visible mark.

Preventing Chips in the Future
Most chips happen during the first few months after installation, when homeowners and contractors are still moving around the room and finishing other trades. Once the room is fully dressed and people have learned where the beams are, chip damage drops off sharply.
Adding small clear bumpers to the bottom corners of beams in high-traffic areas is an easy precaution. Adhesive-backed felt pads in a matching wood tone work well for residential spaces, while rubber corner guards are a better choice for commercial settings where furniture and equipment move around more often.
If you are planning additional work in a room with installed beams, mask the lower exposed faces and corners with painter's tape and a drop cloth before any ladders, scaffolding, or heavy tools come into the space. The few minutes spent masking will save hours of repair work later, and the tape comes off cleanly without affecting the factory finish.
Technical References
ASTM standards cited in every specification
Test Data
Lab results from internal testing program
Updated 2026
Reviewed against current product specs