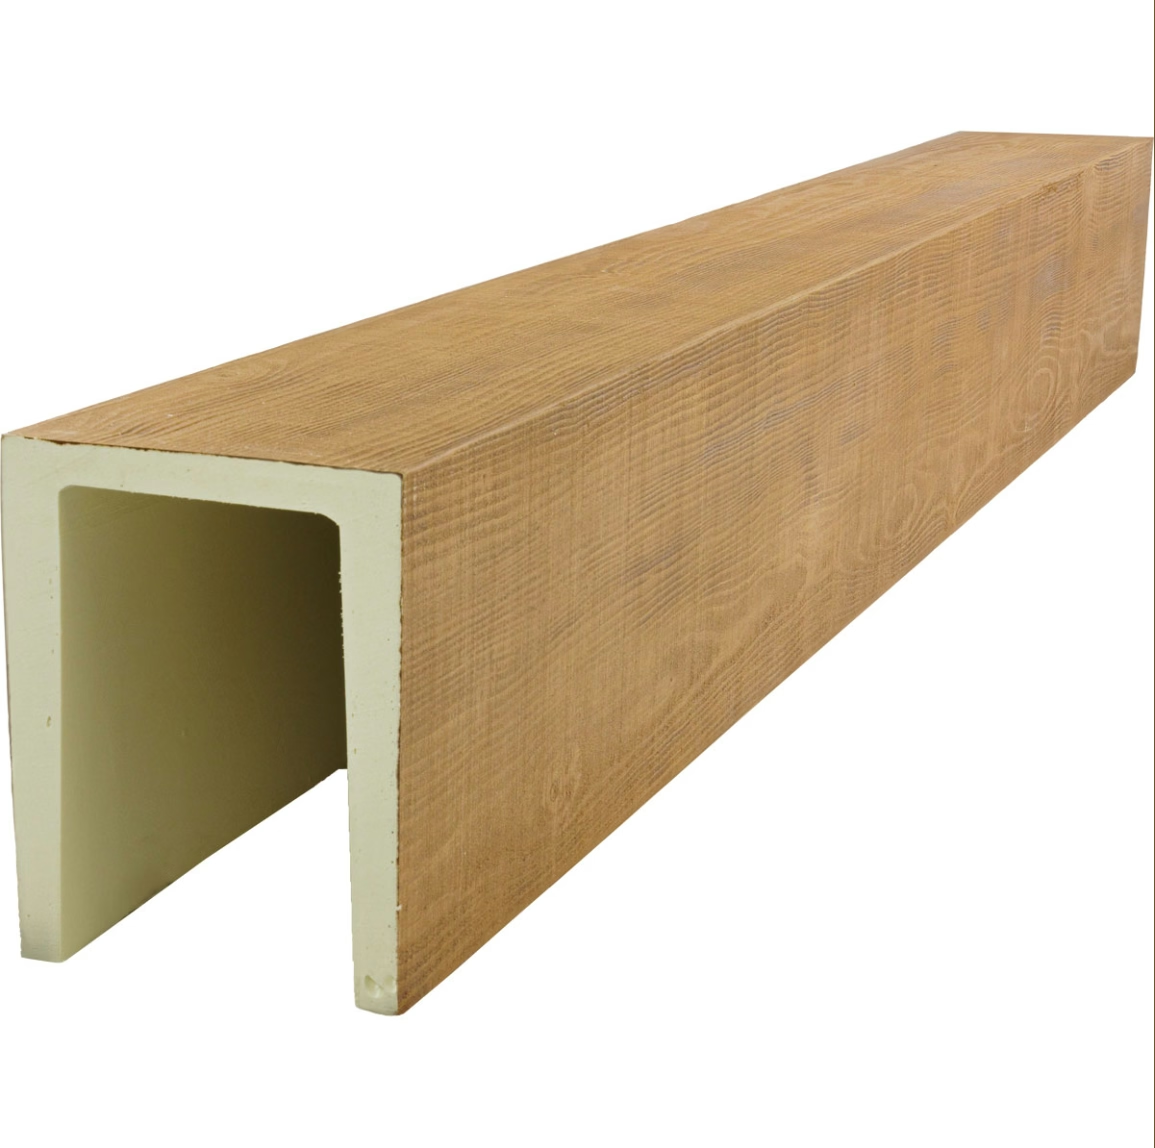
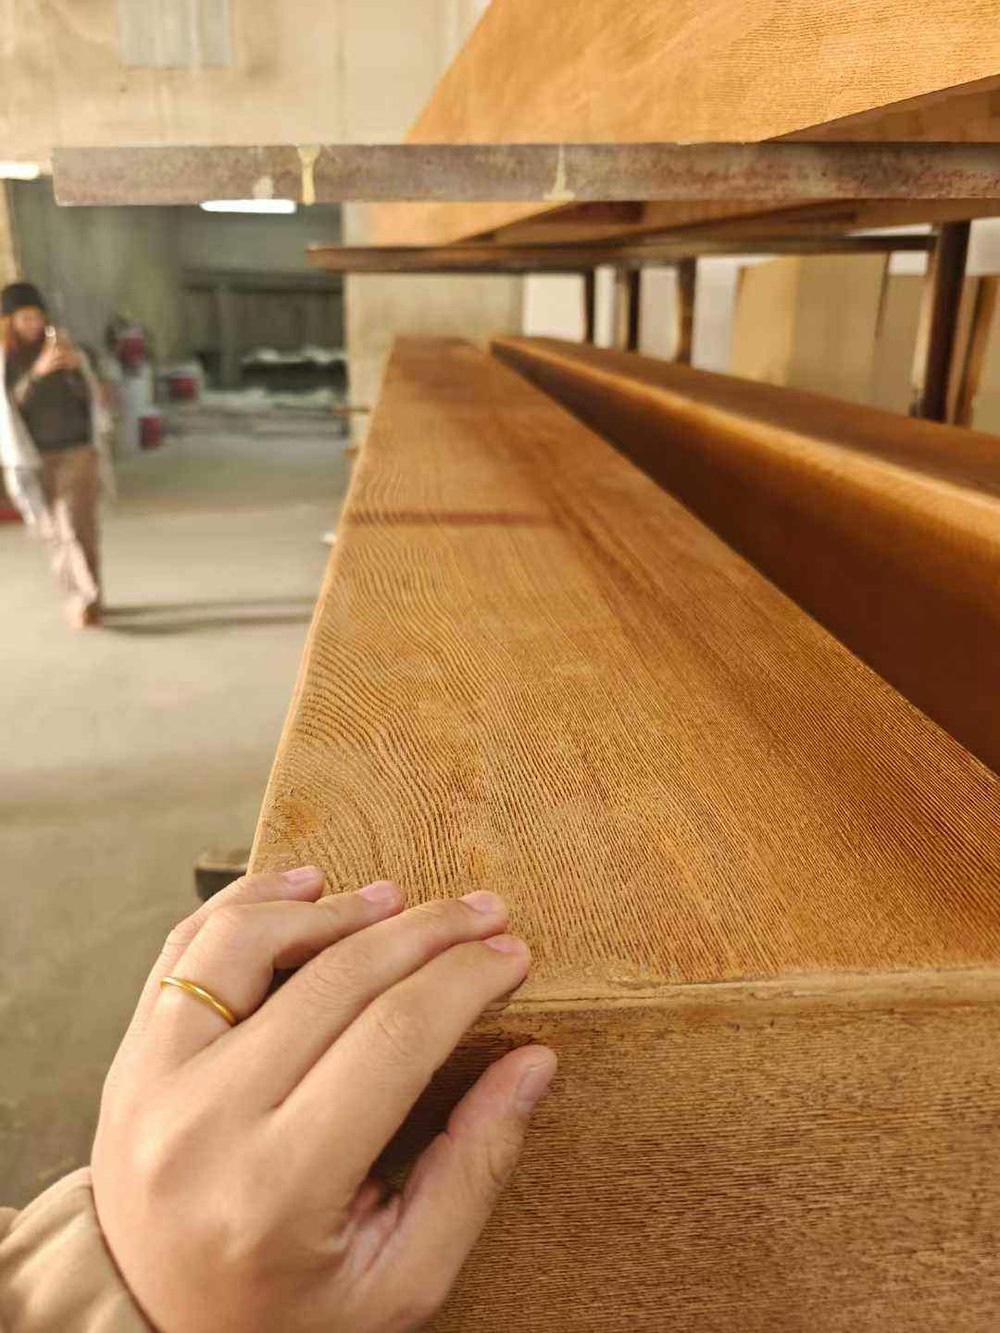
The texture of a faux timber beam is what separates a believable timber replica from an obviously fake plastic-looking product. A smooth beam, no matter how well it is stained, reads as artificial under any close inspection. A beam with realistic grain, knots, tool marks, and weathering reads as timber even when the viewer knows it is not.
Factory pre-texturing builds this realism into the beam from the mold stage onward. The texture is part of the beam's physical structure, not just a surface treatment applied after the fact. This approach produces a beam that looks and feels like real wood, with depth and authenticity that surface-only texturing cannot achieve.
How factory texturing is created
The texturing on a faux timber beam originates from the mold used to cast the beam. The mold is created from a master pattern that captures the surface detail of actual timber. The master might be a piece of real aged wood, a hand-carved reproduction, or a digitally sculpted pattern that mimics real wood characteristics.
Real wood masters are the gold standard for factory texturing. A factory that invests in masters made from actual barn wood, weathered oak, hand-hewn beams, or reclaimed chestnut produces beams with the authentic character of those specific sources. The grain patterns, knot shapes, tool marks, and weathering effects are captured exactly as they appear in the original wood.
Hand-carved masters are produced by skilled craftspeople who replicate the appearance of real wood without using wood itself. This approach allows the factory to create consistent masters that produce consistent beams, without depending on a finite supply of real wood for masters. The quality of hand-carved masters depends on the skill of the carver.
Digitally sculpted masters are created using 3D scanning or CAD software. The digital master is then used to create a physical mold through CNC machining or rapid prototyping. This approach allows precise control over the texture and easy reproduction, but the texture can look slightly artificial if the digital sculptor is not skilled at capturing the irregularities of real wood.
What factory pre-texturing includes
The base grain pattern is the foundation of the beam's texture. The grain should follow the natural direction of wood grain, with variations in density and depth that mimic how real wood grain appears. Straight grain is appropriate for some wood species, while others have more interlocking or wavy grain patterns.
Knots are characteristic features of timber that add visual interest and authenticity. Factory-textured beams include knots of varying sizes and shapes, positioned naturally along the beam length. The knots should look like they grew as part of the tree, not like they were stamped onto the surface.
Tool marks and weathering add character that makes a beam look aged rather than new. Tool marks might include adze cuts, saw marks, or hand-hewing effects that suggest the beam was shaped by traditional tools. Weathering effects might include raised grain, surface cracks, mineral staining, or other signs of decades of exposure.
Color variation is part of the texturing, even though it is technically a finish application. A textured beam without color variation looks gray and unconvincing. A textured beam with realistic color variation looks like real timber that has aged over time.
Hand-applied texture versus mold-incorporated texture
Some factories incorporate texture only into the mold, producing a beam that is textured as it comes out of the casting process. Other factories apply additional texture by hand after demolding, adding character that the mold alone cannot produce.
Mold-incorporated texture is consistent across all beams in a production run. Every beam has the same grain pattern, the same knot locations, and the same weathering effects. This consistency is appropriate for projects where uniformity matters, but it can look artificial because real wood varies from piece to piece.
Hand-applied texture adds variation that mold-incorporated texture lacks. Skilled workers add additional knots, deepen existing grain, distress specific areas, or apply other effects that make each beam slightly different from the next. This approach produces a more natural-looking installation but requires more skilled labor and increases production time.
Premium factories often use a combination approach, with mold-incorporated texture providing the foundation and hand-applied texture adding the variation. The combination produces the most realistic result, though at a higher cost than either approach alone.
How pre-texturing affects beam appearance
The texture determines how light interacts with the beam surface. A smooth beam reflects light uniformly, creating highlights and dark areas based on the viewing angle. A textured beam scatters light in different directions based on the grain direction, knot presence, and surface irregularities. The result is a more complex and visually interesting appearance.
The texture also determines how stain and finish appear on the beam. A textured beam accepts stain unevenly, with the high points of the grain receiving less stain and the low points receiving more. This uneven absorption is what creates the depth and variation that makes wood look like wood. A smooth beam receives stain evenly, producing a flat, uniform appearance that looks artificial.
The texture affects how the beam ages over time. A textured beam develops additional character as the high points of the grain wear slightly differently from the low points. The variation in wear contributes to the aged appearance that makes timber look established in a space. A smooth beam wears uniformly, without the variation that adds character.

Quality markers of factory pre-texturing
The first quality marker is grain authenticity. The grain should follow the natural direction of wood grain, with appropriate variations in density and depth. Grain that looks stamped, repeated, or artificially uniform is a sign of a lower-quality master pattern.
The second quality marker is knot realism. Knots should look like they were part of the original tree, with appropriate size, shape, and positioning. Knots that look stamped, perfectly round, or randomly distributed without regard for natural growth patterns are signs of a less skilled texturing process.
The third quality marker is weathering authenticity. Weathering effects should look like they developed naturally over time, with gradual transitions rather than abrupt changes. Weathering that looks painted on, too uniform, or inappropriate for the wood species is a sign of a less convincing texturing approach.
The fourth quality marker is finish integration. The texture should be fully integrated with the finish, with stain and topcoat reaching into all the crevices and contours of the surface. Texture that looks dry, dusty, or uncoated in the recesses is a sign that the finishing process did not adequately address the textured surface.
Common texturing techniques used by factories
Wire brushing is used to remove the soft grain from the surface, leaving the harder grain standing in relief. The technique creates a tactile surface that looks and feels like real aged wood. Wire brushing can be done on the master or on the finished beam, depending on the factory's process.
Sandblasting creates a weathered, slightly eroded surface that mimics the effect of years of exposure to wind and rain. The technique is particularly effective for beams designed to look like reclaimed timber. Sandblasting is usually done on the master to preserve the consistent pattern across production runs.
Hand carving adds unique character to specific beams in a production run. Skilled workers use small tools to deepen grain, add distress marks, or carve additional knots into the surface. Hand carving is labor-intensive but produces the most authentic results.
Distressing with chains, hammers, or other tools creates random dings, dents, and marks that mimic the abuse that real timber experiences over decades. The technique is applied sparingly to avoid making the beam look damaged rather than aged.
How to evaluate pre-textured samples
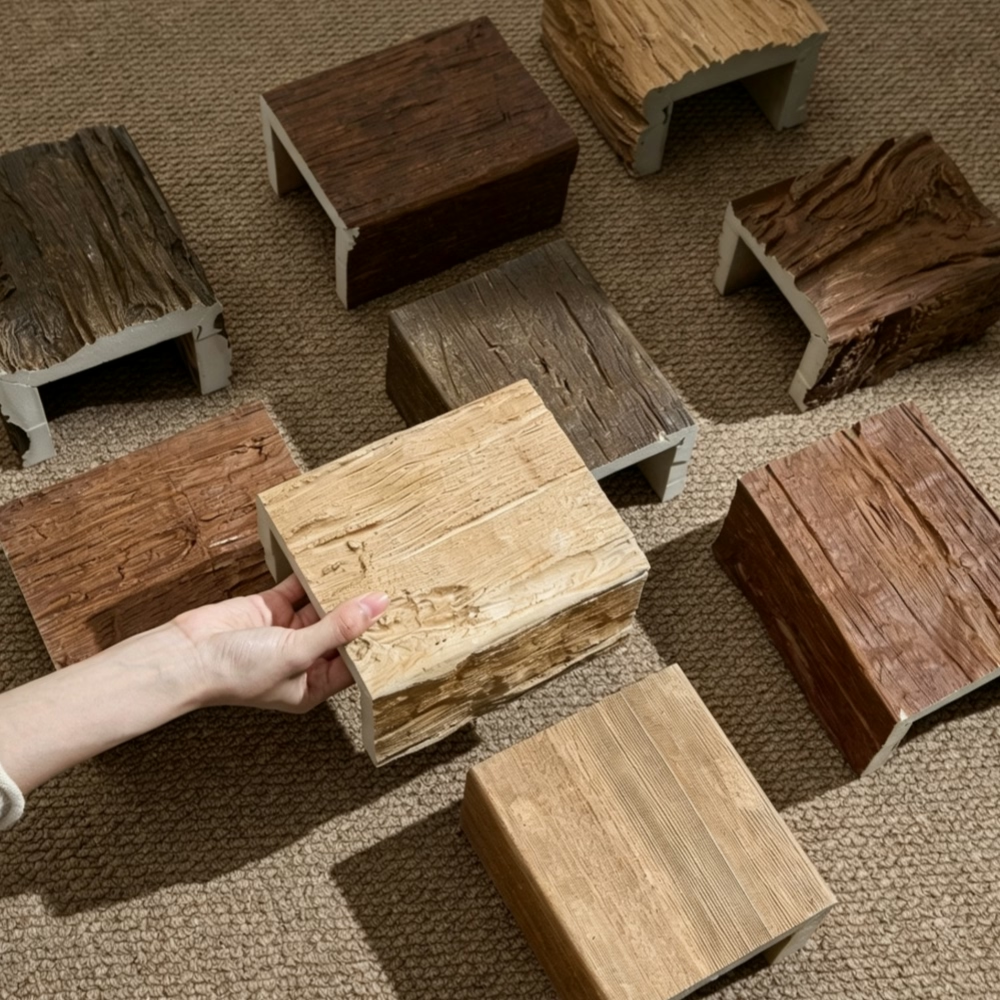
Viewing the sample under directional light reveals the depth and quality of the texture. Side lighting creates shadows in the grain recesses and highlights on the raised areas. The pattern of light and shadow should look natural, like real wood grain rather than a stamped pattern.
Touching the sample reveals the tactile quality of the texture. A well-textured beam feels like real wood, with slight variations in surface height and small irregularities. A poorly textured beam feels smooth, plasticky, or artificially uniform despite the visual appearance of texture.
Comparing samples from different production runs reveals the consistency of the texture. If the texture looks identical from run to run, the factory has consistent masters and processes. If the texture varies significantly, the factory might be using different masters or the masters might be degrading.
Checking the back or hidden surfaces of the sample reveals the consistency of the texturing throughout the beam. Some factories only texture the visible surfaces and leave the hidden surfaces smooth. This is appropriate for budget products but might indicate lower quality on premium products.
The role of color variation in pre-textured beams
Color variation is the companion to texture in creating a realistic wood appearance. Even a perfectly textured beam looks artificial if the color is uniform across the entire surface. Real wood varies in color from piece to piece and within a single piece, and a convincing faux timber should show similar variation.
Factory pre-coloring applies base colors, accent colors, and glaze washes to bring out the texture and create the appearance of natural variation. The base color establishes the overall tone, the accent colors add depth and interest, and the glaze washes settle into the grain recesses to emphasize the texture.
The interaction between texture and color is what creates the convincing wood appearance. The color application should follow the texture, with darker tones in the recesses and lighter tones on the raised areas. This contrast between texture and color is what makes the beam look like real wood rather than colored foam.
How pre-texturing affects pricing
Pre-textured beams cost more than smooth beams from the same factory. The premium covers the master creation, the mold incorporation of the texture, and any hand-applied texture that adds to the realism. The premium varies widely depending on the texture complexity.
Simple textures, such as straight grain with minimal knots, add a modest premium. Complex textures, such as hand-hewn effects with multiple tool marks and weathering, add a substantial premium. The most elaborate textures, including hand-applied character marks and multi-tone finishes, command the highest premiums.
Buyers should evaluate the texture premium against the visual benefit. For projects where the beams are a focal design element, the premium is justified by the improved realism. For projects where the beams are background elements, a simpler texture might provide adequate appearance at a lower cost.
Installation considerations for pre-textured beams
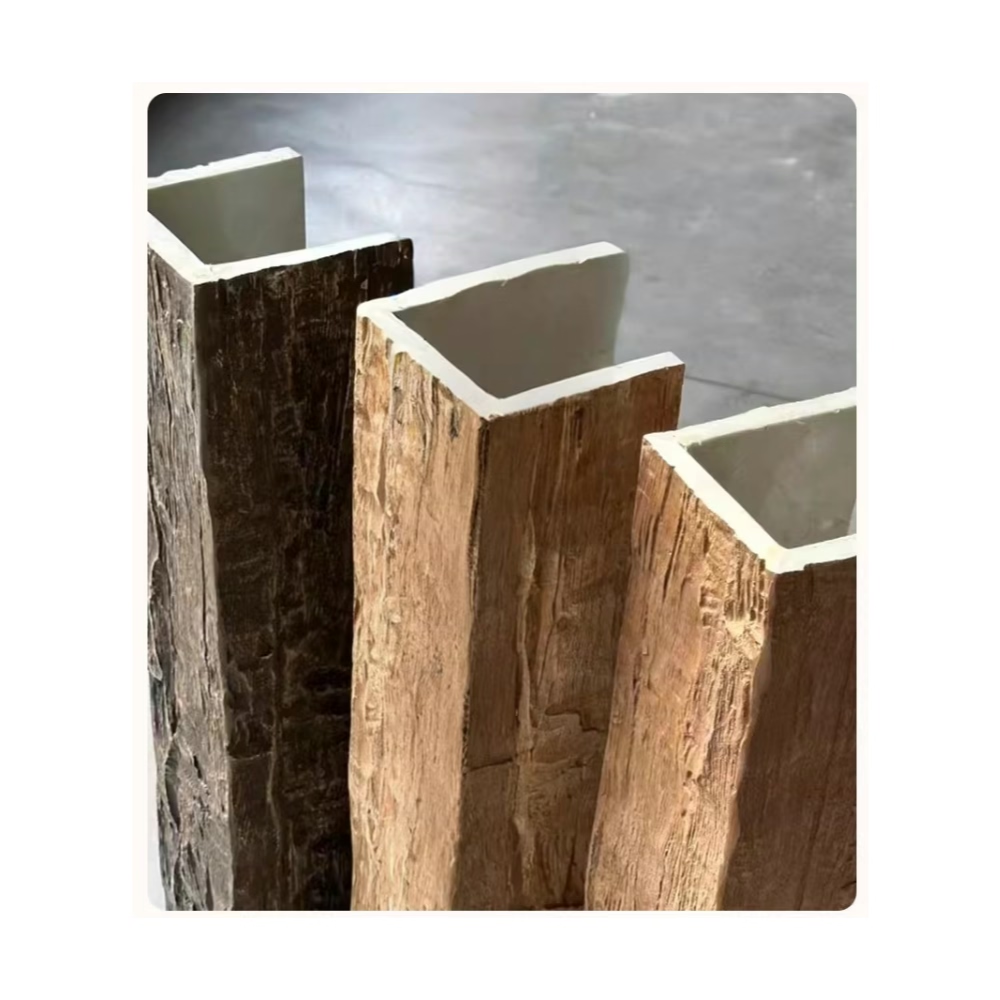
Pre-textured beams install the same way as smooth beams, with a few additional considerations. The texture can collect dust during storage and installation, so the beams should be wiped down before final positioning. The texture can also be damaged by rough handling, so care should be taken during transport and mounting.
The mounting hardware should be designed to avoid crushing the texture at the mounting points. Standard L-brackets can leave a flat spot on the textured surface where they press against it. Hidden mounting systems, such as cleats or French cleats, avoid this issue.
Touch-up of pre-textured beams requires textured touch-up materials if significant damage occurs. The factory should provide a touch-up kit that includes not only the stain and topcoat but also a texture compound that can be used to fill and re-texture small damaged areas. Without the texture compound, touch-ups look flat and obvious against the surrounding texture.
Common pre-texturing problems
The most common problem is texture that looks stamped or artificial. This is usually a sign of a low-quality master or a digital sculpting process that did not capture the irregularities of real wood. The texture might look acceptable from a distance but obviously artificial up close.
The second common problem is inconsistent texture across beams. Some beams might have more or less texture than others, or the texture might be in different locations on different beams. This inconsistency is a sign of a degrading master or a production process that is not well controlled.
The third common problem is texture damage during shipping. The texture is delicate, and rough handling can crush, scratch, or chip the textured surface. Proper packaging with adequate protection is essential for pre-textured beams.
The fourth common problem is finish pooling in the texture recesses. The stain or topcoat can pool in the deeper parts of the texture, creating dark spots or uneven sheen. Proper application technique and appropriate finish viscosity minimize this issue.
Selecting a factory for pre-textured beams
The most important selection criterion is the quality of the master's pattern. A factory that uses real wood masters or skilled hand-carved masters will produce more authentic texture than a factory that uses digital sculpting alone. Requesting samples from multiple factories and comparing them directly is the best way to evaluate master quality.
The second criterion is the consistency of the texture across production runs. A factory that produces consistent texture from run to run is one with stable masters and controlled processes. A factory whose texture varies between runs might be using degraded masters or inconsistent processes.
The third criterion is the integration of texture with finish. The factory should demonstrate that its finishing process is designed to work with the textured surface, not against it. Samples that show good texture and good finish integration indicate a factory that understands how to produce quality pre-textured beams.
The fourth criterion is the warranty and support. Pre-textured beams are more delicate than smooth beams, and the factory should stand behind its product with a warranty that covers texture-related issues. A factory that offers a strong warranty is one that is confident in its pre-texturing process.
For projects where the beams are a significant visual element, factory pre-texturing is worth the premium. The improved realism, the consistent quality, and the time savings over on-site texturing approaches make pre-textured beams the practical choice for most installations.
Technical References
ASTM standards cited in every specification
Test Data
Lab results from internal testing program
Updated 2026
Reviewed against current product specs