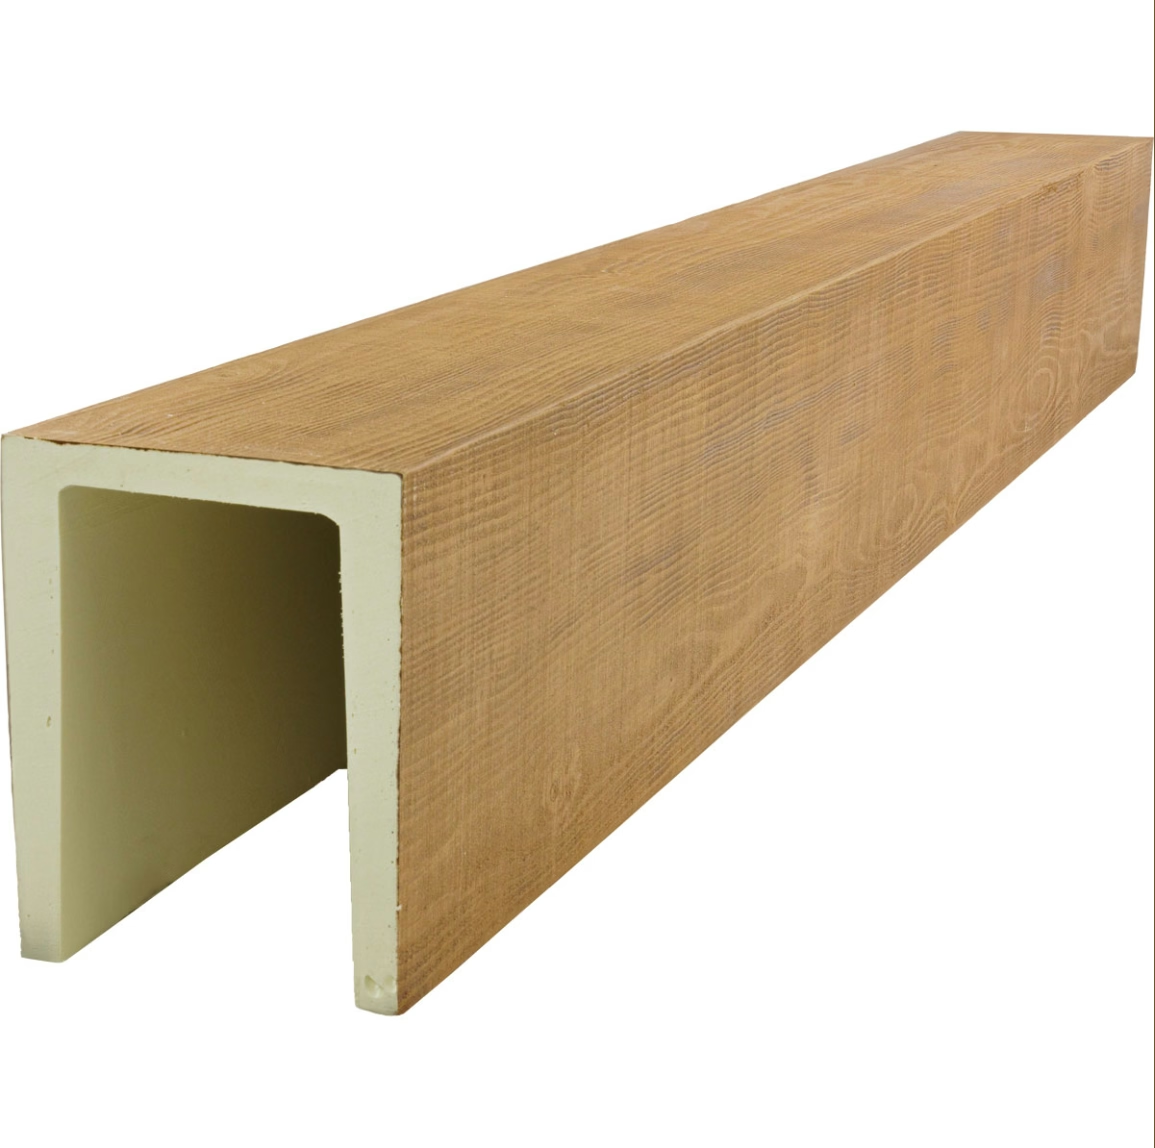
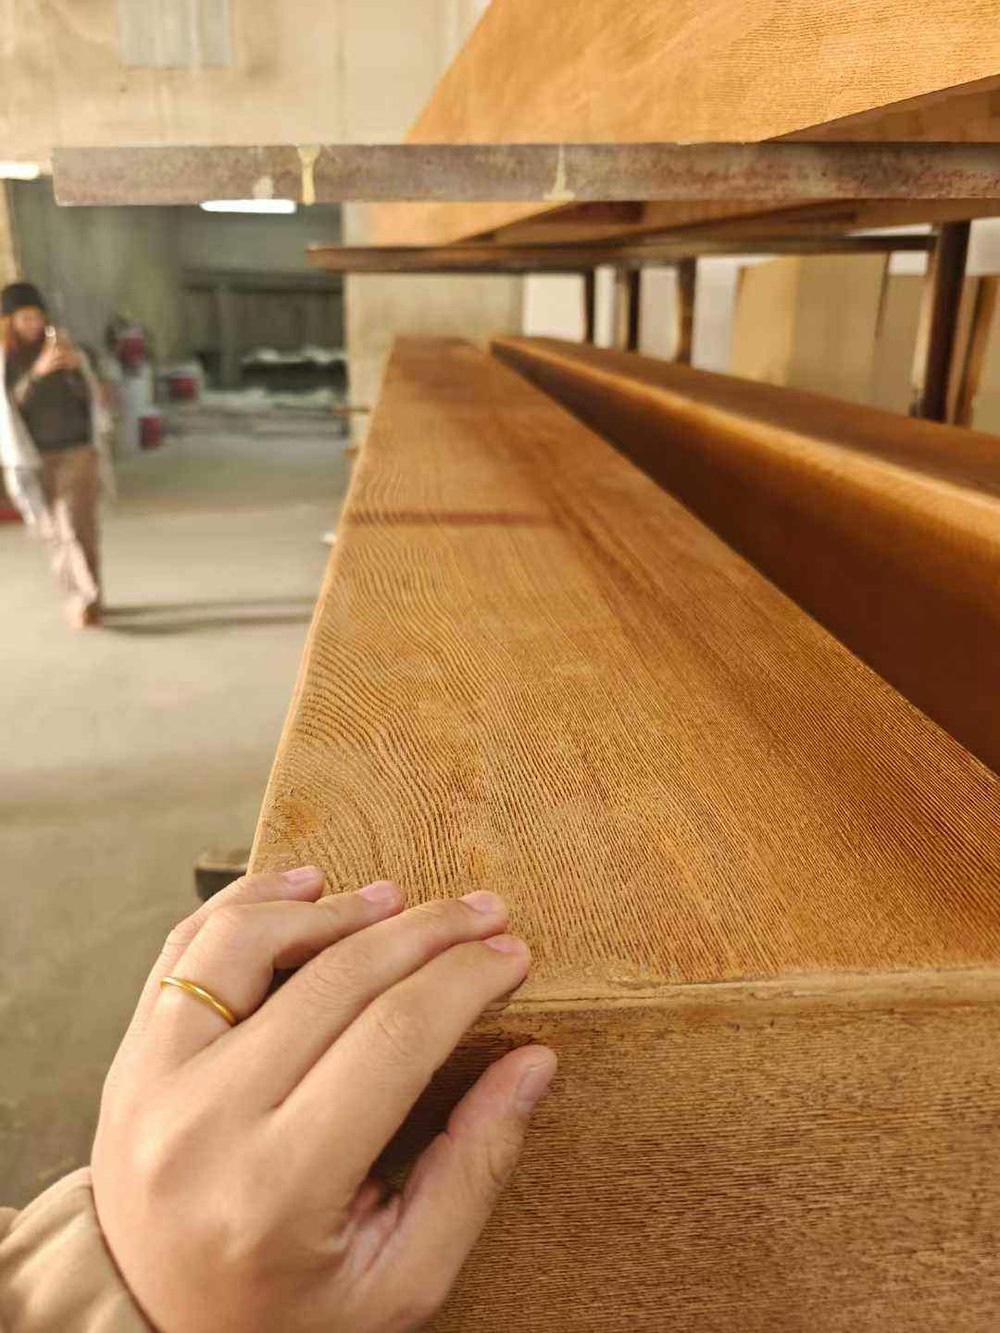
Drilling seems like a simple operation, but the experience varies dramatically between materials. Some materials drill cleanly with standard bits. Others crack, chip, or produce ragged holes. Some hold screws securely. Others let screws spin without gripping. The differences between materials that handle drilling well and materials that do not are huge, and the consequences of poor drillability show up during installation.
Polyurethane faux wood beams vary in drillability depending on the formulation. High-density polyurethane with proper cell structure drills cleanly, holds screws well, and resists cracking. Low-density or improperly formulated polyurethane may chip, crack, or fail to grip fasteners. Specifying drillable beams means specifying beams made from formulations that have been engineered for clean drilling.
The practical implications of drillability extend beyond installation convenience. Beams that drill cleanly allow on-site adjustments that make installations fit better. Beams that hold fasteners securely provide long-term installation reliability. Beams that resist cracking maintain their appearance over years of service. These practical implications affect both the installation experience and the long-term performance of the beam.
What makes polyurethane drillable
Density affects how polyurethane responds to drilling. Higher density formulations resist deformation during drilling and produce cleaner holes. Lower density formulations may compress or chip as the drill bit passes through. The optimal density for drillability balances clean cutting with the weight advantages of hollow construction.
Cell structure influences drilling behavior significantly. Closed-cell structures produce more consistent drilling than open-cell structures. Open cells can tear or chip as the drill bit exits. Closed cells cut cleanly and produce smooth hole walls.
Flexibility versus rigidity affects crack resistance. Materials that are too rigid may crack when drilled near edges or when subjected to stress during drilling. Materials that are too flexible may deform permanently. The optimal formulation balances flexibility and rigidity for the specific drilling applications.
Wall thickness in hollow beams affects fastener holding. Thicker walls provide more material for screws to grip. Thinner walls limit the screw engagement length and may allow screws to pull through under load. Specifying appropriate wall thickness for the intended fasteners ensures secure installation.
Surface hardness affects how the drill bit engages the material. Very soft surfaces may allow the drill bit to wander before cutting in. Very hard surfaces may require more force and produce more heat during drilling. Moderate surface hardness provides the best drilling experience.
Practical drilling applications
Wire routing through hollow beams requires drilling for wire passage holes. Holes drilled through beam walls allow electrical wires to pass from one beam section to another or from beams to switches and fixtures. Clean, properly sized holes protect wire insulation and maintain beam structural integrity.
Lighting installation requires drilling for fixture mounting and wire access. Recessed lights mounted in beams need precise hole sizing. Surface-mounted lights need mounting holes that match the fixture brackets. Pendant lights hung from beams need holes or attachment points capable of supporting the fixture weight.
Bracket installation requires drilling for mounting screws. Brackets typically attach to both the beam and the ceiling structure. The beam attachment holes must be sized correctly for the bracket screws. Oversized holes compromise screw holding; undersized holes may crack the beam.
Hanging hardware installation for items like plants, lights, or decorations requires drilling for hooks or other fasteners. The hardware must be appropriate for the beam material and the weight being supported. Drilling appropriate holes ensures the hardware functions as intended.
Mounting accessory installation for items like beam straps, corbels, or decorative elements requires drilling for attachment. The drilling approach depends on the accessory design and the beam material. Pre-planning hole locations prevents mistakes during installation.

Drilling technique for best results
Bit selection affects drilling quality significantly. Sharp bits designed for the material being drilled produce cleaner holes than dull or inappropriate bits. High-speed steel bits work well for most polyurethane drilling. Carbide bits last longer but are more expensive.
Drill speed affects hole quality and tool life. Moderate speeds typically produce the best results for polyurethane. Very high speeds generate heat that can melt or deform the material. Very low speeds may produce rough holes due to tearing rather than cutting.
Cutting fluid or lubrication may or may not be needed depending on the formulation and drilling conditions. Most polyurethane drilling does not require cutting fluid. However, drilling many holes in rapid succession may benefit from light lubrication to prevent heat buildup.
Hole sizing should match the fastener or purpose precisely. Holes for screws should be slightly smaller than the screw diameter to allow the screw threads to grip. Holes for wire passage should be slightly larger than the wire diameter to allow easy passage without insulation damage.
Edge distance matters for preventing cracking. Drilling too close to beam edges can cause cracking. Maintaining appropriate distance from edges preserves beam integrity. The minimum edge distance depends on the beam formulation and the fastener being used.
Fastener holding performance
Screw type selection affects holding performance in polyurethane. Coarse-thread screws typically hold better than fine-thread screws in cellular materials like polyurethane. Self-tapping screws designed for the material provide good holding without requiring pre-drilled pilot holes.
Pre-drilling pilot holes improves screw holding and prevents cracking. Pilot holes should be slightly smaller than the screw core diameter but smaller than the thread diameter. This allows the threads to grip the material without splitting or cracking.
Screw length selection balances holding power with installation practicality. Longer screws provide more thread engagement and better holding. However, very long screws may exit through the opposite side of hollow beams. Selecting appropriate lengths for the specific beam wall thickness ensures good holding without breakthrough.
Screw driving technique affects both holding and appearance. Driving screws too fast may strip the threads or crack the material. Driving screws too slowly may not seat them properly. Moderate, steady driving produces the best results.
Countersinking creates flush screw heads that can be concealed with filler. The countersink depth should be appropriate for the screw head and the desired appearance. Over-countersinking weakens the material around the screw; under-countersinking leaves the head proud of the surface.
Customizable drilling for specific applications
Pre-drilled holes at the factory eliminate on-site drilling for standard applications. Beams ordered with pre-drilled holes arrive ready for bracket installation. This service saves time and ensures hole placement consistency across multiple beams.
Custom hole patterns based on project specifications accommodate specific installation requirements. Bracket hole patterns, lighting cutouts, or wire routing holes can be drilled during manufacturing. Custom drilling requires accurate specifications from the buyer.
Hole sizing for specific fasteners ensures proper fit. Fastener manufacturers provide recommended hole sizes for their products. Following these recommendations optimizes holding and prevents problems.
Hole placement precision matters for finished appearance. Visible holes should be placed consistently across all beams. Hidden holes can be placed based on structural or installation requirements. Consistent placement looks more professional than random placement.
Hole depth specification affects both function and appearance. Through holes allow wire passage; blind holes accept screw ends. Depth specifications should match the intended use. Over-depth holes waste drilling time and may weaken beams.
Common drilling problems and solutions
Cracking at hole edges typically results from inappropriate drill speed, dull bits, or drilling too close to edges. Solutions include using sharp bits at appropriate speeds and maintaining adequate edge distance.
Chipping on the exit side of holes occurs when the drill bit pushes through the material rather than cutting cleanly. Supporting the back side of the beam during drilling reduces chipping. Backing boards prevent most exit-side chipping.
Ragged hole walls indicate dull bits, inappropriate drill speed, or wrong bit type. Sharp bits at appropriate speeds produce smooth hole walls. The right bit type for the material matters more than many installers realize.
Screw spin without gripping indicates oversized pilot holes or stripped threads. Solutions include using smaller pilot holes or replacing stripped screws with slightly larger ones. Pre-drilling to the correct size prevents most spin issues.
Melted or deformed hole walls indicate excessive heat from high drill speed or inappropriate bit. Reducing drill speed and using bits designed for the material prevents melting. Cooling breaks between holes help when drilling many holes in sequence.
Material testing before installation
Sample drilling on scrap pieces verifies drilling behavior before working on installed beams. Testing on the same material that will be installed reveals how the material responds to drilling. Testing allows technique refinement before committing to the actual installation.
Sample fastener installation confirms that the planned fasteners work properly with the material. Testing the fastener type, size, and driving technique on sample material prevents installation problems.
Sample edge distance testing determines how close to edges holes can be drilled without cracking. Testing different edge distances identifies the minimum safe distance for the specific material and fasteners.
Holding strength testing confirms that fasteners will support the expected loads. Pull-out testing on samples verifies that the material and fastener combination provides adequate holding for the application.
Drilling time estimation based on sample drilling helps schedule installation work. Knowing how long holes take to drill allows realistic planning for the total installation time.
Long-term performance of drilled installations
Vibration resistance of properly installed fasteners maintains holding over time. Screws installed with appropriate pilot holes in appropriate materials maintain holding through years of vibration from foot traffic, HVAC systems, or other sources.
Thermal cycling effects on fastener holding depend on the material expansion rates and fastener type. Properly installed fasteners accommodate thermal cycling without loosening. Fasteners installed incorrectly may loosen over time as materials expand and contract.
Moisture exposure can affect fastener holding in some polyurethane formulations. Exterior applications or humid environments may require fasteners and materials rated for those conditions. Standard interior applications typically do not have moisture-related fastener issues.
Maintenance access to drilled installations may be needed for occasional adjustment. Beams with adjustable components or removable sections may require periodic access to fasteners. Planning for access during installation reduces future maintenance challenges.
Replacement fastener compatibility ensures that fasteners can be replaced if needed during the beam's service life. Standard fastener types can be replaced with matching fasteners. Specialty fasteners should be documented in case future replacement is needed.
Technical References
ASTM standards cited in every specification
Test Data
Lab results from internal testing program
Updated 2026
Reviewed against current product specs