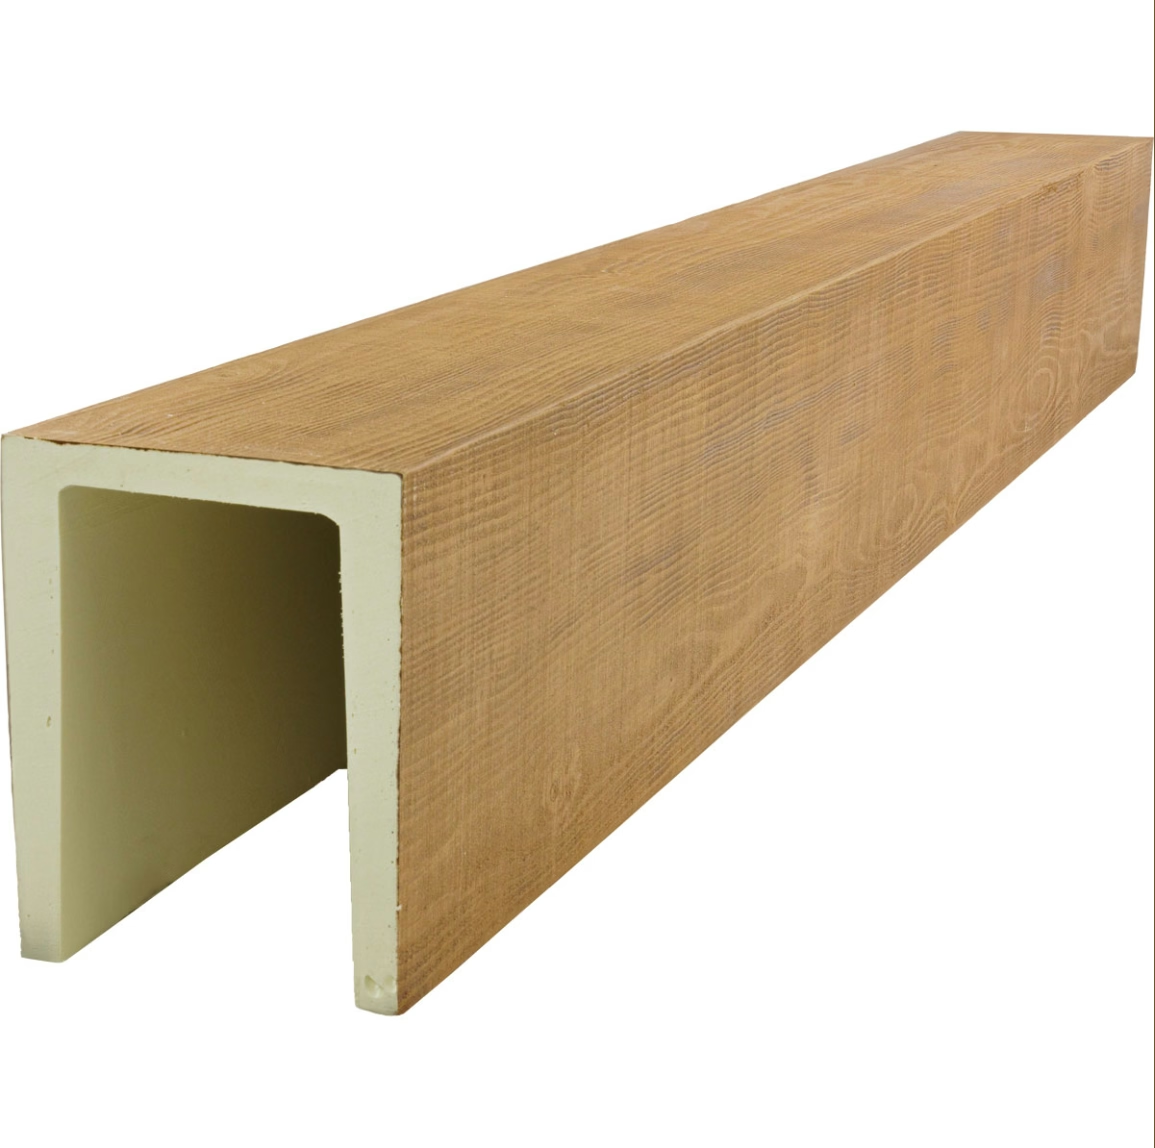
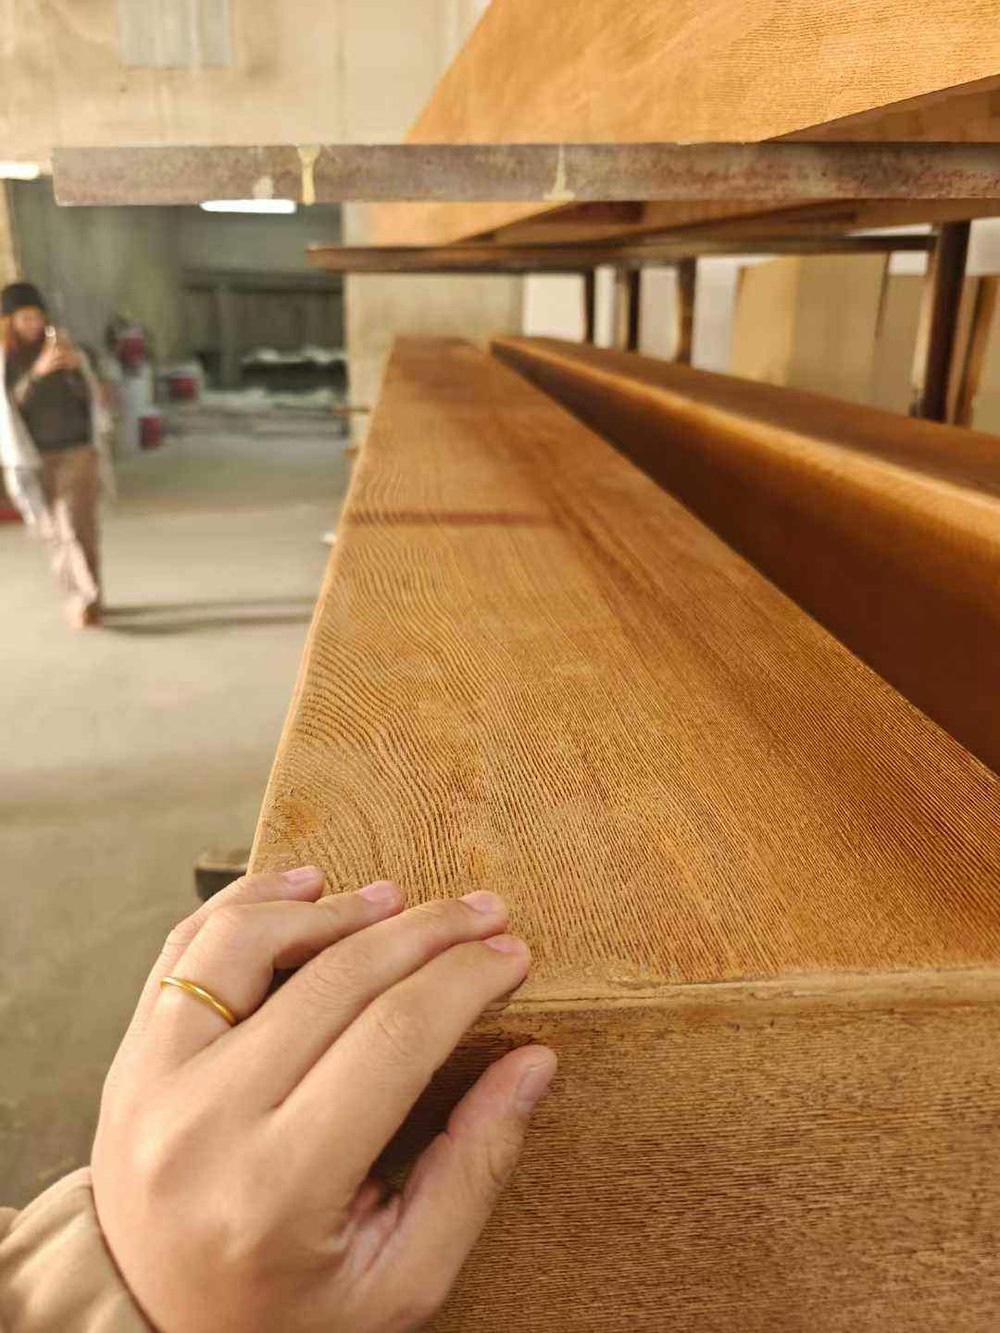
The first time a homeowner notices a small chip in their beautiful new polyurethane ceiling beam, the instinct is often to panic. After all, the beam was chosen specifically for its refined appearance, and any visible damage threatens to undermine the entire design. The good news is that minor damage to polyurethane beams is almost always repairable with the right products, techniques, and a little patience. The key is assembling a repair and touch-up kit before damage occurs, so the response is quick and effective rather than a scramble for materials after the fact.
Assembling Your Complete Repair Kit
A well-stocked repair kit for PU faux timber beams requires a carefully selected set of materials that address the most common types of damage without requiring specialized knowledge to use. The kit should be assembled before installation and stored in a secure location where it can be accessed quickly if needed.
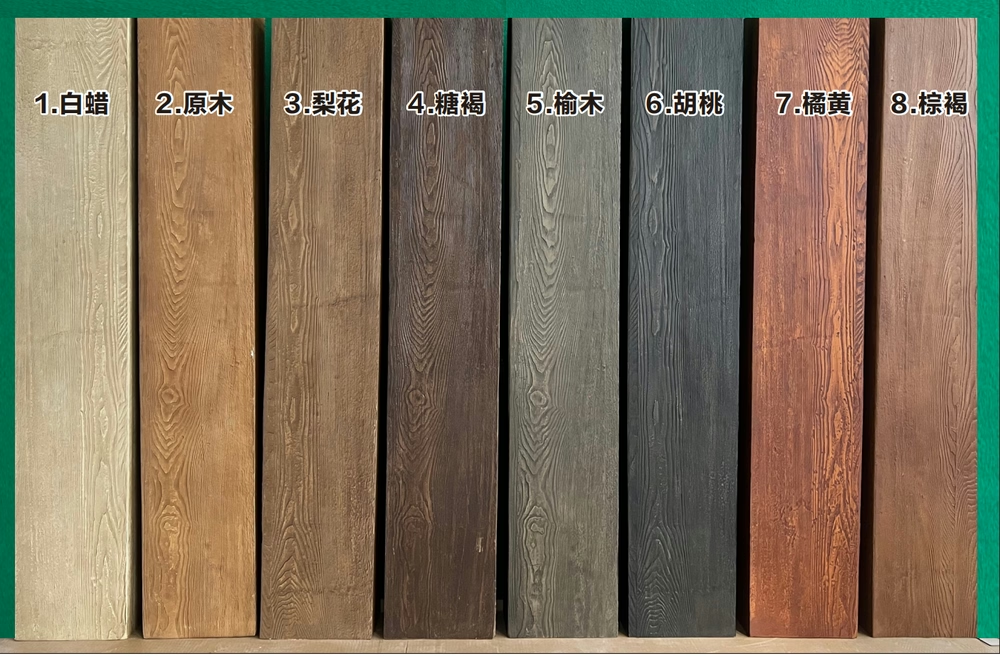
The foundation of the kit is a set of color-matched touch-up stains. These should be sourced from the beam manufacturer at the time of purchase, as manufacturers typically produce stain sets specifically formulated to match their beam finish lines. At minimum, include the base stain color and one lighter and one darker variant to allow blending for repairs in areas where lighting creates color variation across the beam surface. Professional installers often request a color-matched stain pen—a felt-tip applicator that delivers stain with precision—for hairline scratches and small chips.
Filler compounds represent the next essential category. Lightweight spackling paste or a two-part polyester filler rated for polyurethane surfaces fills dents, gouges, and deeper chips. The filler should be sandable once cured and take stain or paint without bleed-through or adhesion failure. Small containers of pre-mixed filler are preferable to powder formulations that require mixing, as they are ready to use immediately when a repair is needed.
A small selection of fine-tip artist's brushes in various sizes—ranging from #000 (extra-fine) to #4 (medium)—allows precise stain application around repair areas without affecting the surrounding finish. For broader areas, soft foam brushes are useful for applying base coats. A set of fine-grit sanding sponges in 320, 400, and 600 grit ratings enables smoothing of cured filler and feathering of repaired edges without creating visible scratches in the beam's surface texture.
Microfiber cloths and a small bottle of isopropyl alcohol serve for surface cleaning before repairs. Any dust, grease, or oils on the beam surface will prevent proper adhesion of filler and stain, so clean surfaces are non-negotiable before beginning any repair work.
Common Damage Types and How to Address Them
Understanding the most common damage scenarios helps homeowners and contractors prepare for the specific challenges each presents. Polyurethane beams are remarkably resistant to impact damage compared to natural wood, but they are not indestructible, and different types of impacts produce different effects requiring different repair approaches.
Shallow surface scratches that have not penetrated through the stain layer are the most common and easiest to repair. For these, the touch-up process is straightforward: clean the scratched area with isopropyl alcohol, allow it to dry completely, and apply a thin coat of the matching stain with a fine brush or stain pen. Allow the stain to dry for the manufacturer's specified time—typically 15 to 30 minutes for solvent-based stains—and evaluate the result. A second coat may be needed for deeper scratches. Once the color matches the surrounding area, apply a thin coat of clear polyurethane sealer to protect the repair and ensure uniform sheen.
Deeper chips that expose the bare polyurethane core require a two-step approach. Begin by filling the damaged area with spackling paste or polyester filler, pressing the material firmly into the chip and overfilling slightly to account for shrinkage as it dries. Allow the filler to cure fully—usually 30 to 60 minutes for lightweight spackling, longer for polyester fillers—before sanding flush with the surrounding surface. Begin sanding with 320-grit sponge, progress to 400-grit for smoothing, and finish with 600-grit to prepare the surface for staining. Apply the matching stain in thin layers, building up the color until it blends with the surrounding area, and seal with clear finish.
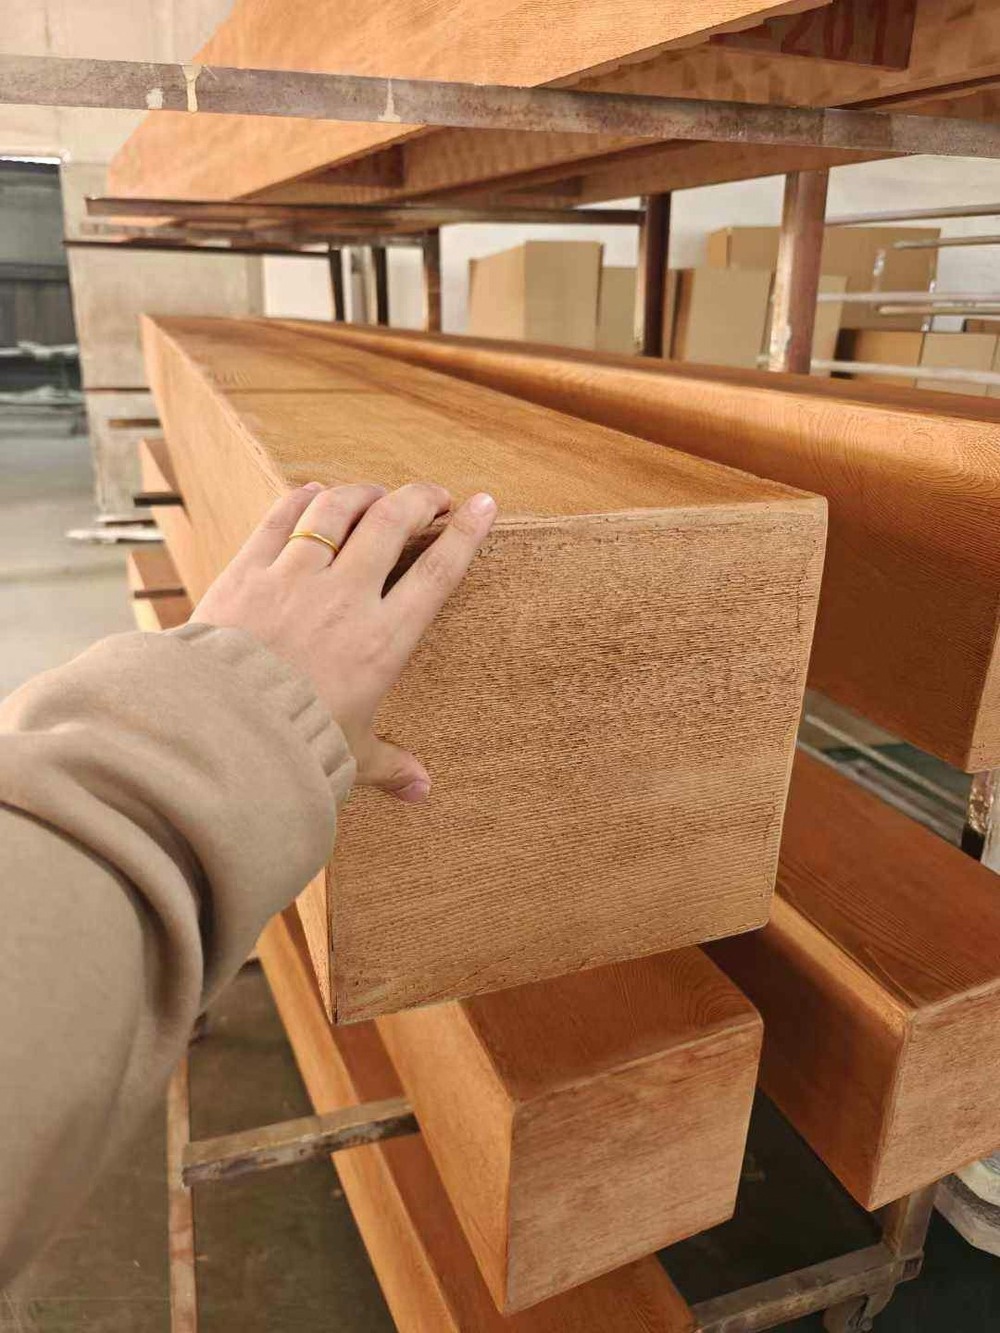
Impact dents—areas where the beam surface has been compressed but not broken—are repairable if the surface skin has not cracked. Apply a damp cloth over the dent and apply heat with a hairdryer set to moderate temperature. The heat softens the polyurethane slightly, and the moisture from the damp cloth creates steam that helps the compressed material expand back toward its original profile. This technique works best on fresh damage and may be less effective on older dents that have fully cured in their compressed state.
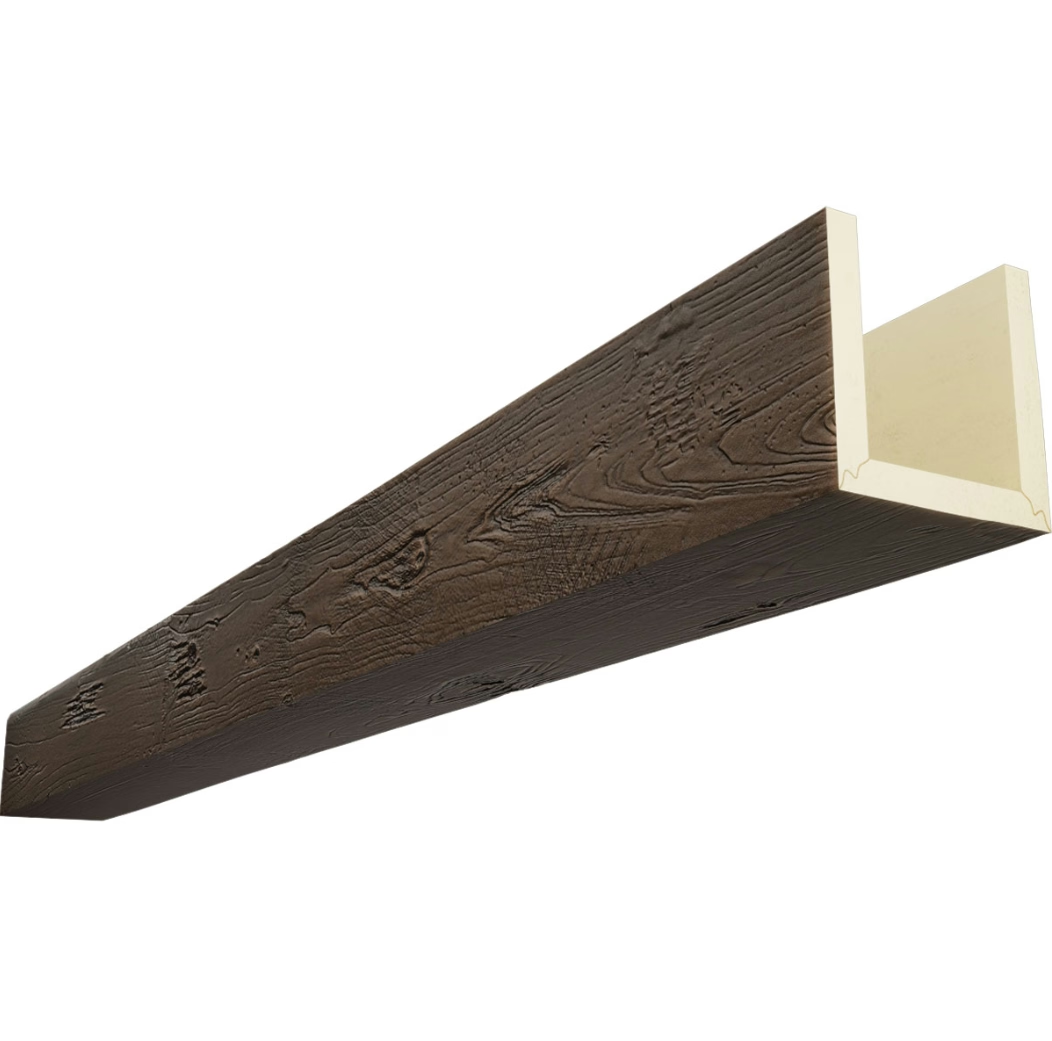
Color Matching Techniques
Achieving an invisible repair on a faux wood beam depends primarily on color matching, and color matching on textured polyurethane surfaces presents challenges that flat painted surfaces do not. The surface is not a uniform color—it is a complex combination of base stain, grain lines, highlight areas, and shadow areas that together create the convincing appearance of natural wood.
The most reliable approach is to work from the manufacturer's original stain samples. At the time of purchase, request a small quantity of each stain color used in the beam's finish, clearly labeled. Apply small test patches to a piece of cardboard or scrap material, building up thin layers until the color matches the beam, then replicate the same layering on the repair area. The goal is to match the overall visual effect rather than any single component of the color.
For beams with pronounced grain patterns, freehand drawing of grain lines over the repaired area using a fine brush and darker stain can make a repair that would otherwise be visible disappear entirely. This technique requires some artistic confidence, but the results are dramatically better than simply filling and staining over the damage. Study the grain pattern on the surrounding beam surface and attempt to continue those lines naturally across the repair area.
In rooms with strong directional lighting, repairs near light sources require extra attention, as the light will highlight any color or sheen inconsistencies. Always evaluate repairs under the same lighting conditions that the beam will normally be seen under—natural daylight from the room's windows is ideal.
Preventative Measures and Routine Care
The best repair is the one that never needs to happen. A few simple preventative measures can dramatically reduce the frequency and severity of beam damage in residential and commercial settings.
In households with high ceilings, furniture arrangements that prevent easy access to beam areas reduce the risk of accidental impacts during routine activities. When access is required for cleaning or maintenance, use soft-padded ladders or scaffolding rather than hard metal poles that could damage beam surfaces if they make contact.
For beams installed in commercial spaces such as restaurants, hospitality venues, or retail environments where the ceiling may be within reach of patrons or staff, a periodic inspection schedule helps catch minor damage before it becomes more extensive. Quarterly visual inspections under normal lighting conditions allow early identification of any areas requiring touch-up.
Routine cleaning of polyurethane beams is straightforward and does not require specialized products. Light dusting with a microfiber duster or gentle vacuuming with a soft brush attachment removes accumulated dust and debris. For more thorough cleaning, a cloth dampened with water and a small amount of mild dish soap is effective. Avoid abrasive cleaners, harsh solvents, or pressure washing, as these can damage the stain finish.
With a complete repair kit assembled and basic repair techniques understood, homeowners and contractors can maintain the appearance of PU faux timber beams with confidence. Minor damage is an inevitability in any architectural element that sees use over time; being prepared to address it quickly ensures that beams continue to enhance the spaces they inhabit for years to come.
Technical References
ASTM standards cited in every specification
Test Data
Lab results from internal testing program
Updated 2026
Reviewed against current product specs